Kodi is a free open-source media player application. Kodi is available for several operating systems and hardware platforms, and has a 10-foot user interface for use with televisions and remote controls. It allows users to play and view most videos, music, podcasts, and other digital media files from local and network storage and the Internet.
You can download the application on the official website https://kodi.tv/download/
Let's look at how to set up Kodi, hence, download the application version you need and start installing it on your device. After installation, the first thing you need to do (if necessary) is to select your desired application interface language.
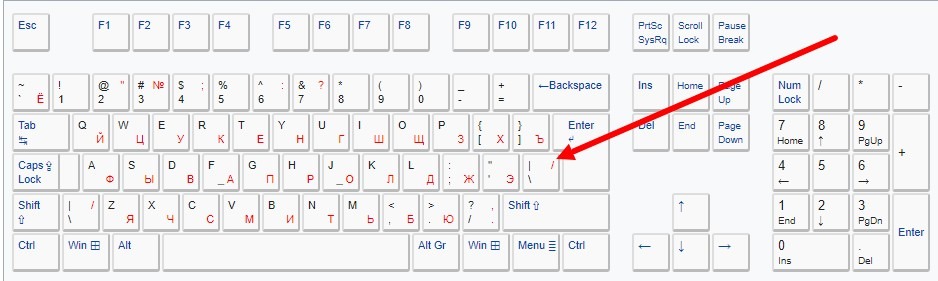
Please note, after installation, the application starts in full-screen mode, which is not always convenient, so press the \ (slash) button to switch to windowed mode.
You can use the same button to return to full-screen mode.
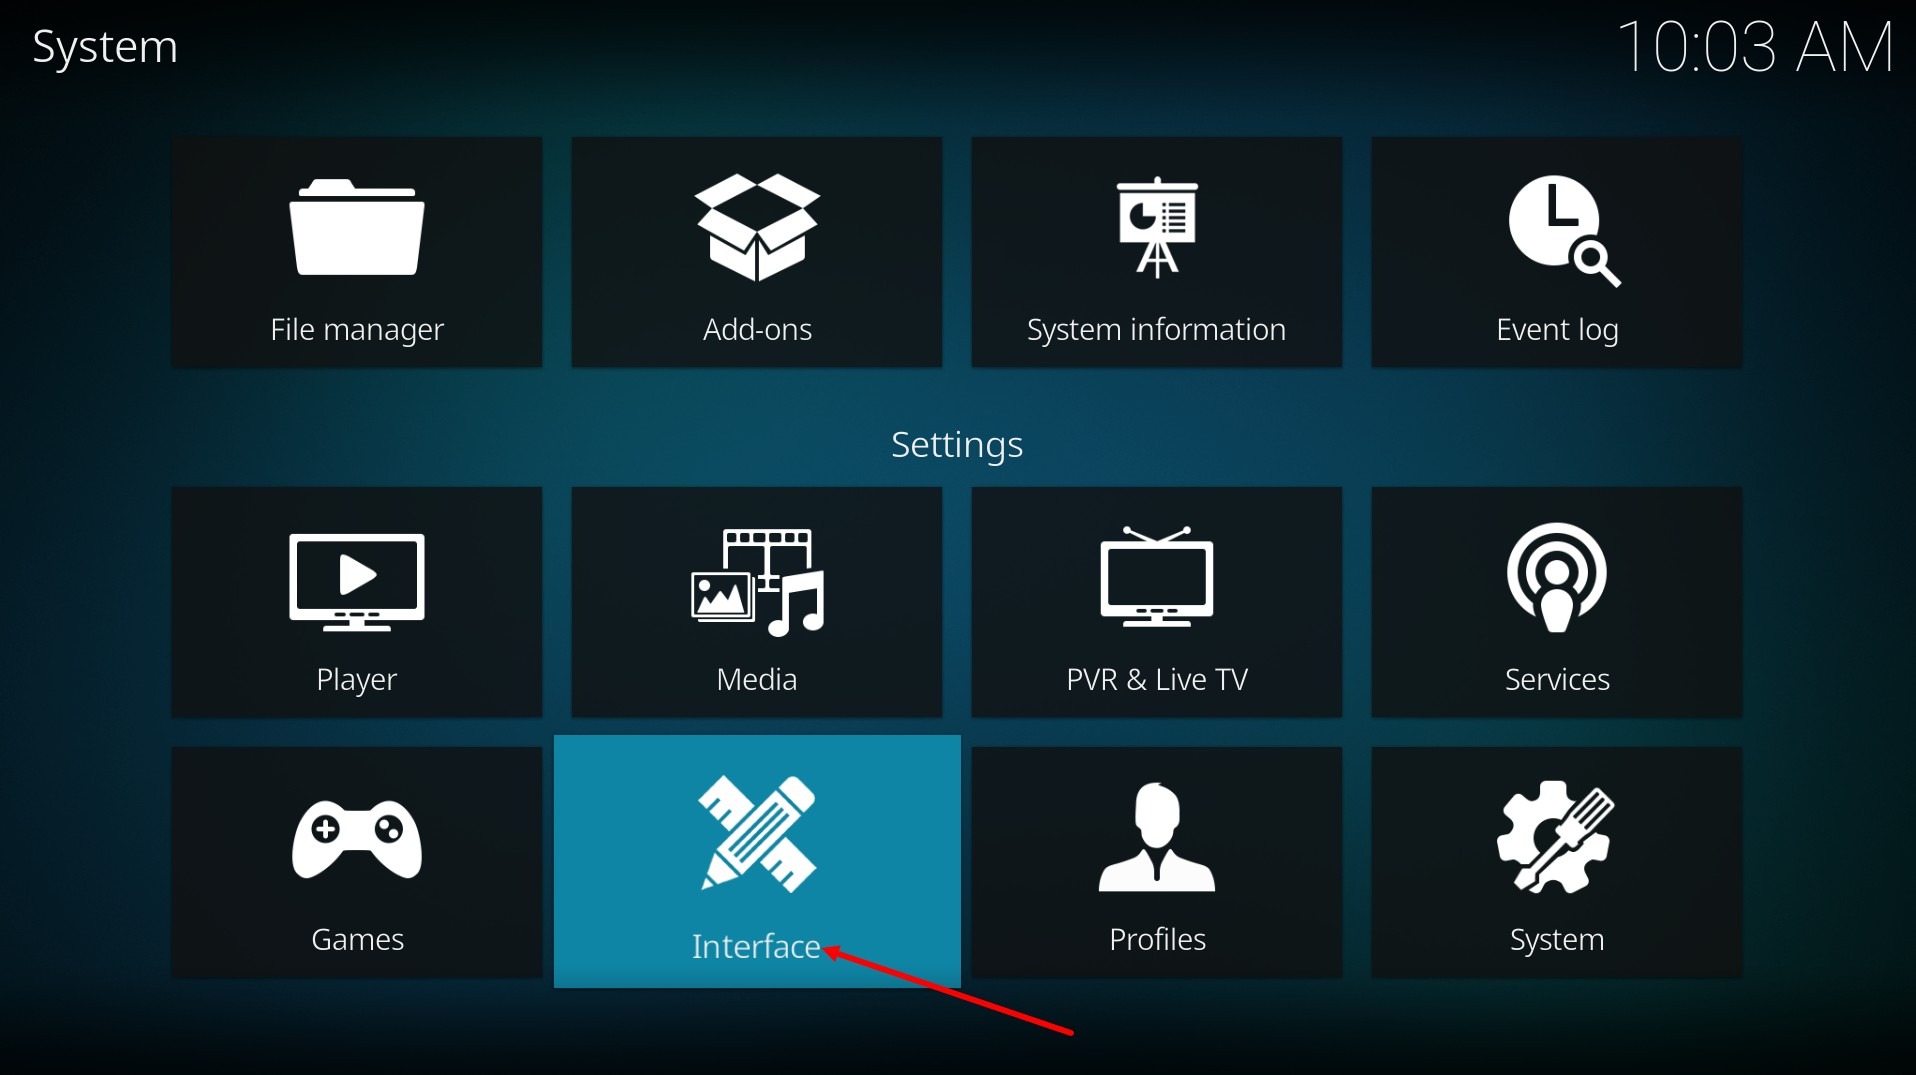
Click on the gear icon in the top left corner of the window
Go to the Interface section
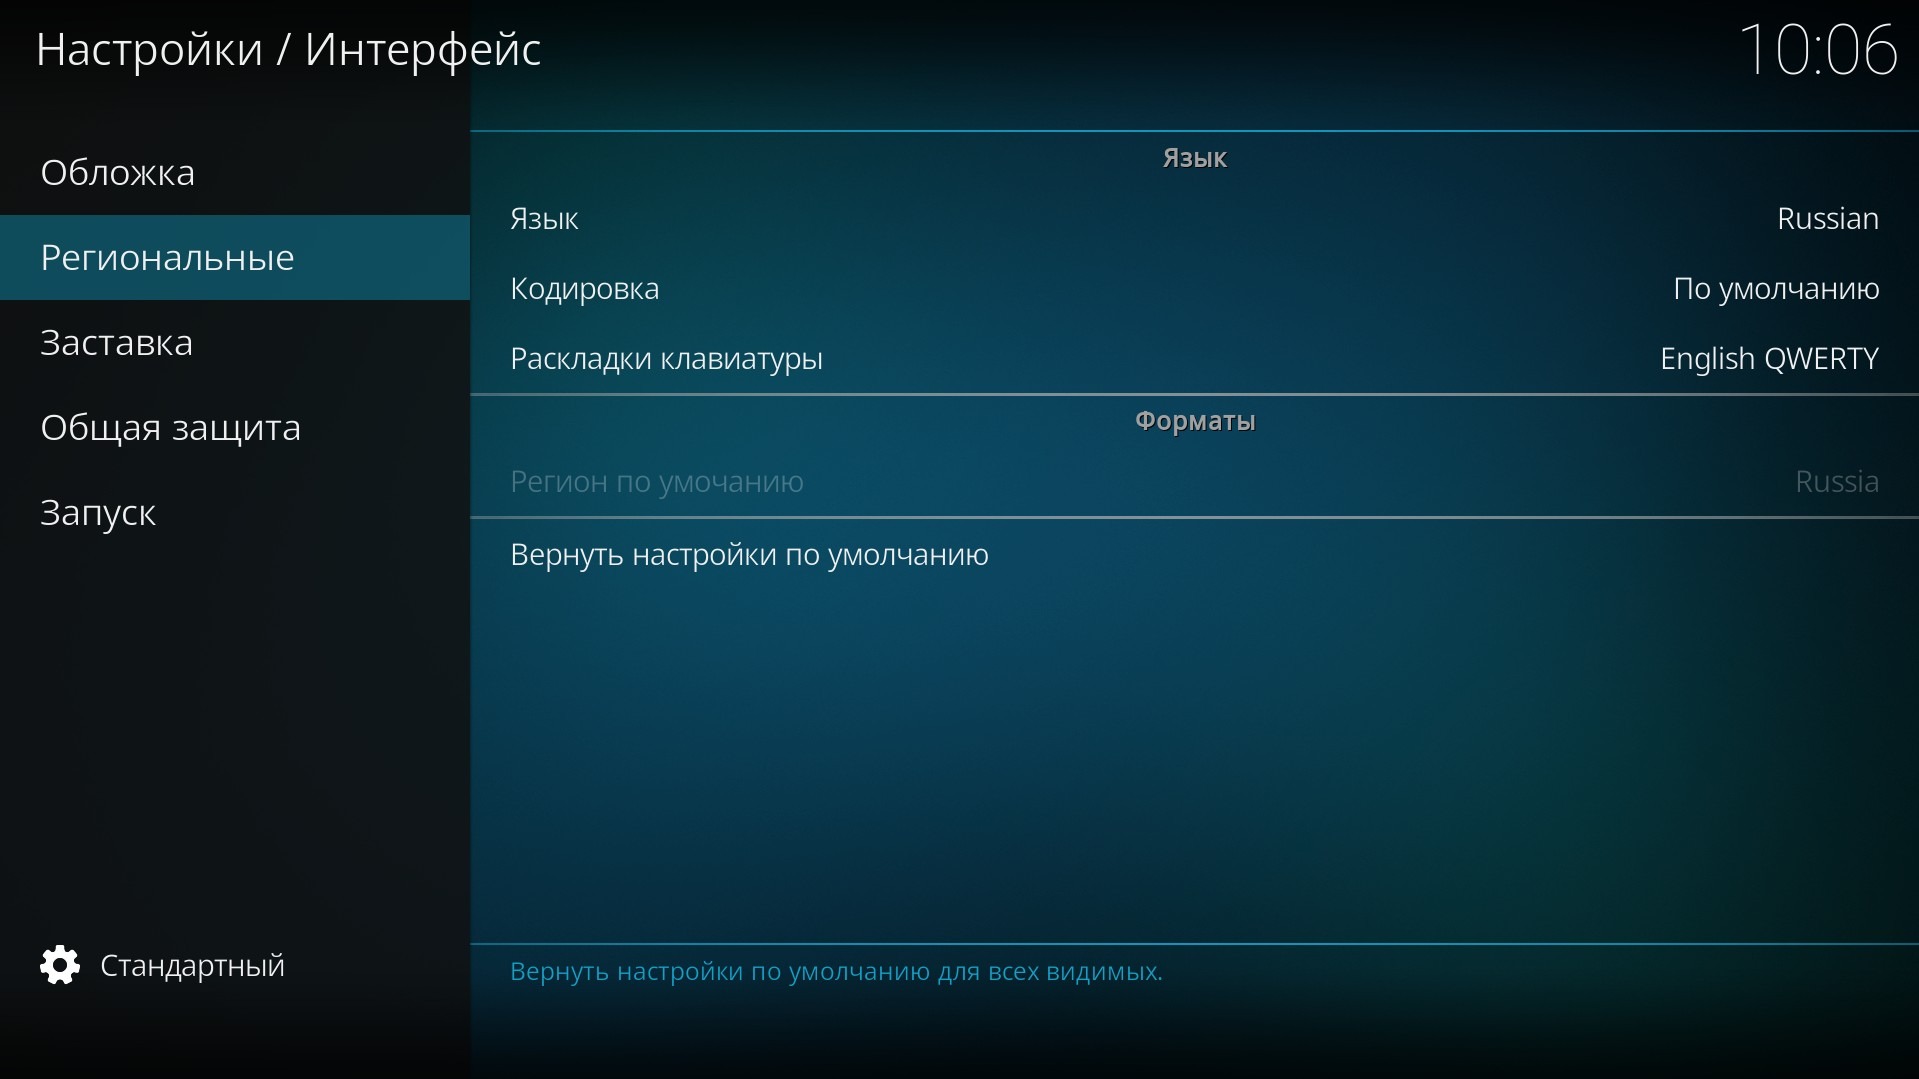
On the left side, select the Regional menu item
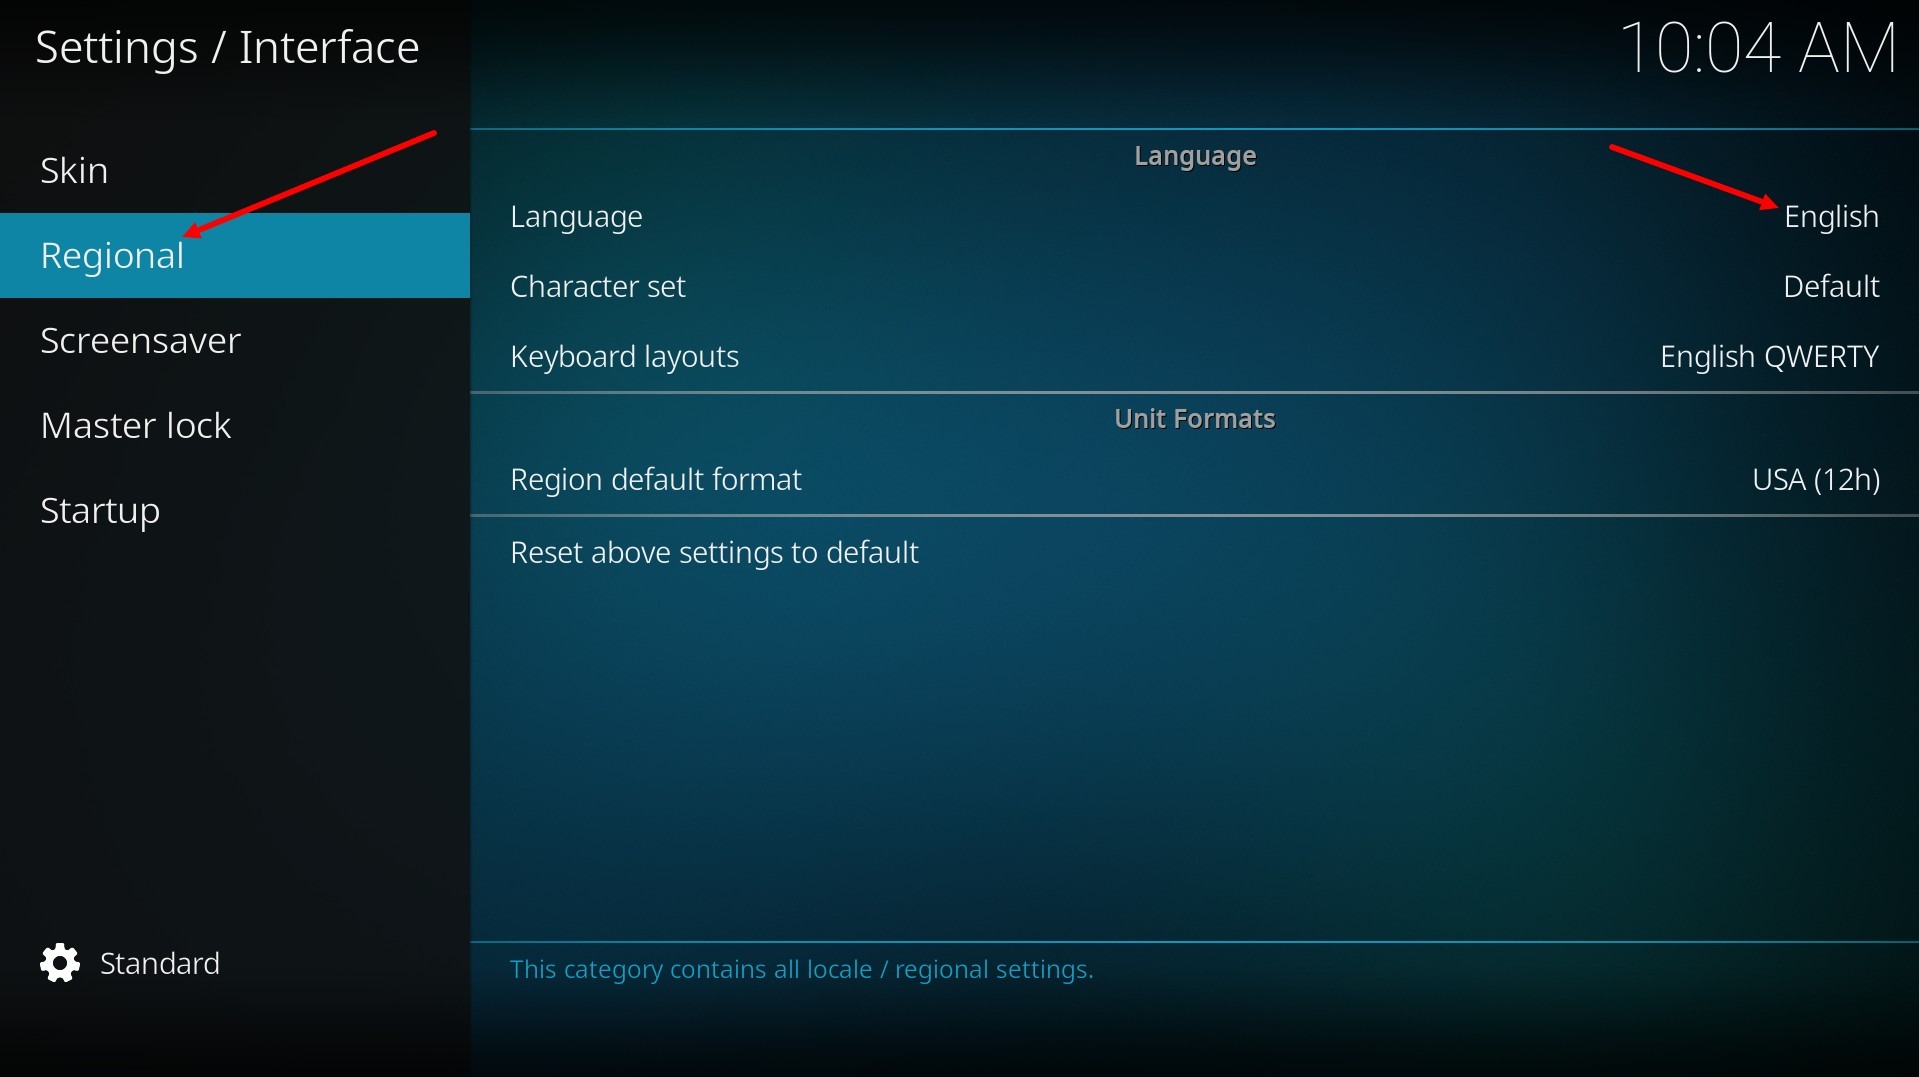
and in the drop-down list on the right side, select the language you want.
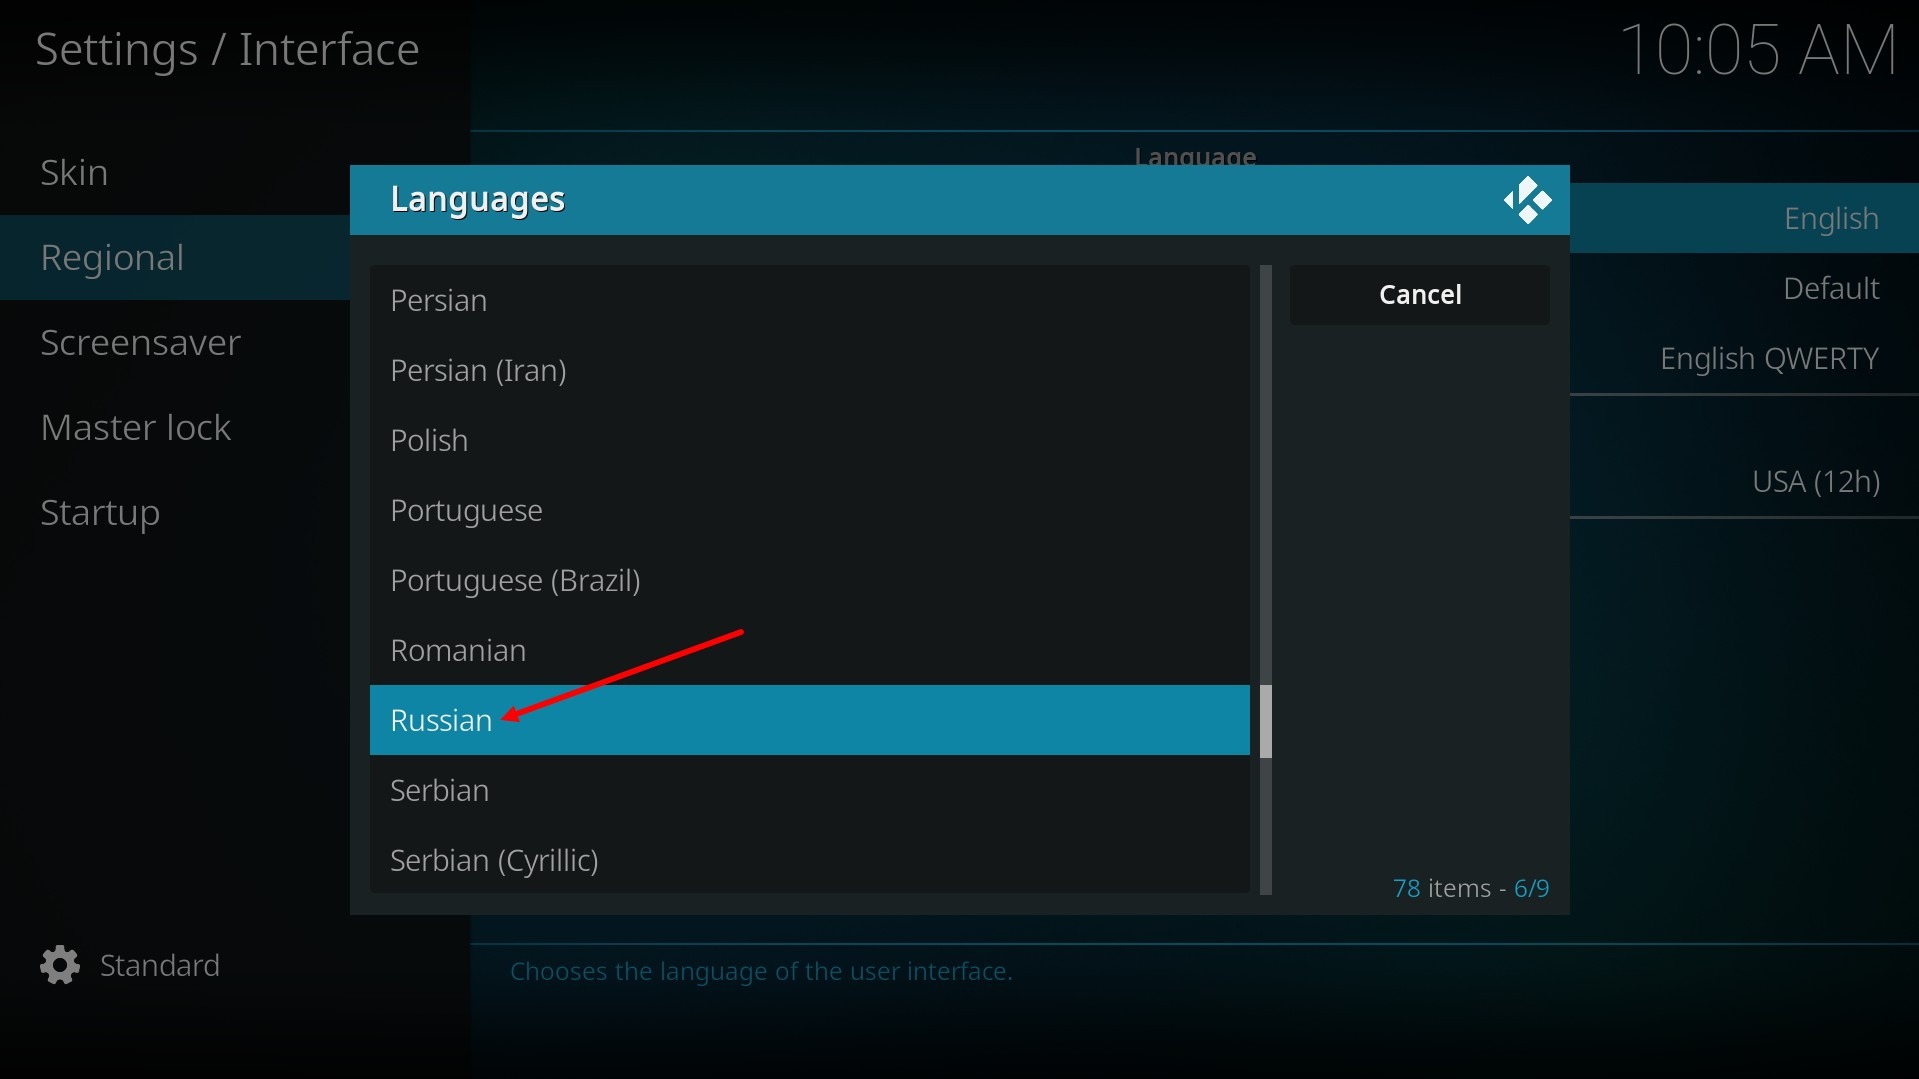
In this case, Russian (Russian).
We've selected the interface language, now let's set up Kodi for our service.
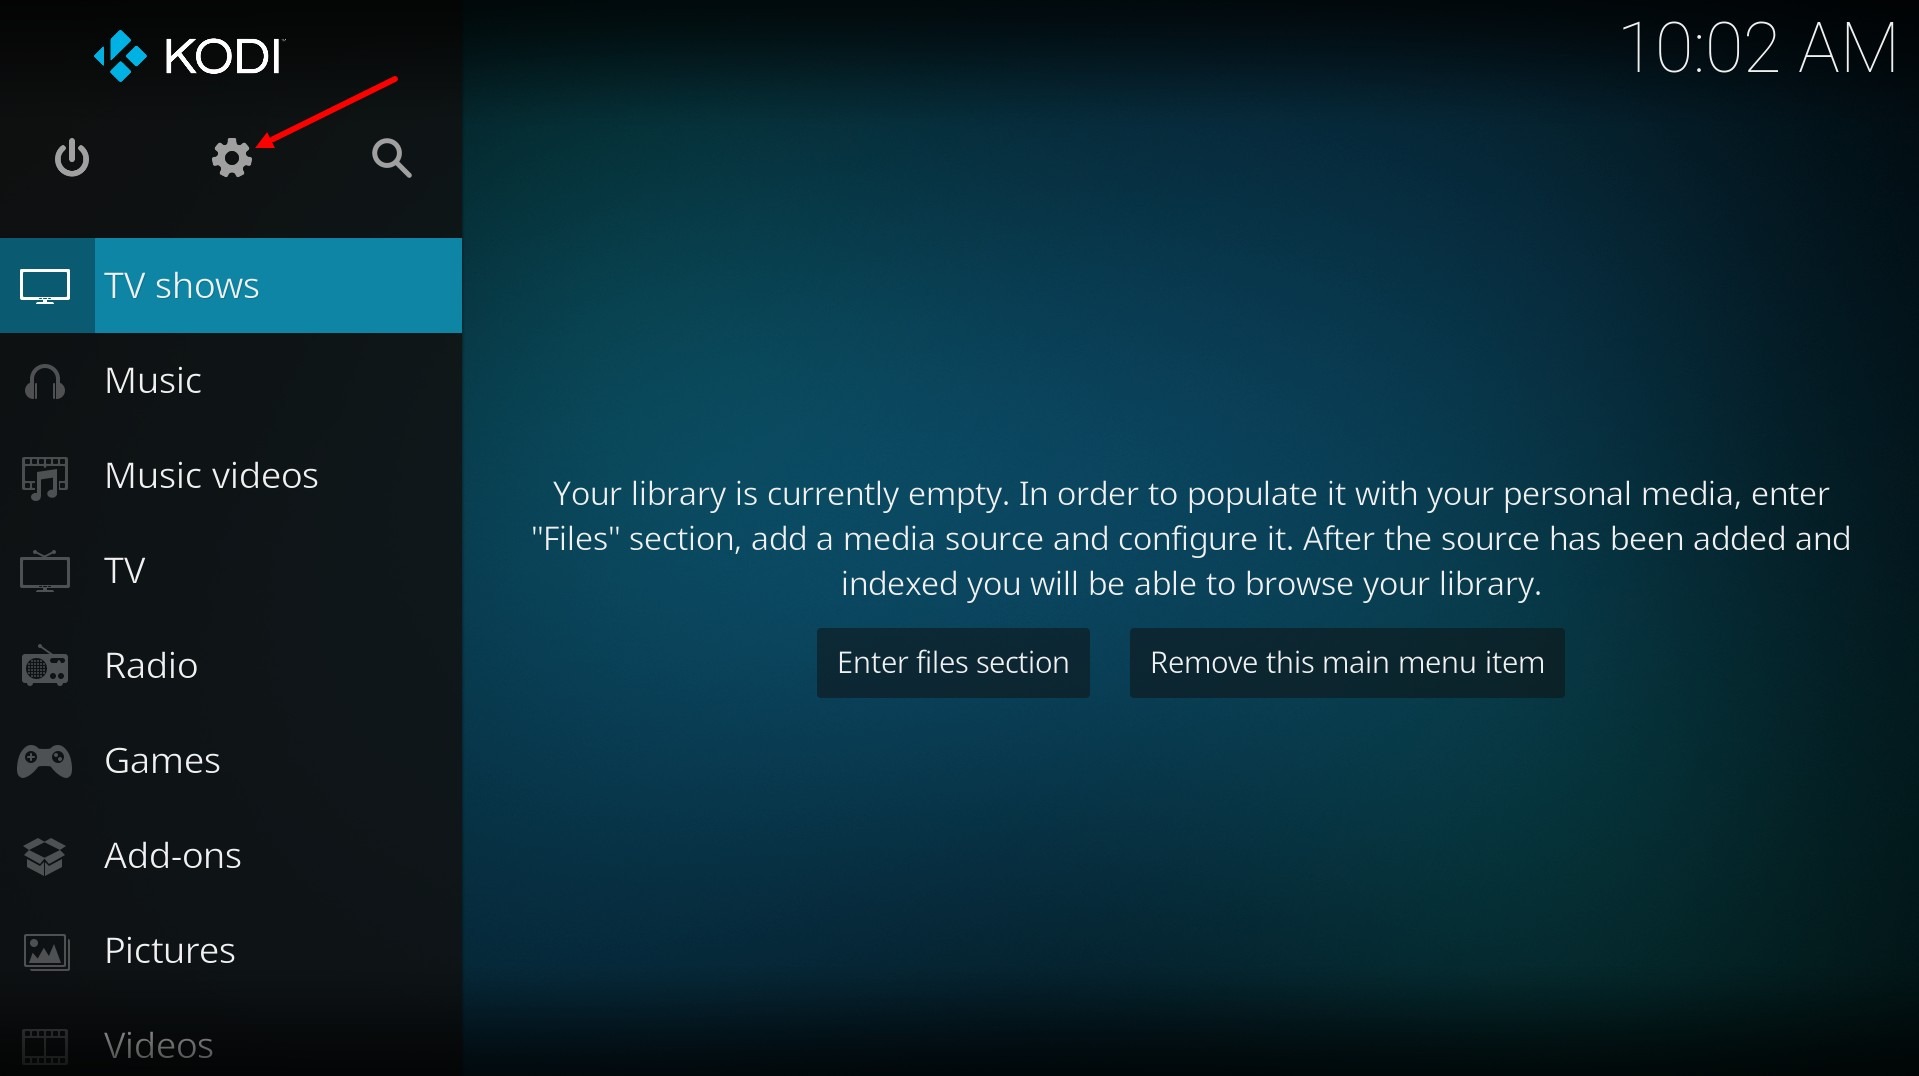
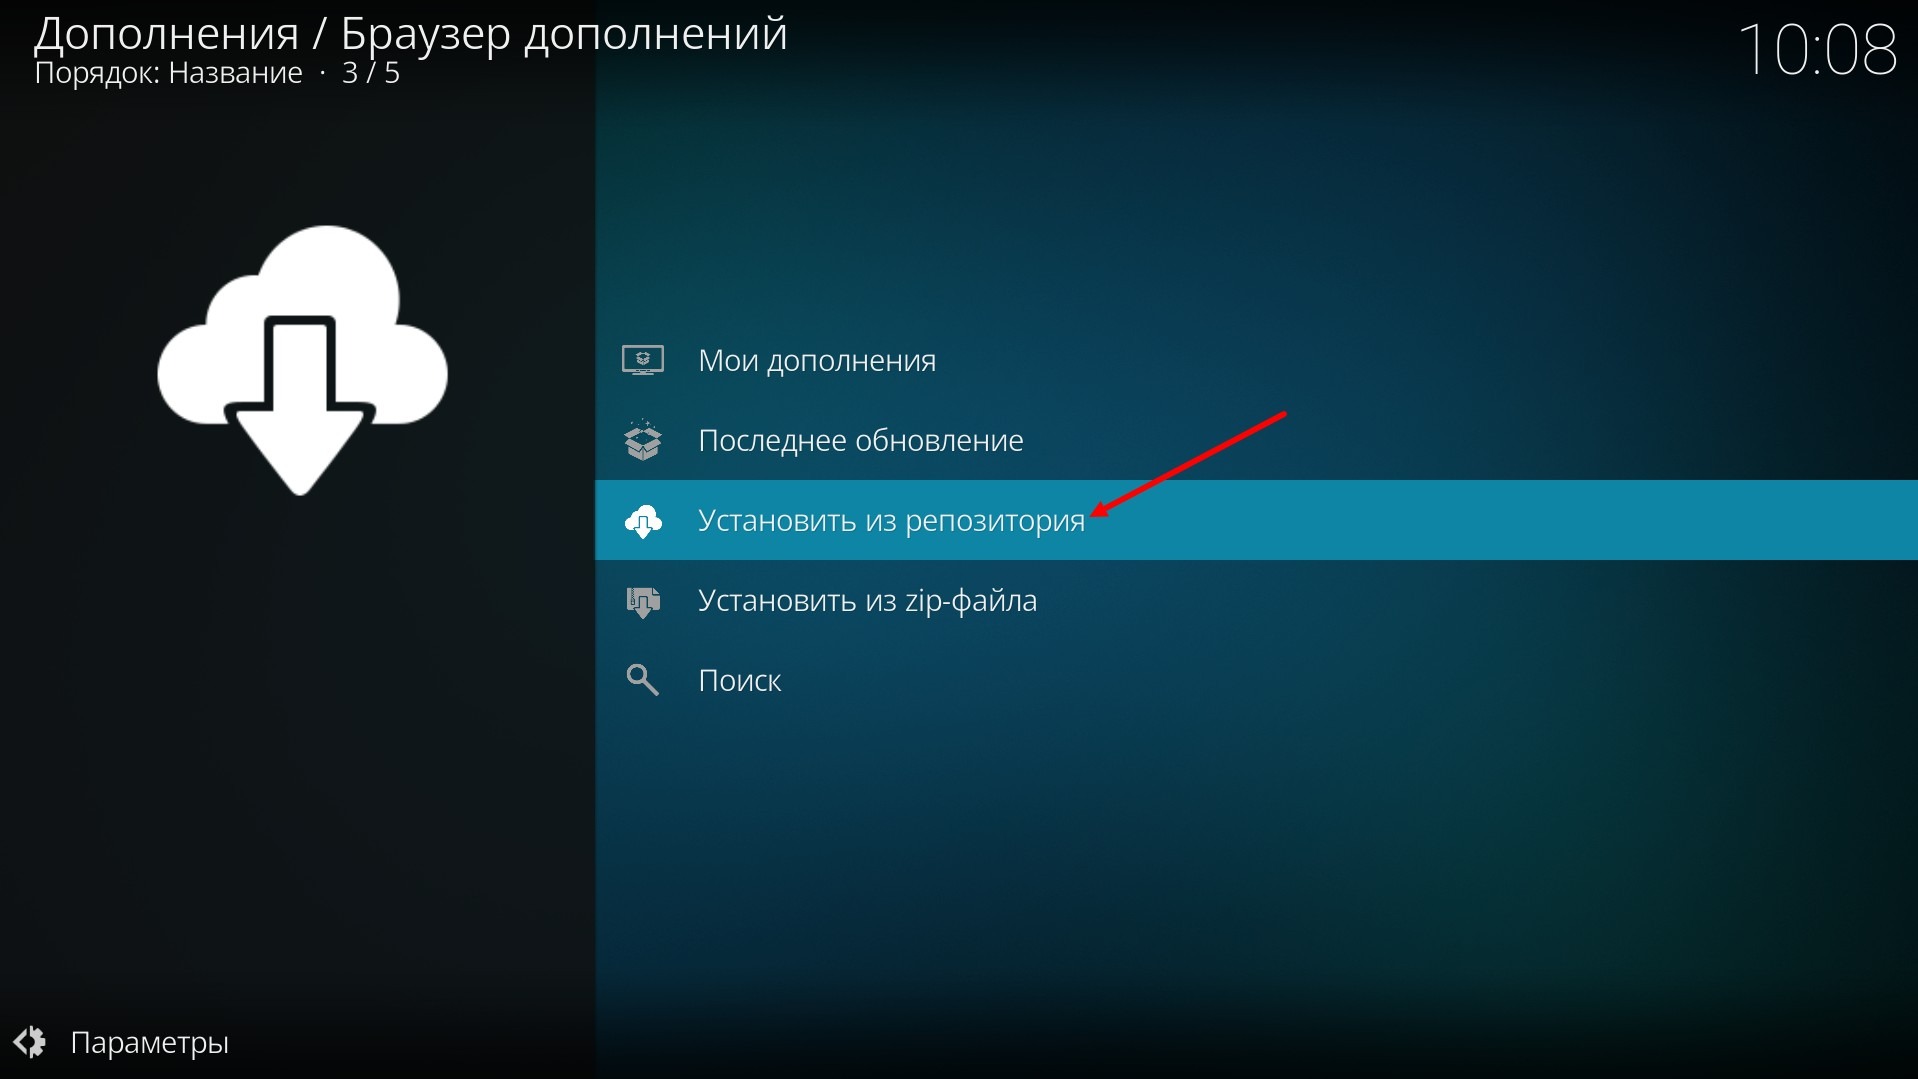
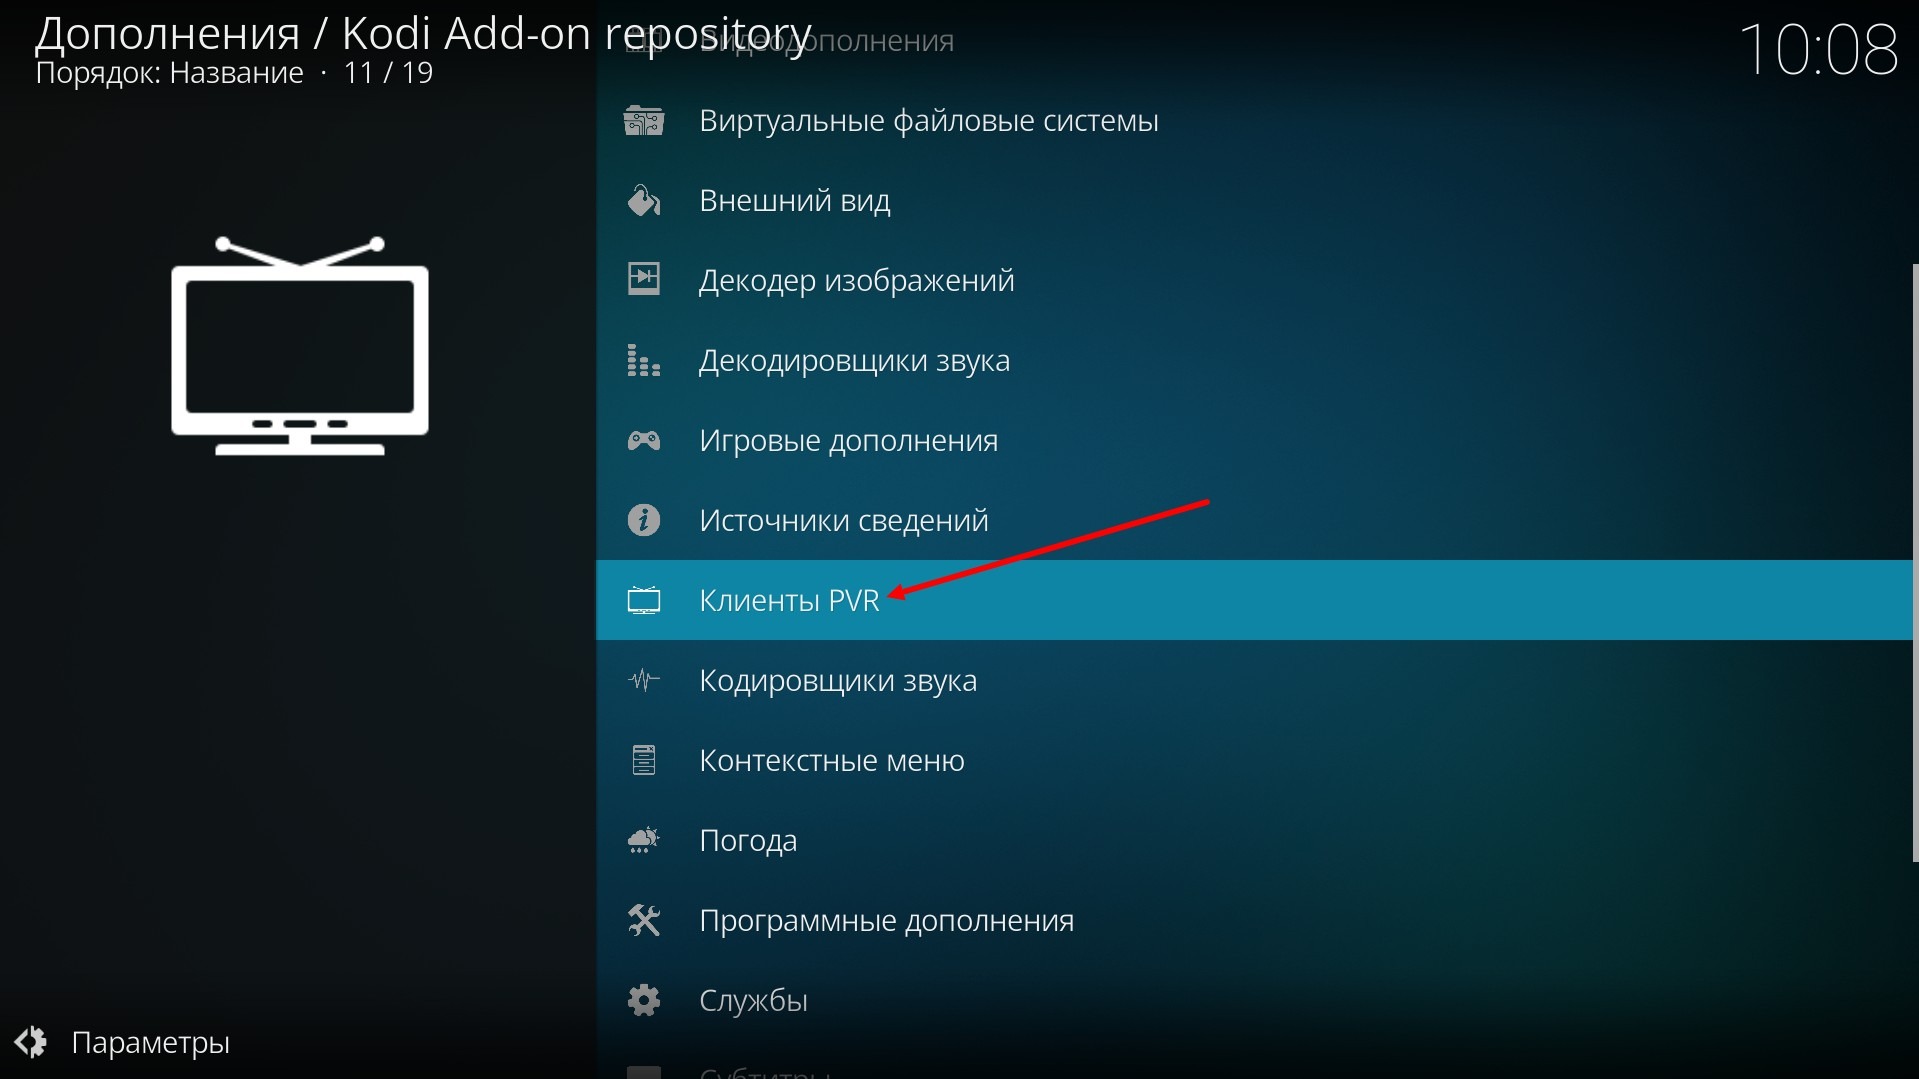
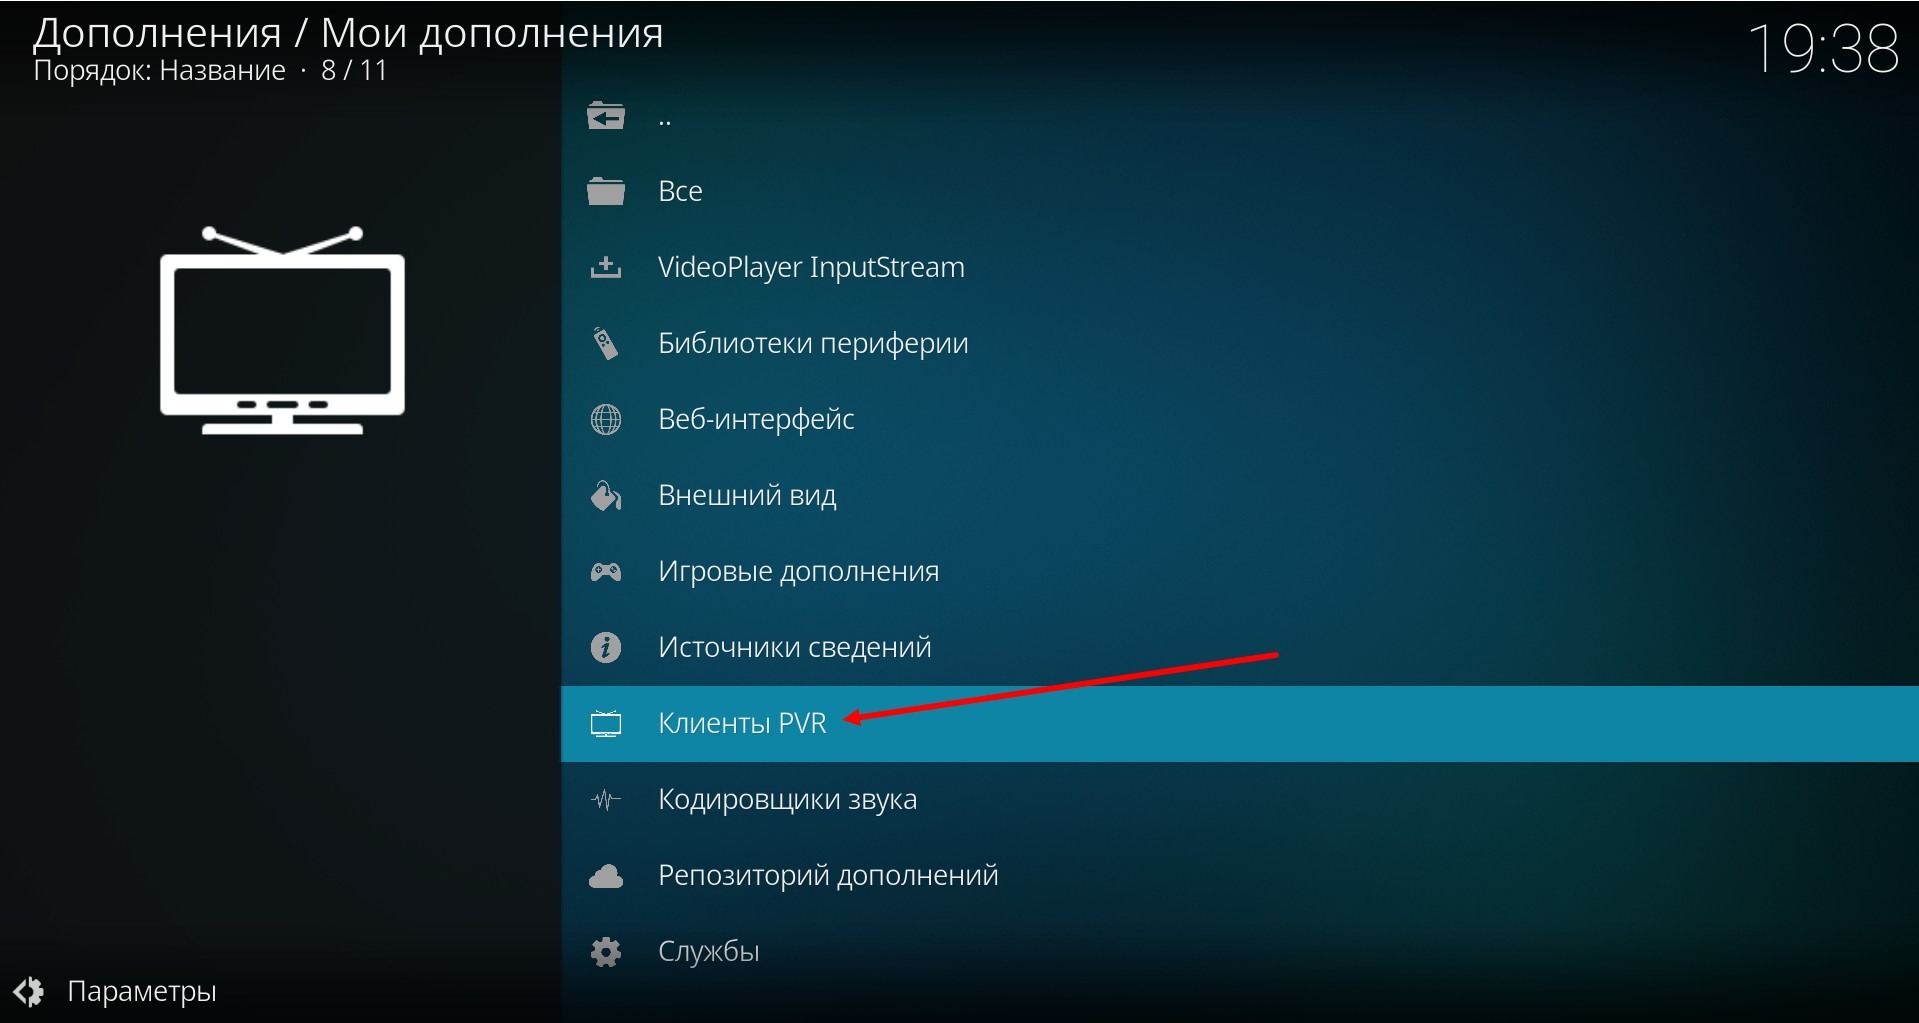
To do this, press Esc (on a computer) or the "Back" button (on other devices) to return to the media player's main menu. Here, select the Add-ons section.

Choose Install from repository
then PVR Clients
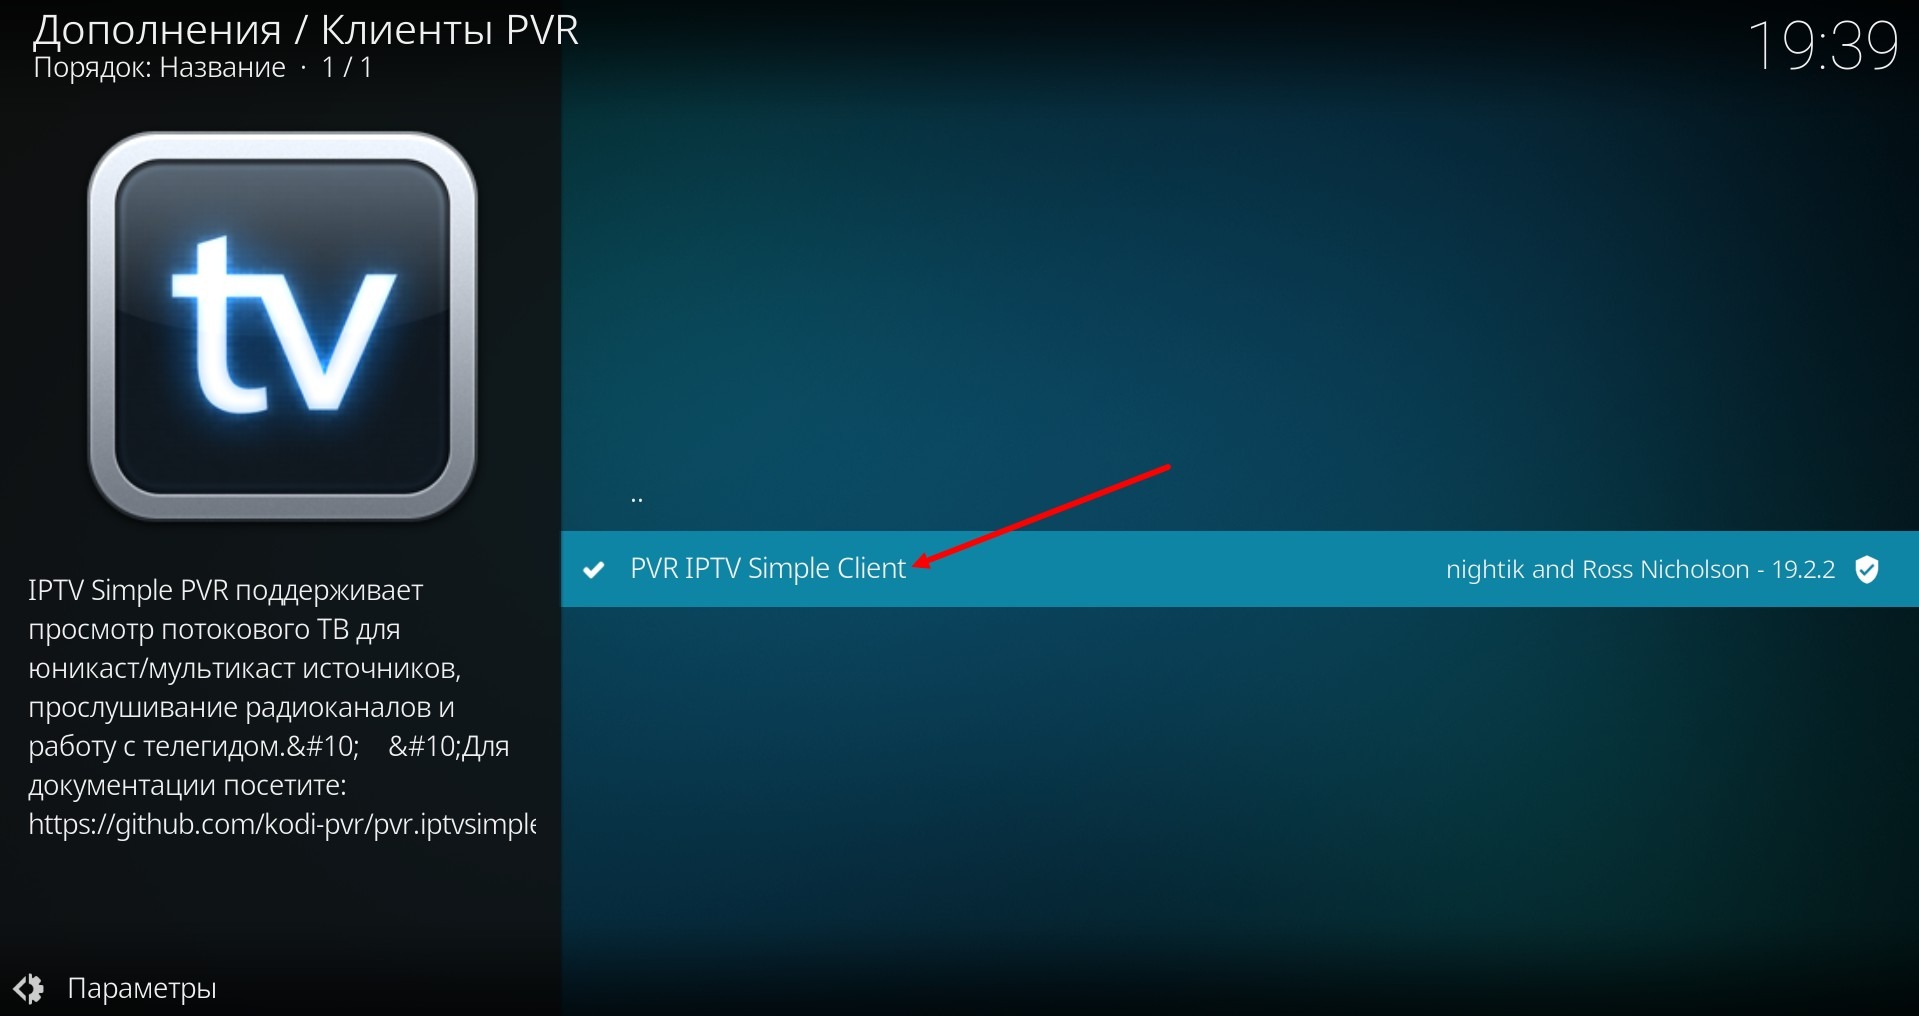
and in the opened list, find PVR IPTV Simple Client (or in new versions it is called IPTV Simple Client).
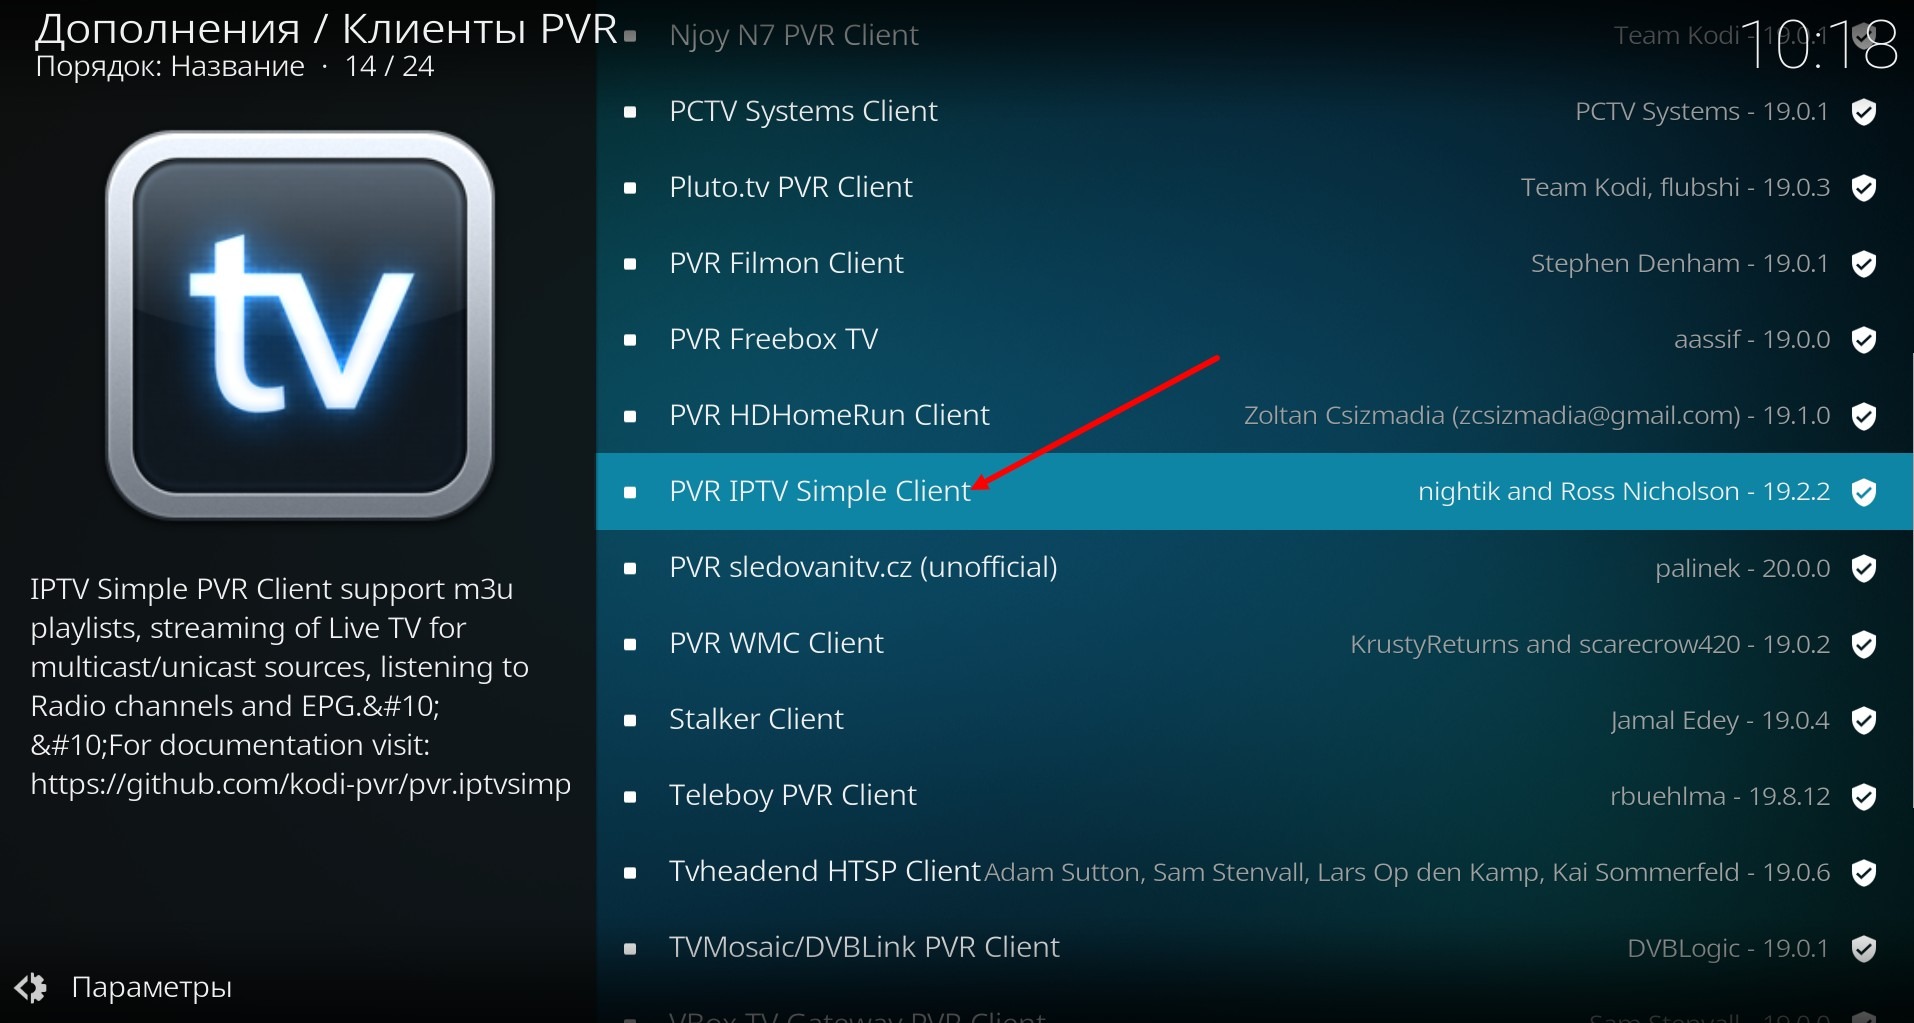
Click on it with the mouse (on a computer) or the OK button (on the remote control) or tap it (on a smartphone).
In the window that opens, select Install

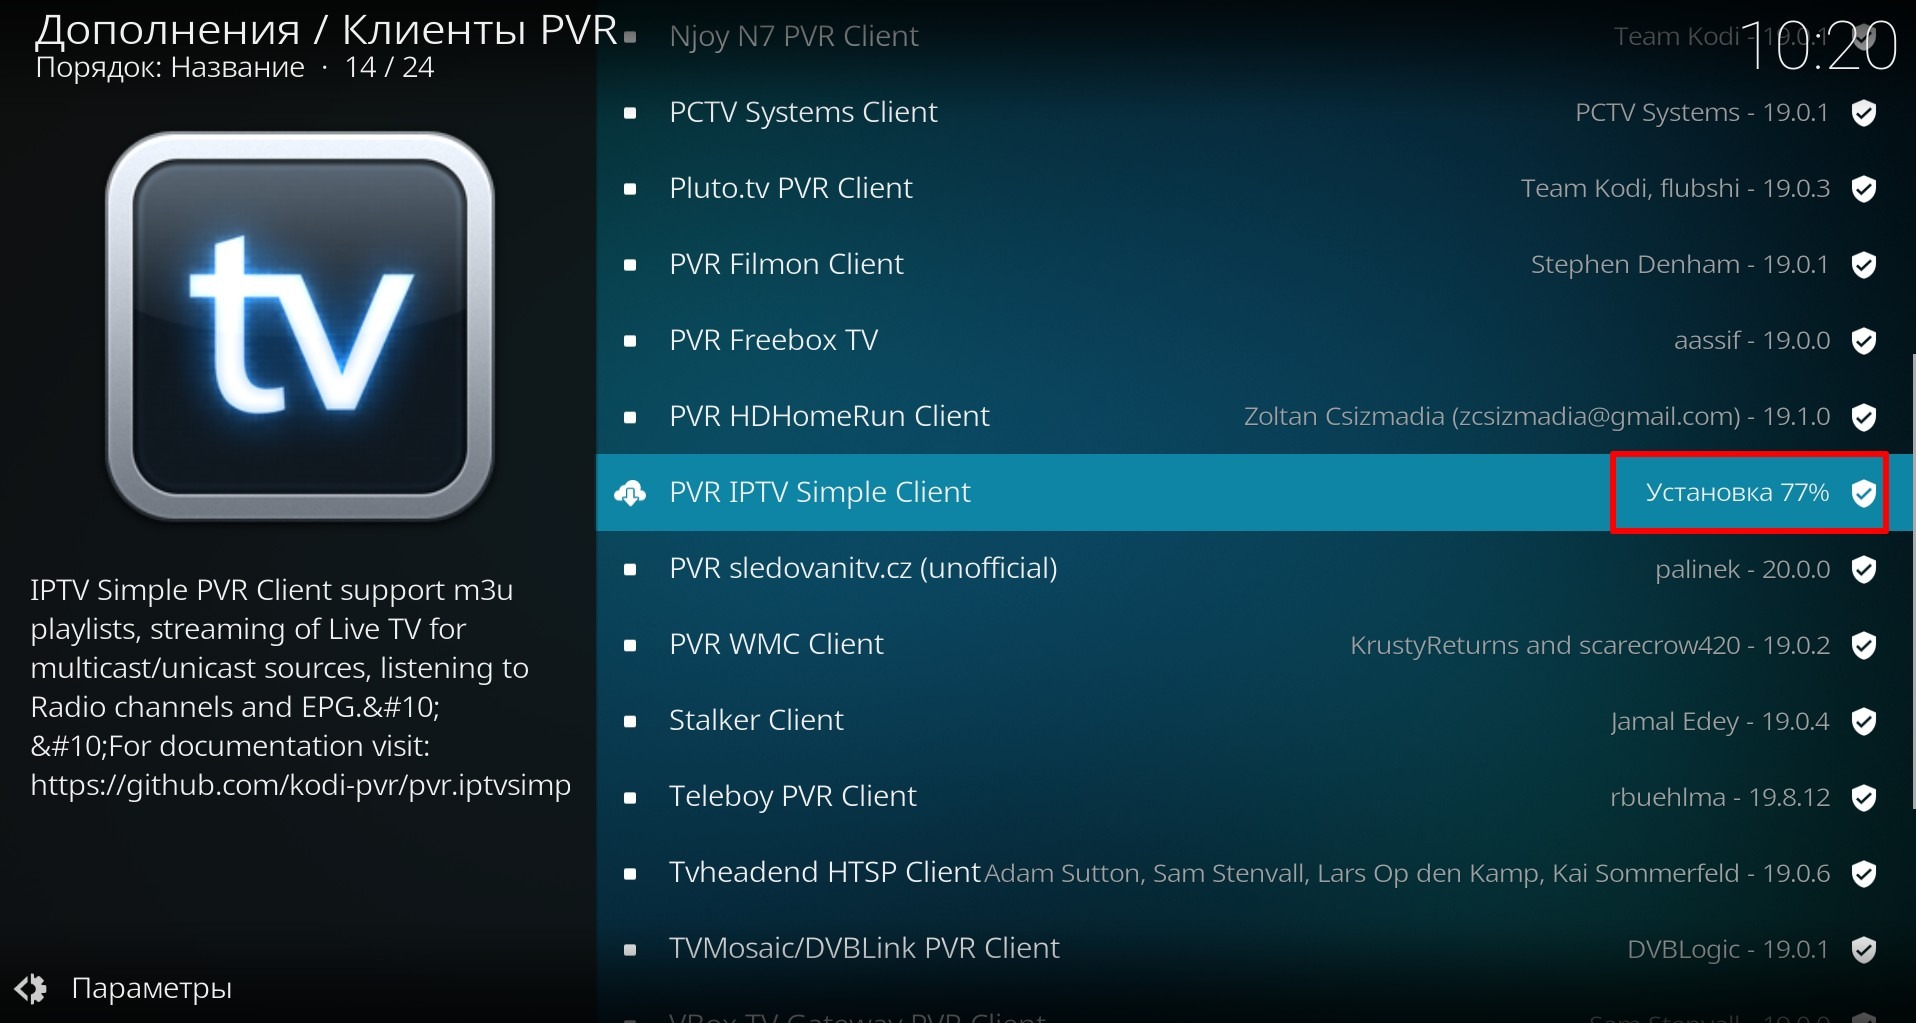
wait for the client to install.
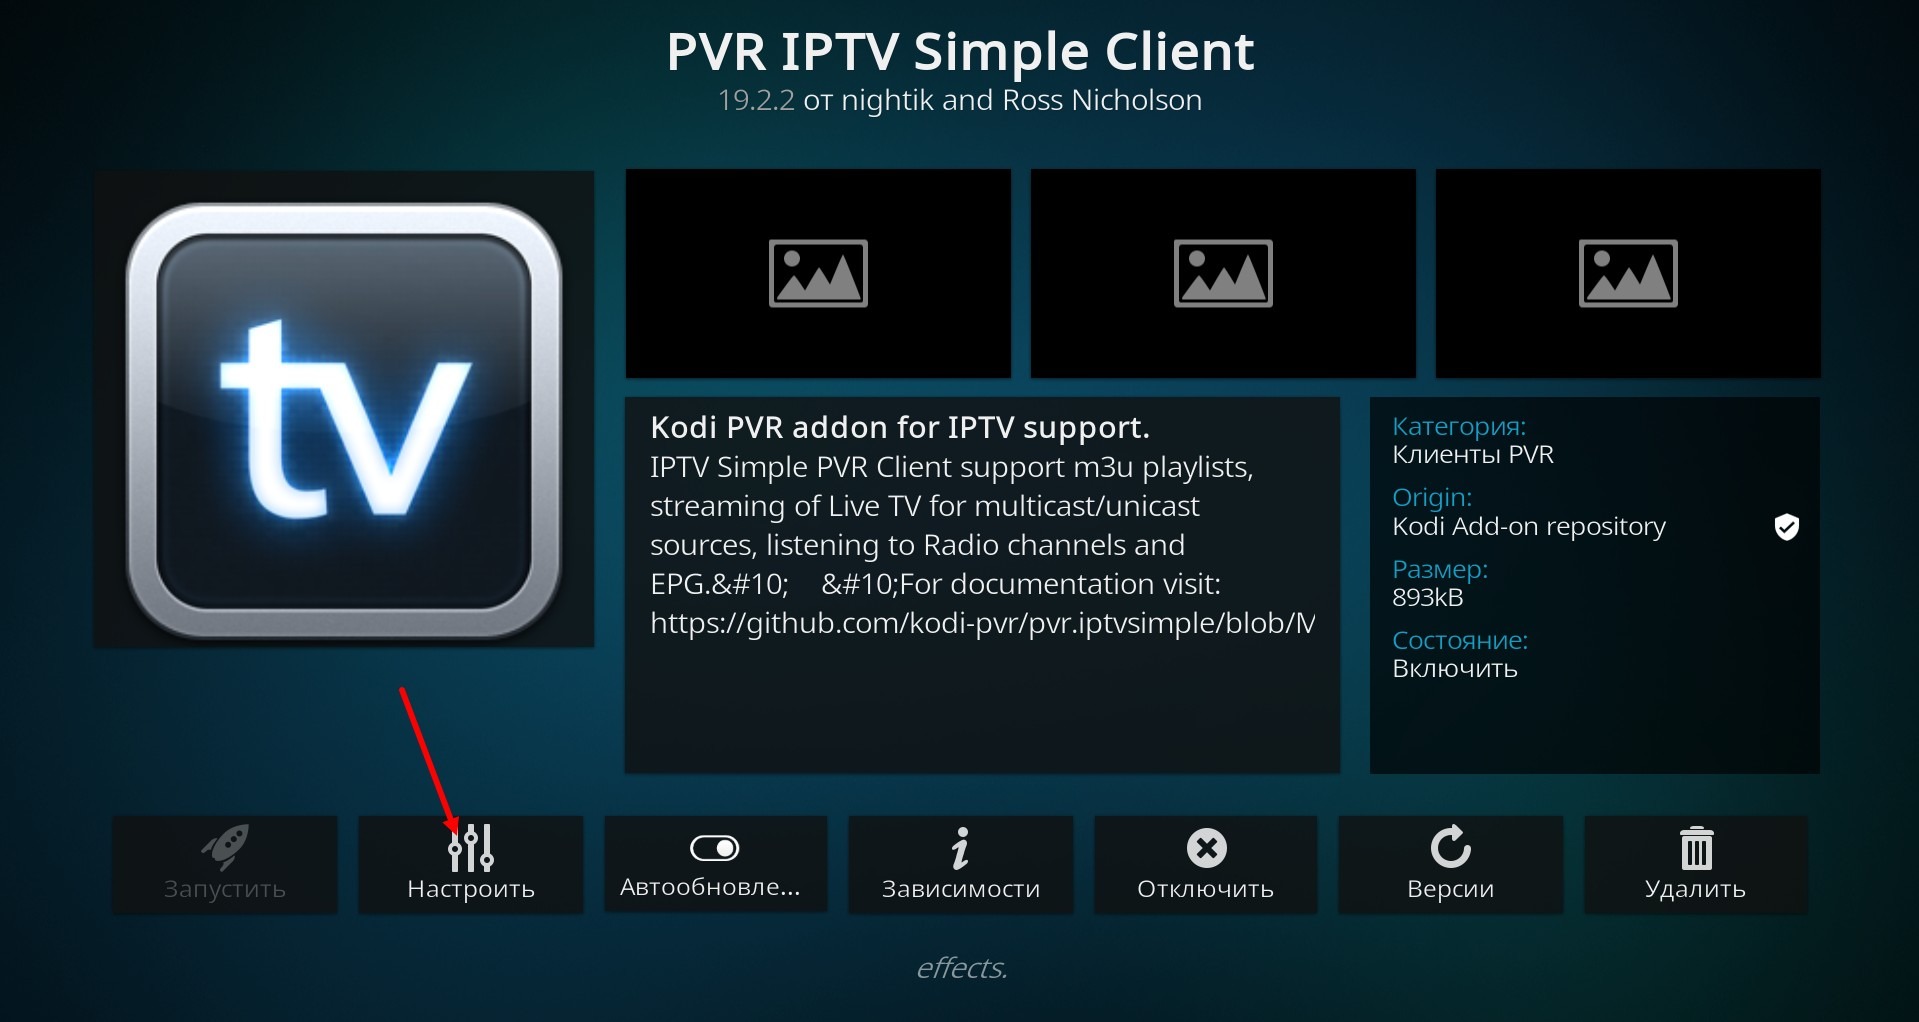
The PVR client has been installed, let's start configuring it.

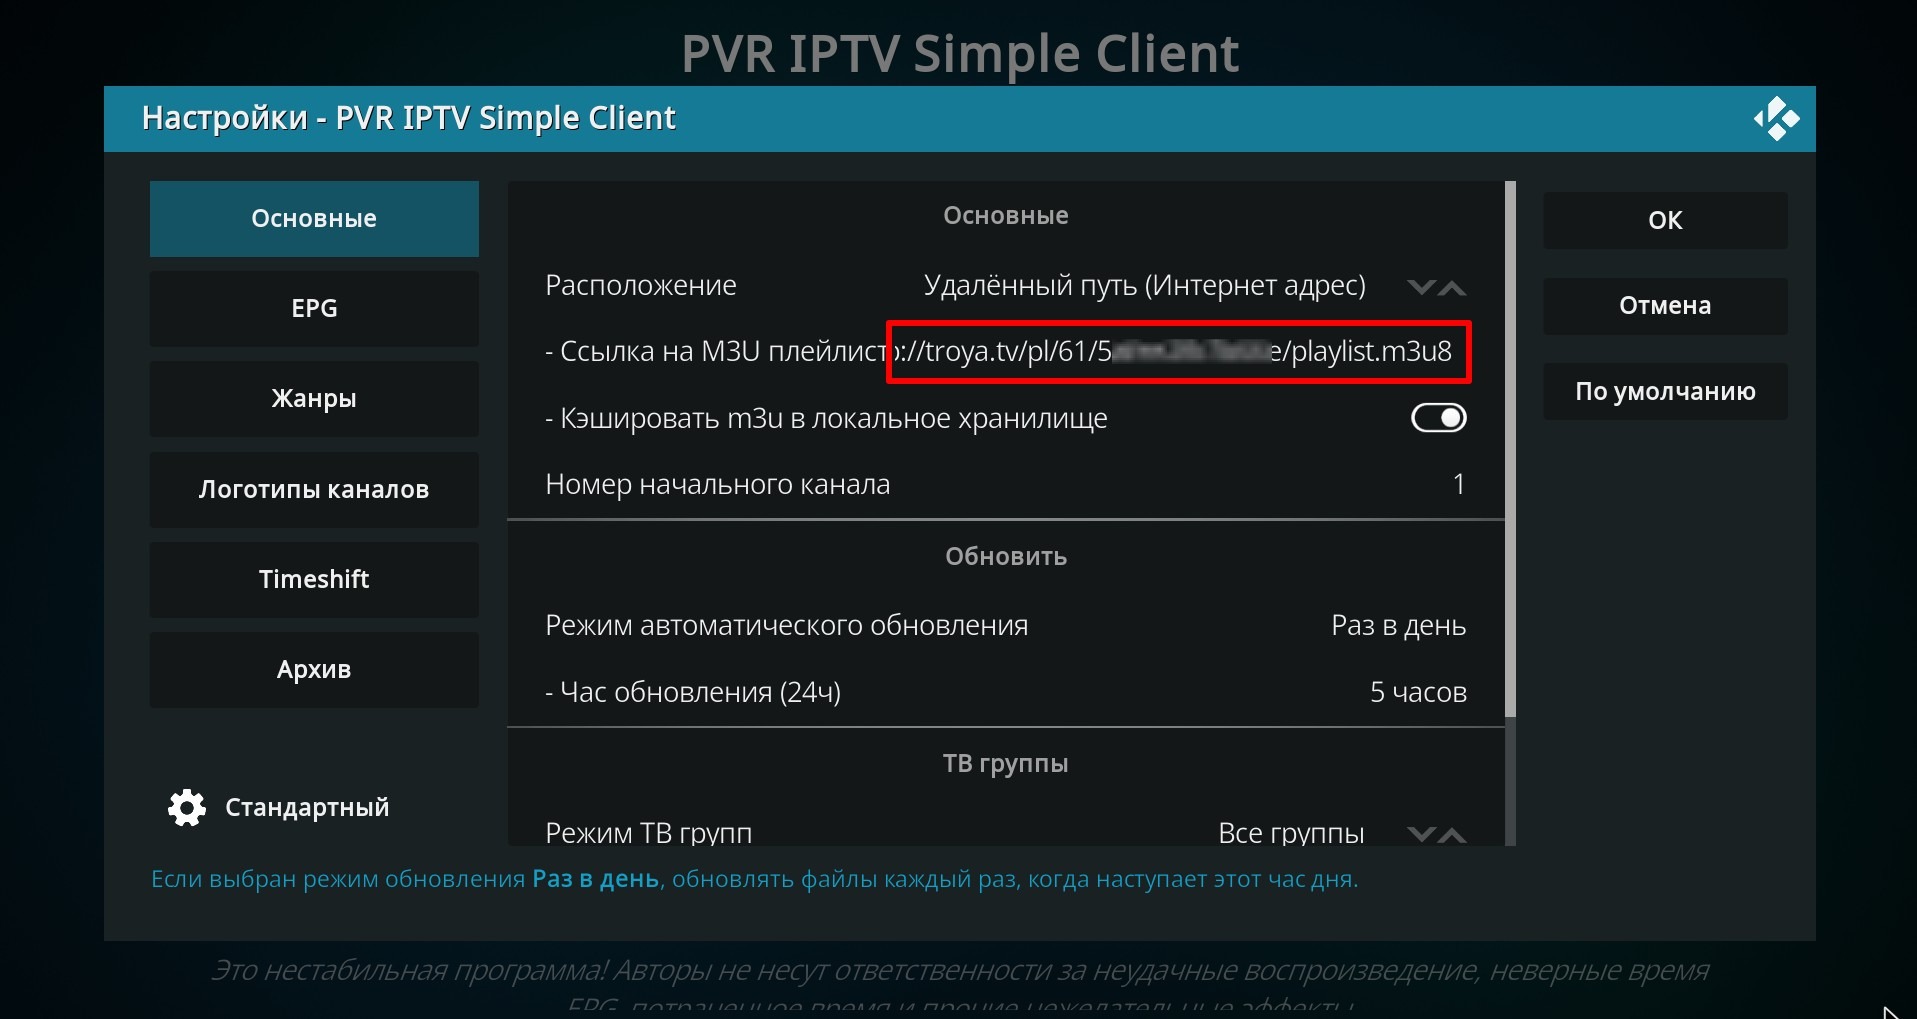
In the Basic menu, check the Location item (it should be as shown on the screenshot) and in the box pointed to by the arrow, enter the playlist address (playlist link) of Kodi.
Here 6.1 Where to get a playlist? Where to get a playlist link? you can read about where to get a playlist link (playlist address).
And in the window that opens, enter the playlist address. Press OK to save.
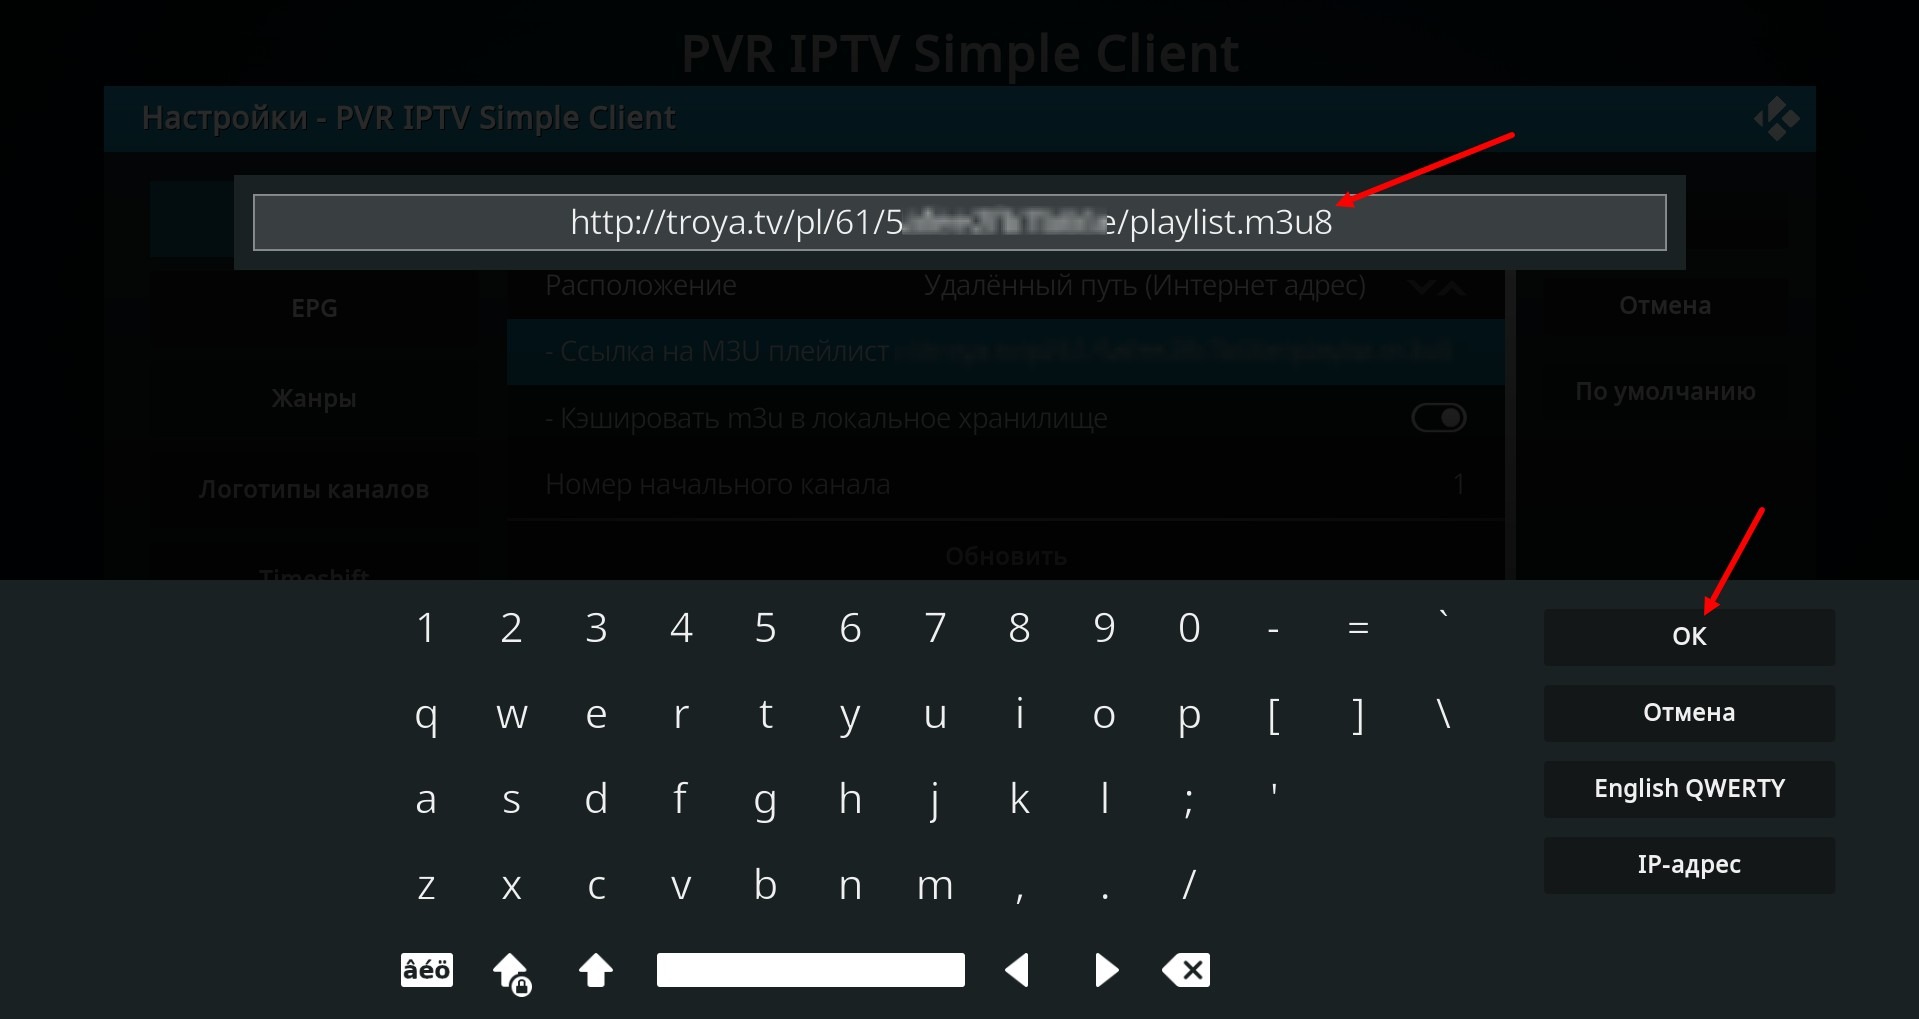
You can see that the link is entered in the corresponding window.
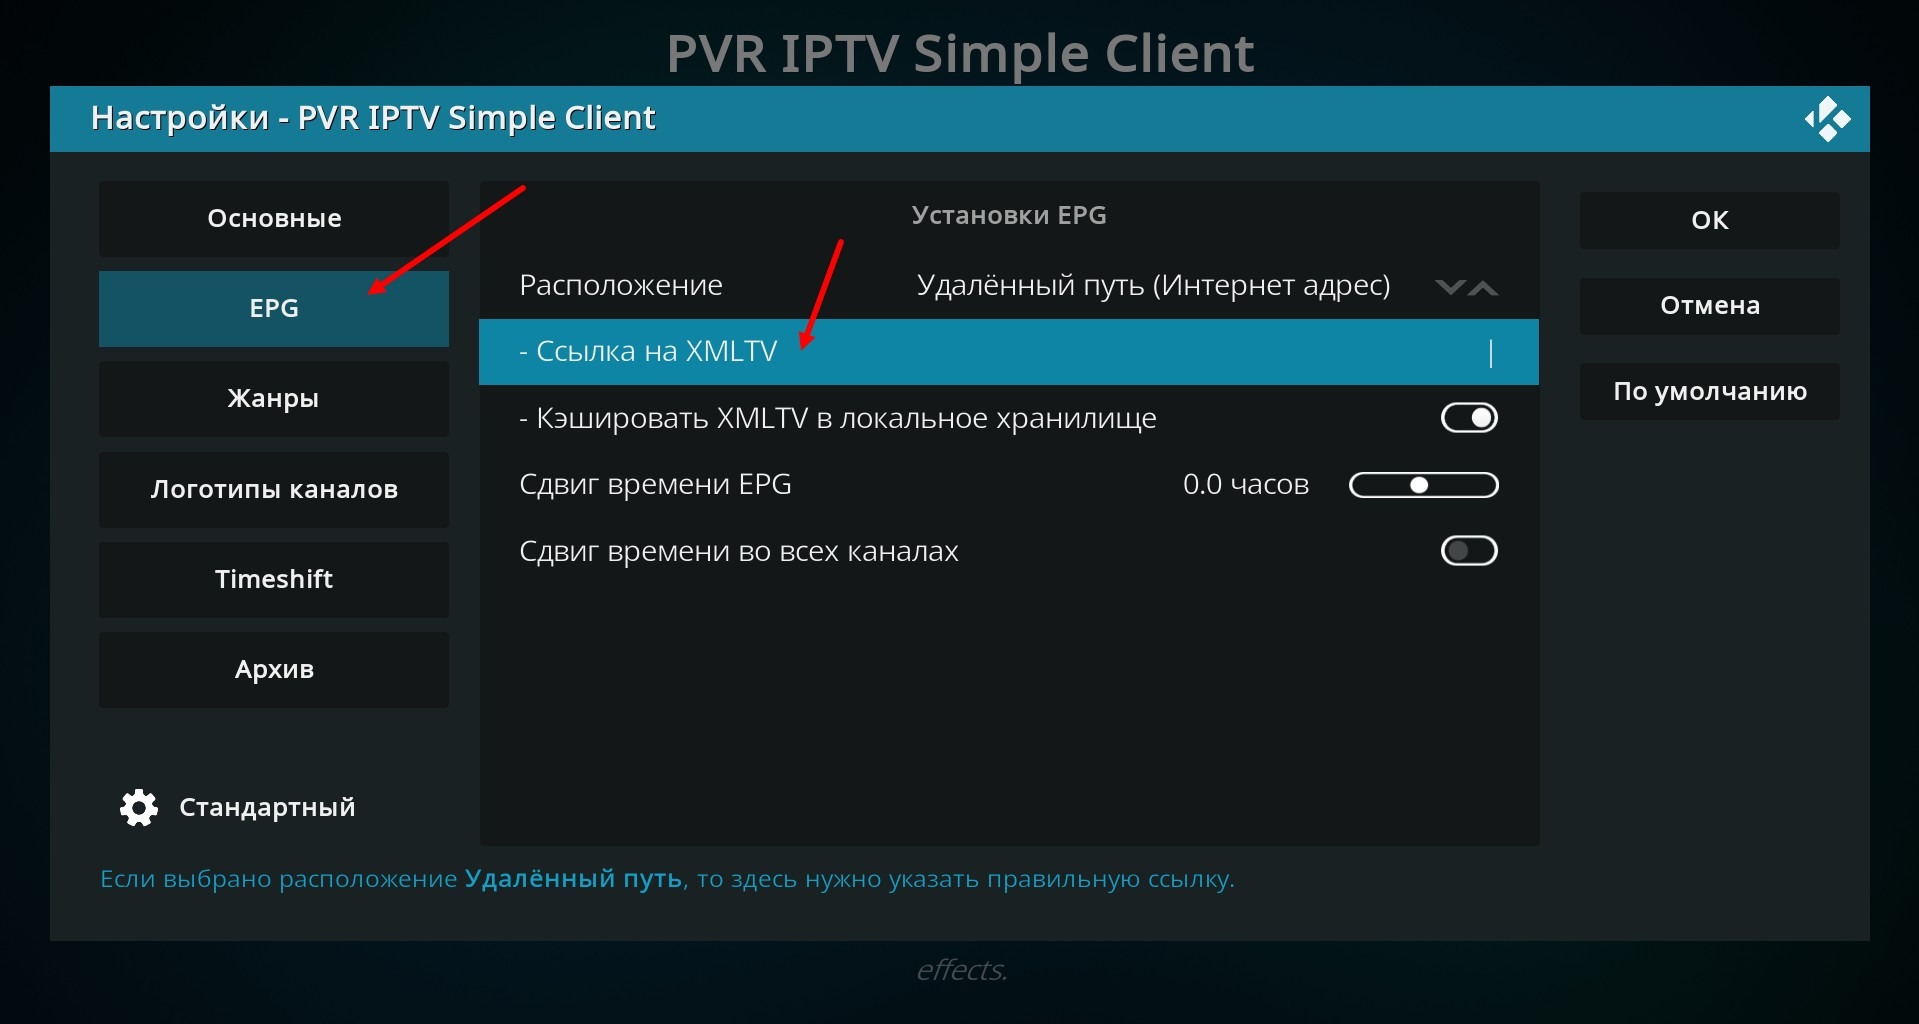
Move on to the EPG settings, make sure once again that the EPG location Remote path (Internet address) is selected in the relevant window, if not, do as in the picture below and click on the window below, where it says XMLTV link
In the window that opens, enter the EPG link taken from your personal account, for example as shown in the picture below. Press OK.
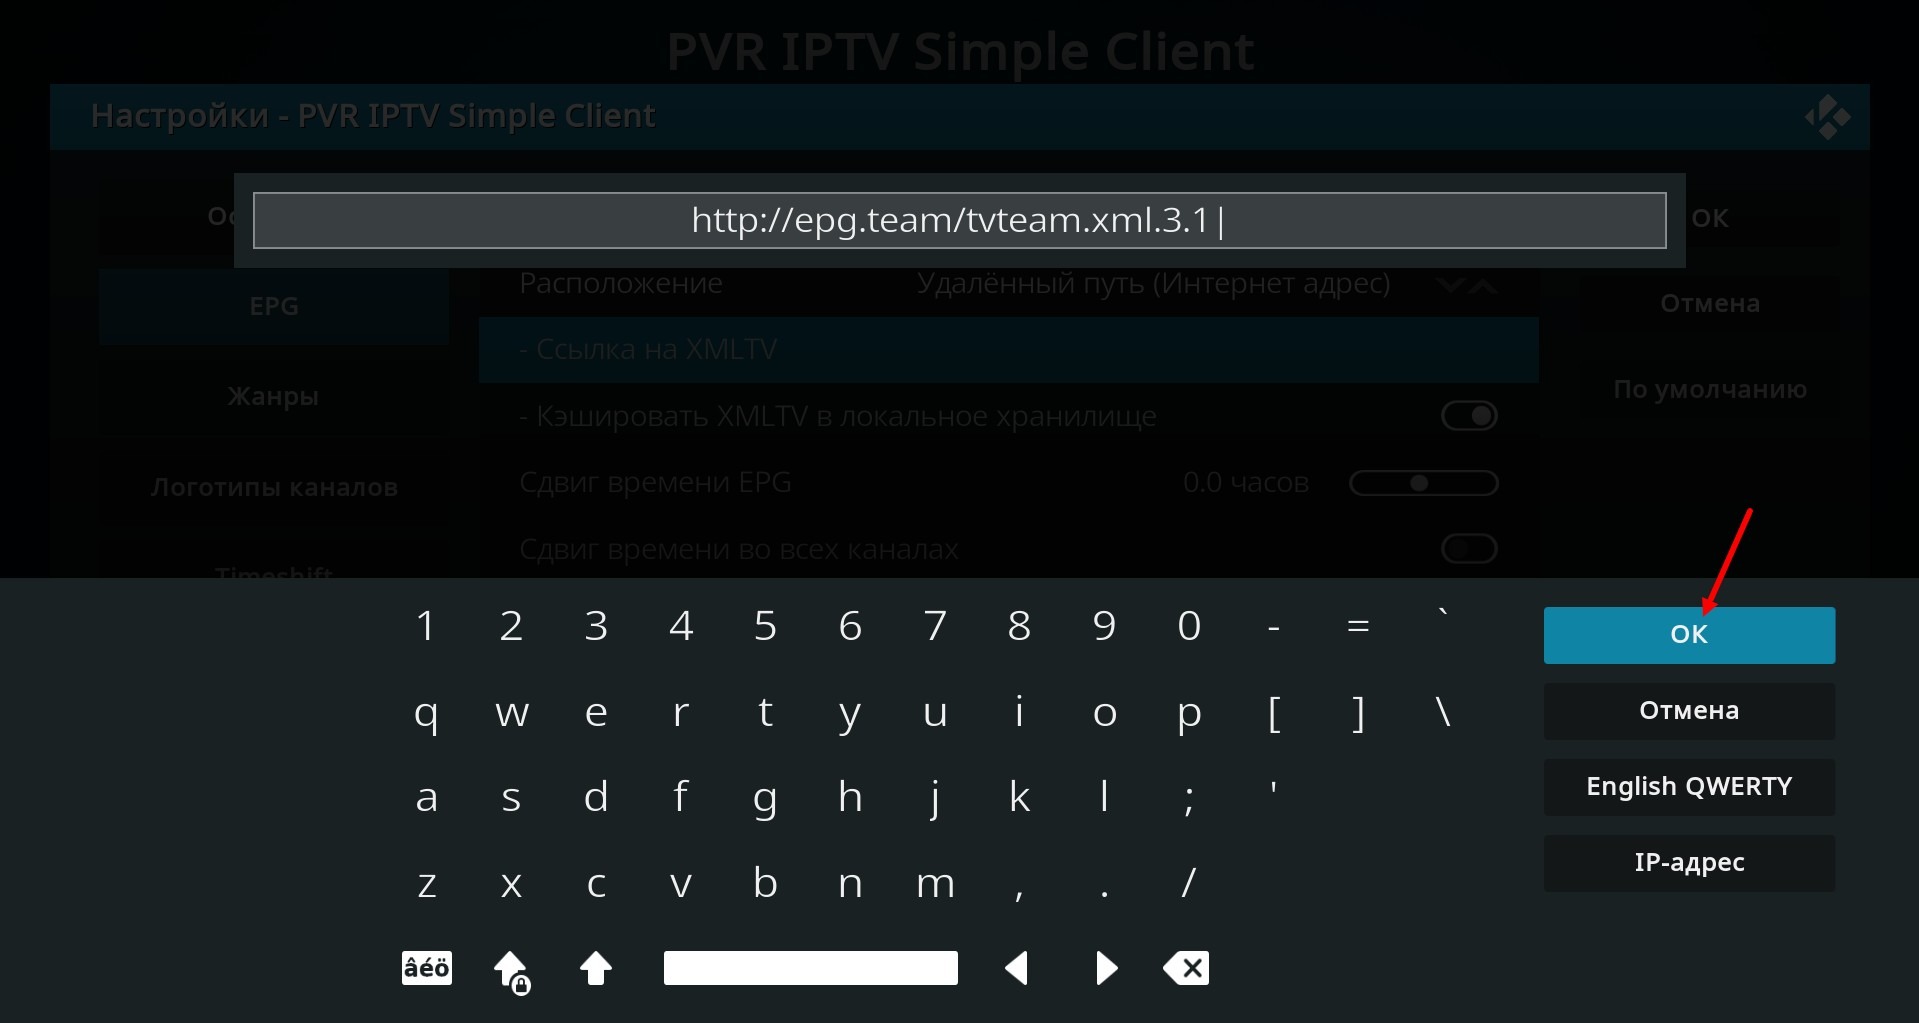
Here you can find out where to get the EPG link 3.1 Where to get a TV program (EPG)? Why is there no EPG displayed?
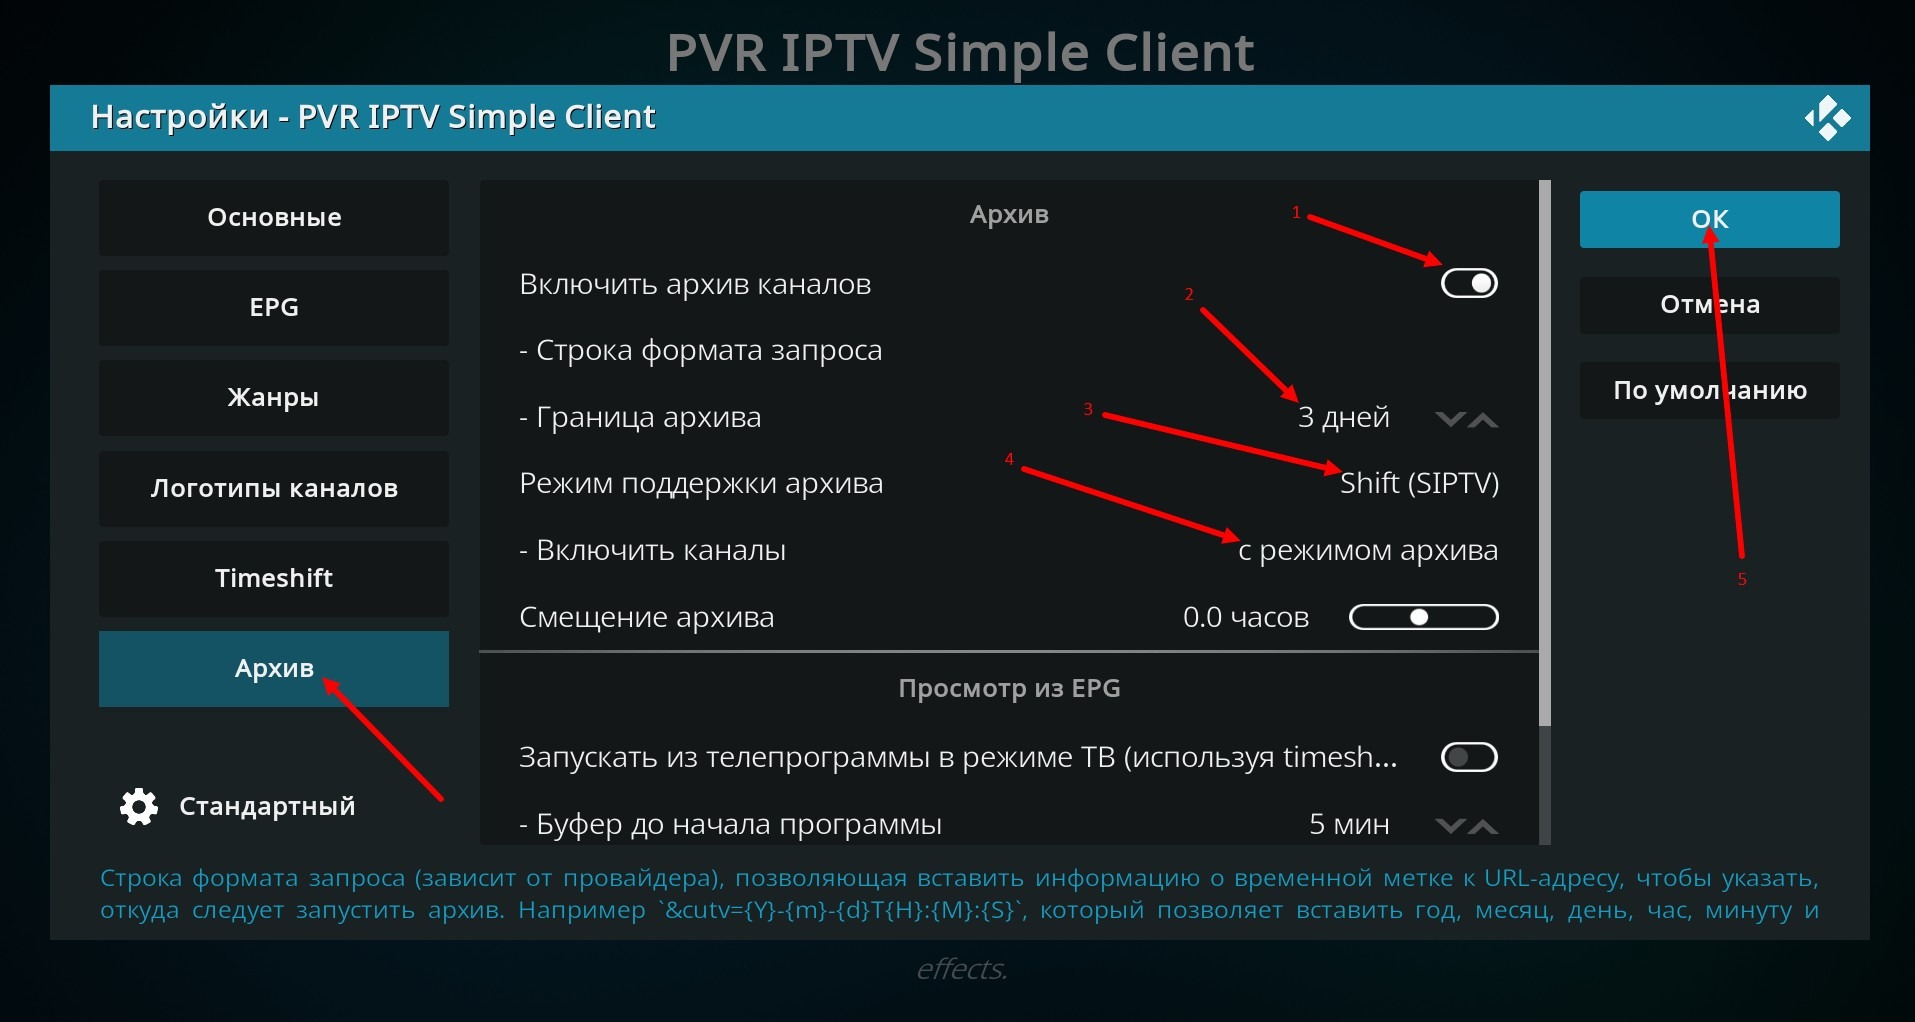
Move on to the archive settings (if you don't see the "Archive" menu item in your settings, try scrolling down in this menu, maybe this item is just hidden beyond the window), enable the use of the archive (1), set the archive limit (2) according to the information indicated in the EPG (mine is set to 3 days), select the archive support mode Shift (SIPTV) (3), choose to enable channels with archive mode (4) and press OK (5).
You can check the presence of the archive and its duration on each channel on the service's starting page https://tvteam.eu/ in the Tariffs section, the red circle in the lower right corner of the channel icon indicates the presence of the archive on it, the number inside the circle - the duration of the archive.
Restart Kodi, for this, exit the application by clicking on the shutdown icon
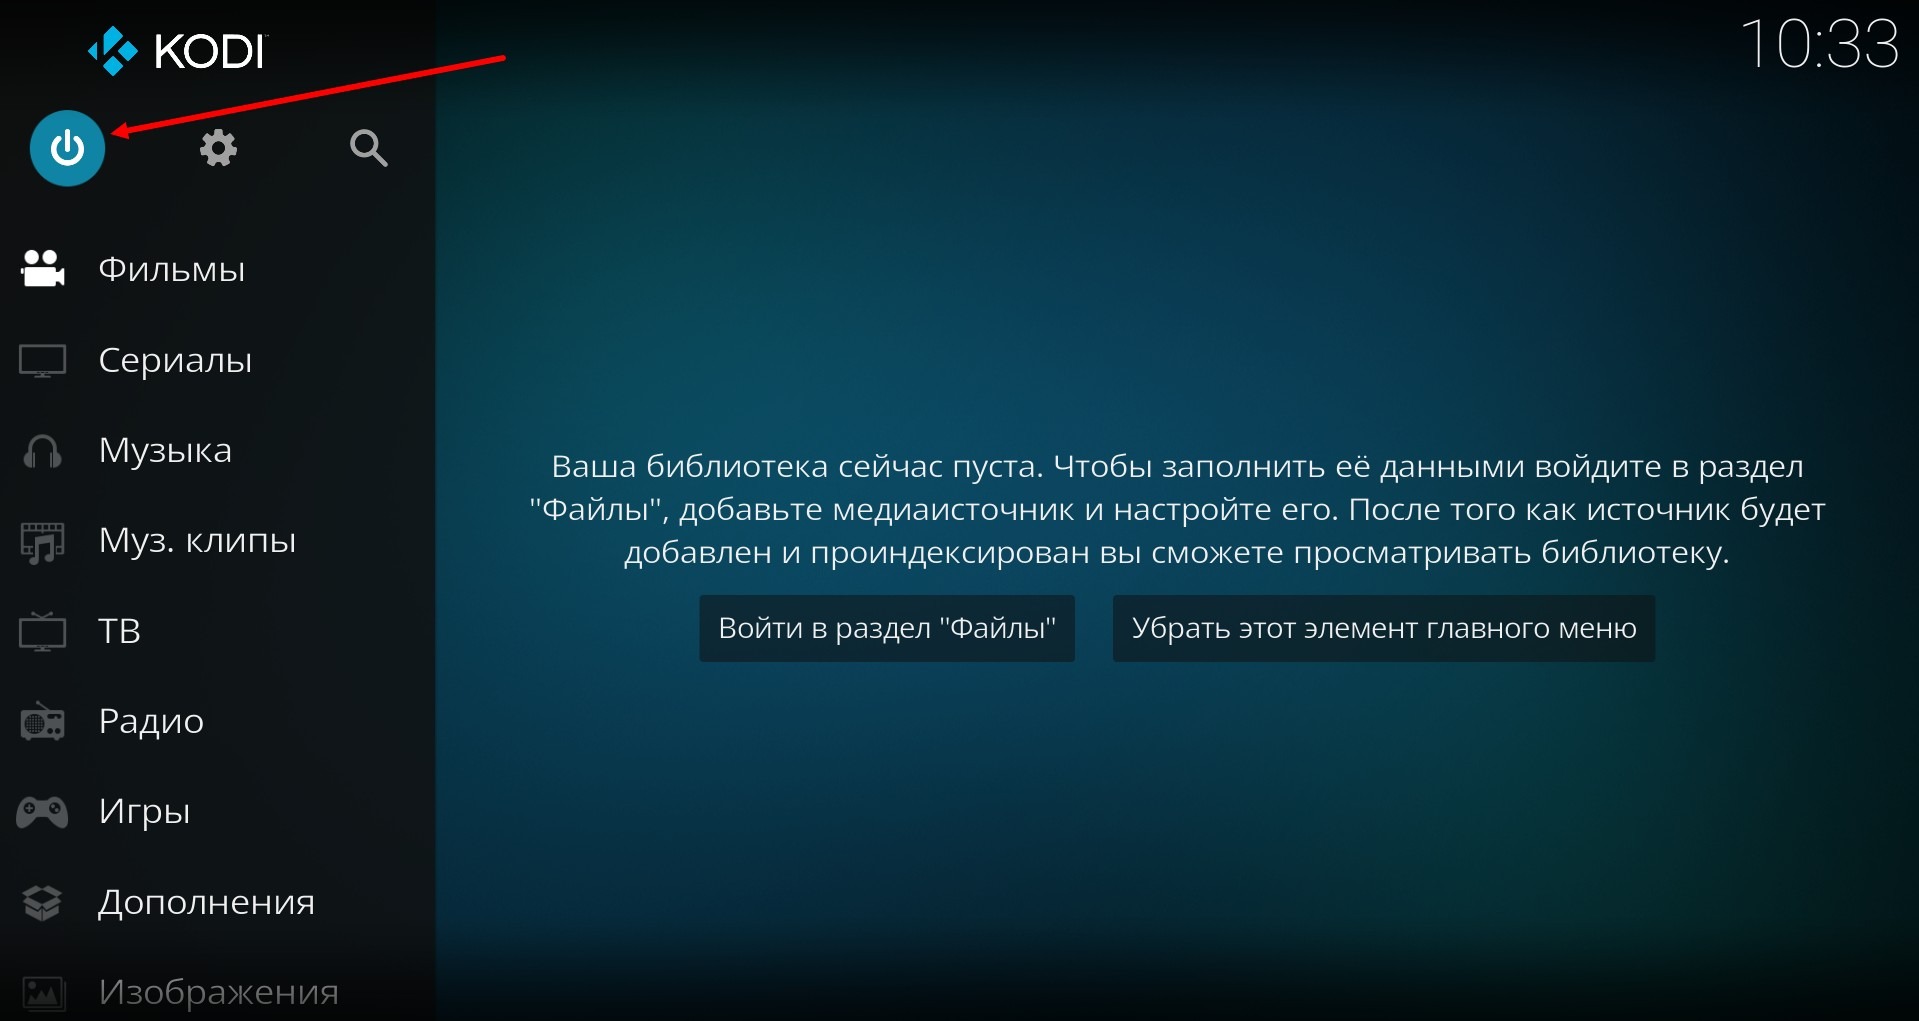
and by pressing the Exit button. Then restart the Kodi application.
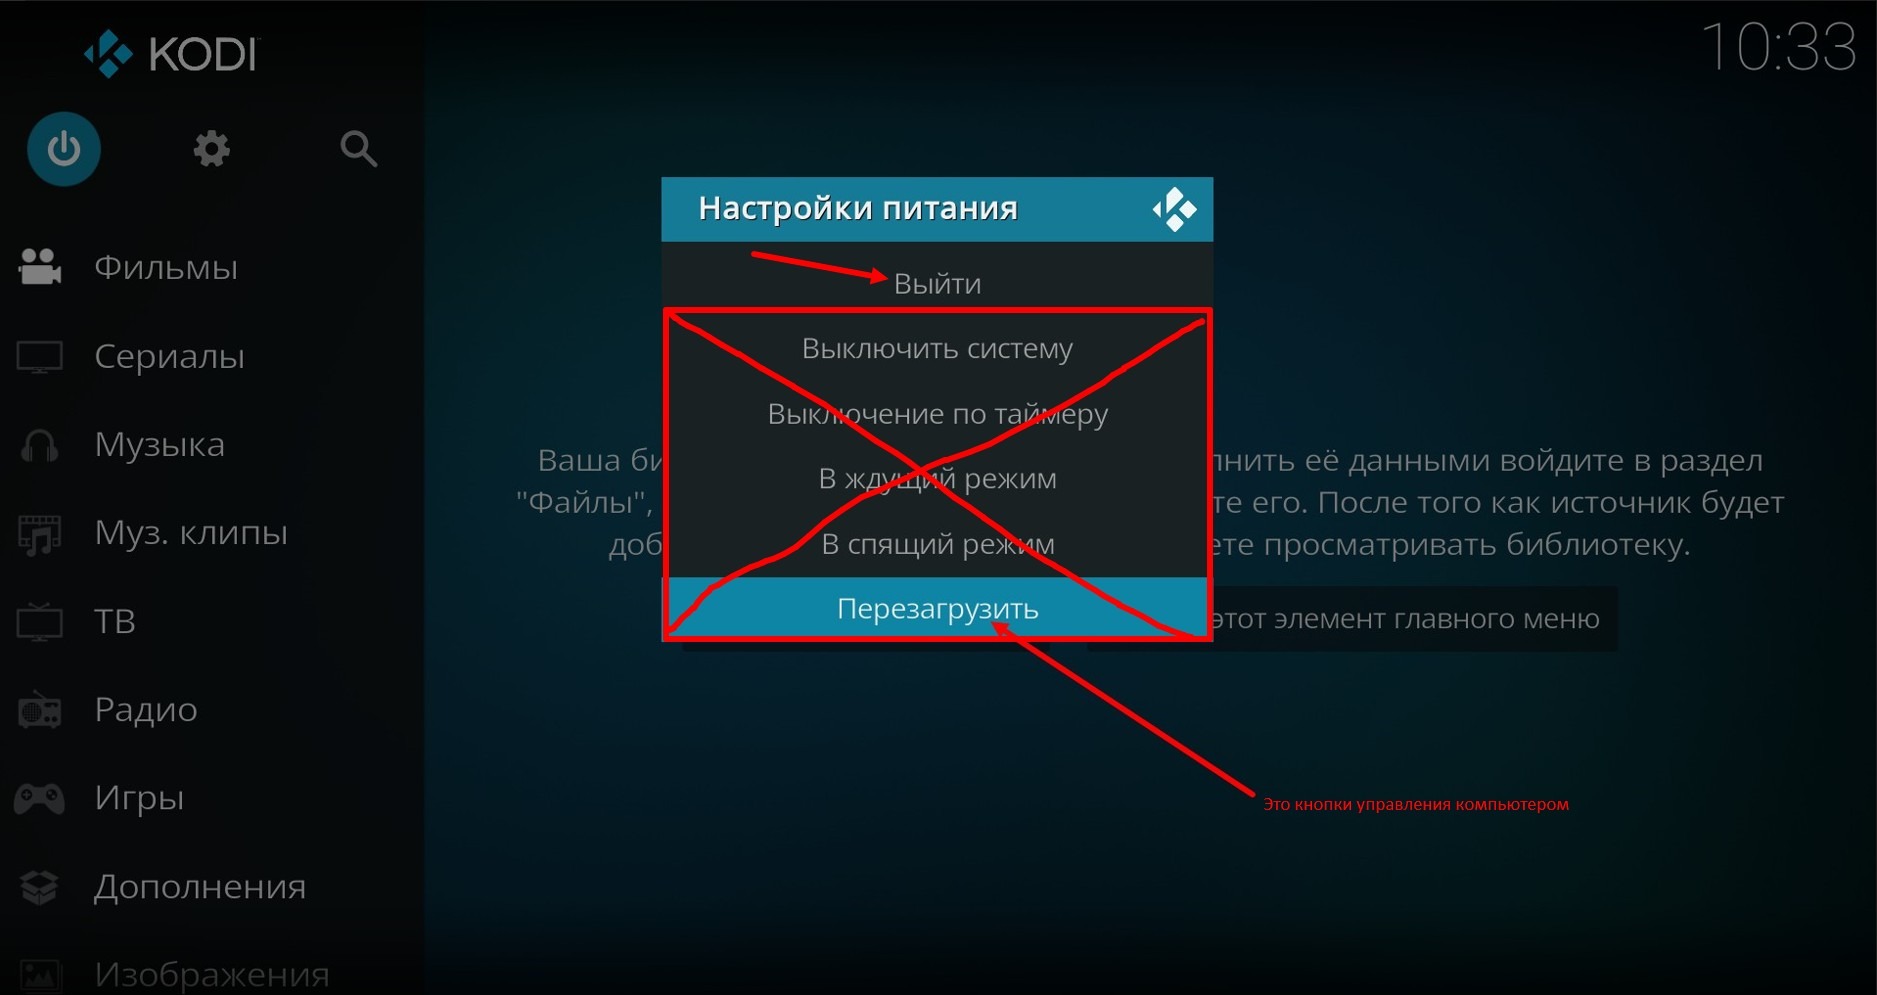
The other buttons are the computer control buttons and if you don't want to accidentally get a shutdown or computer restart, then don't press them.
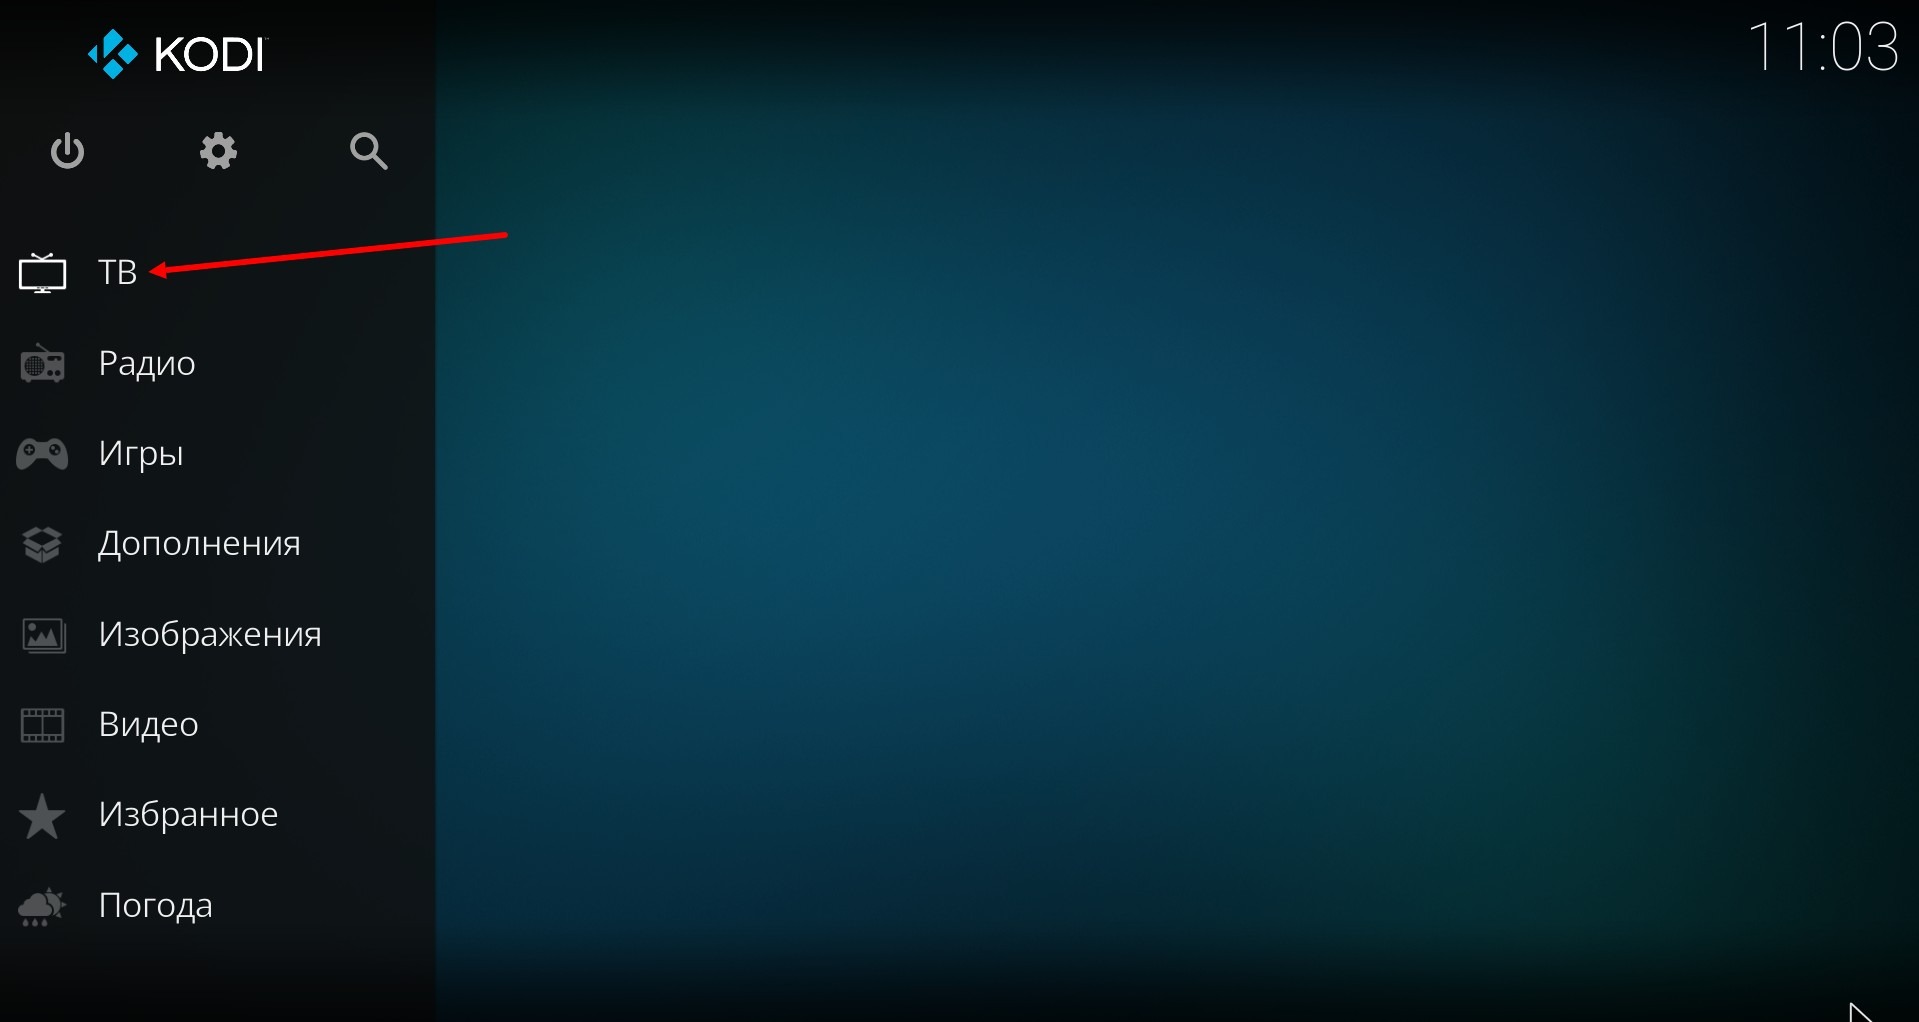
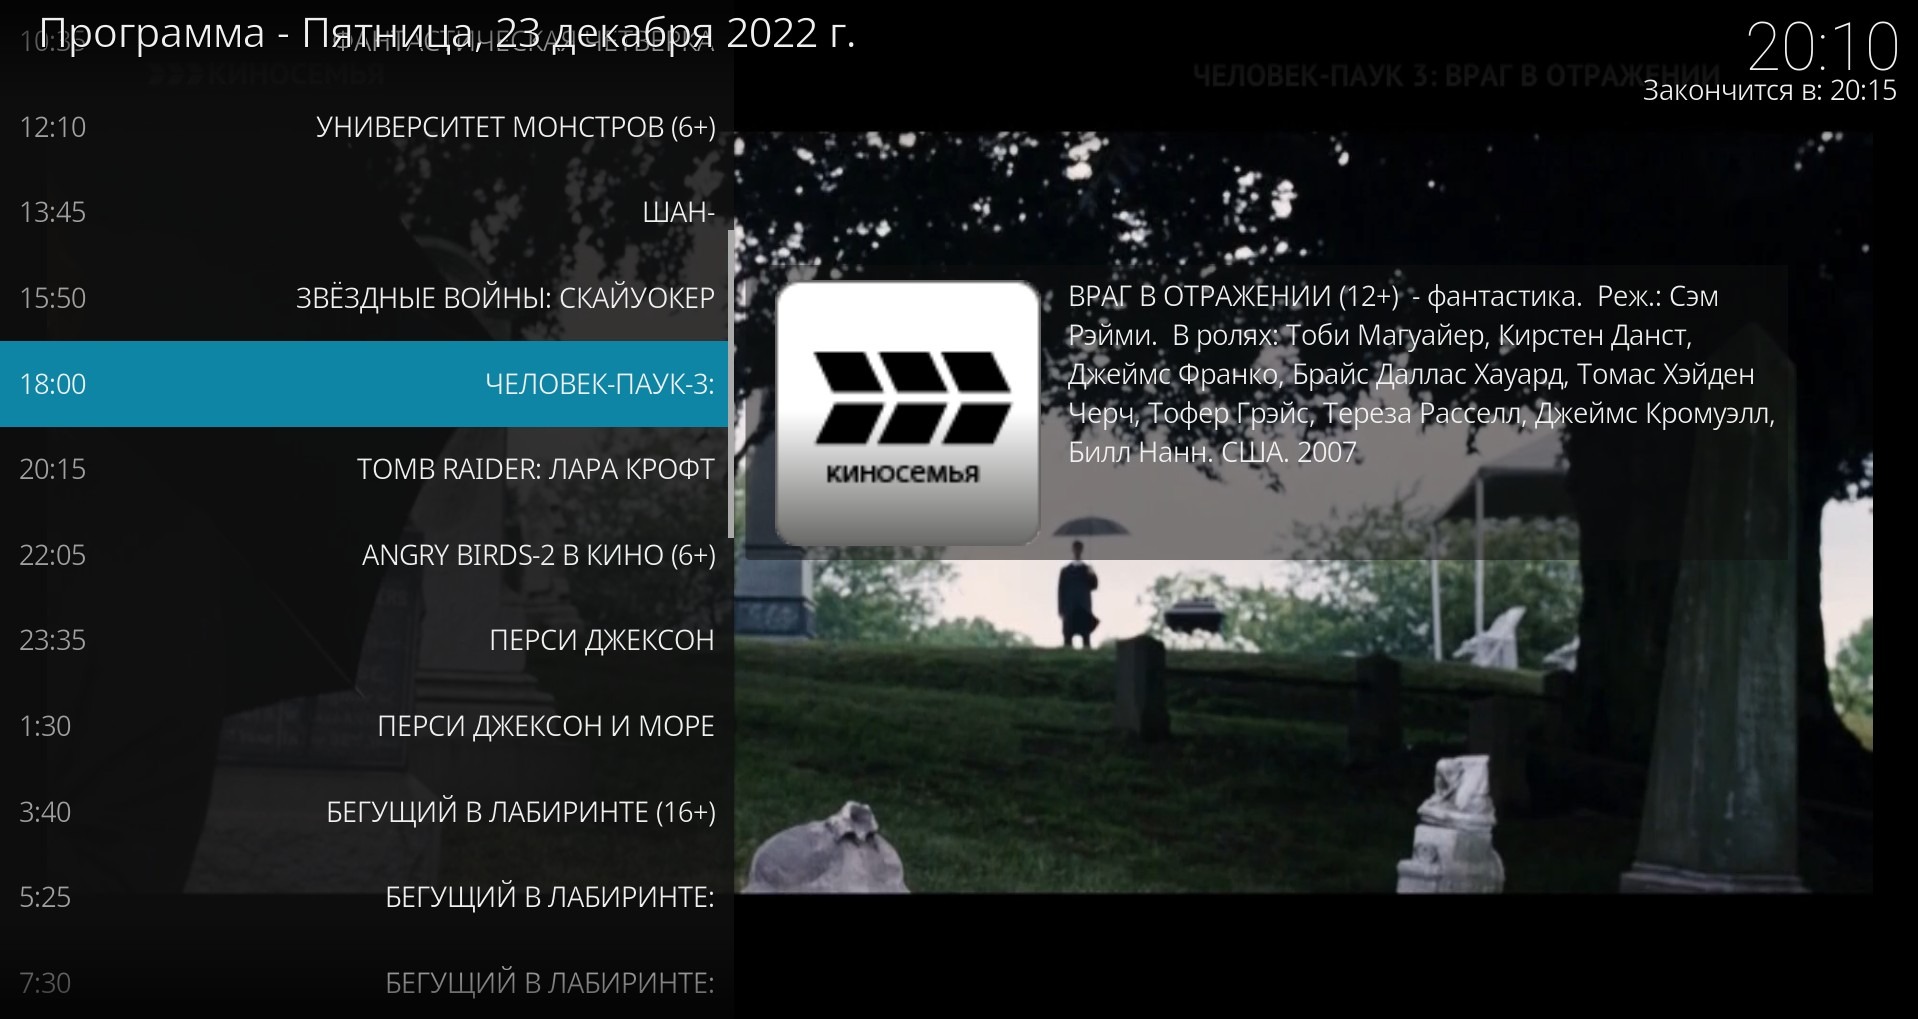
So, the application has launched, press the TV section.
Wait for a while, the client is loading, as well as the channel list and TV program (the information is in the top right corner).
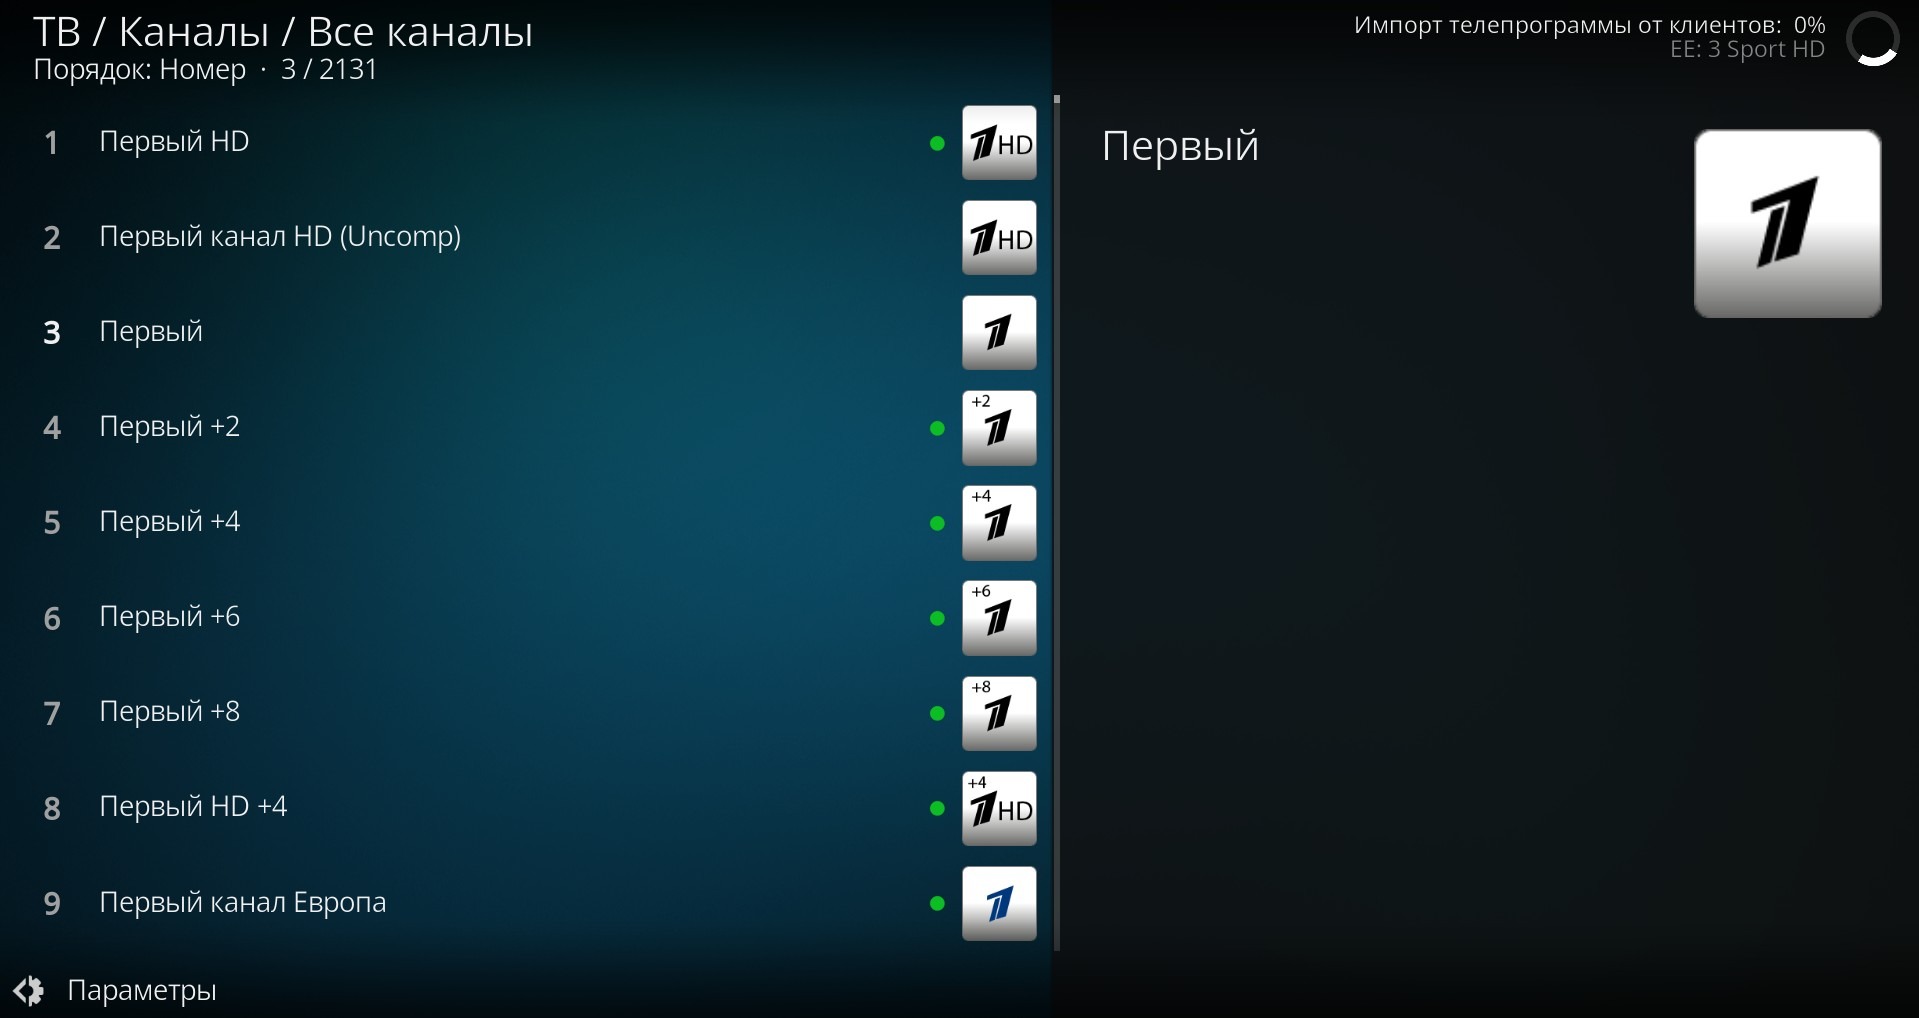
By the way, this loading will take place every time the application is started.
Everything has loaded, you can start watching.
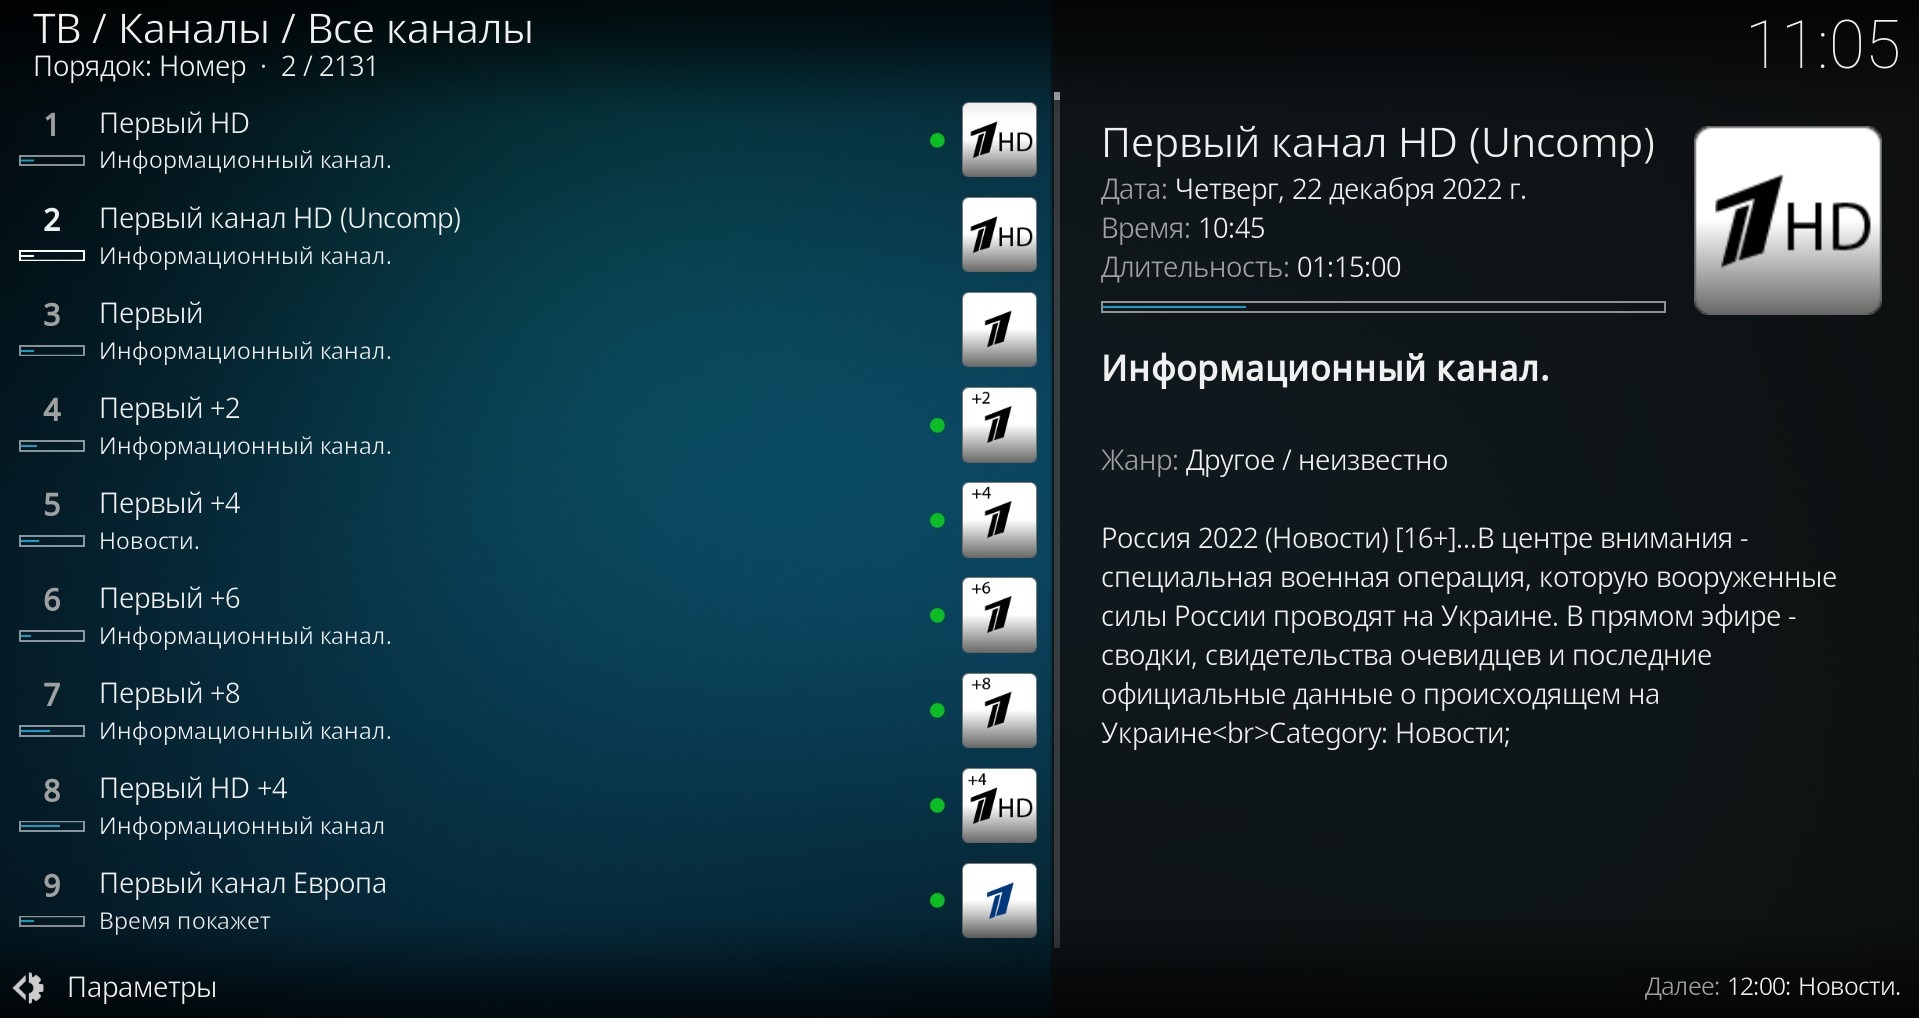
A green circle next to the channel logo means there is archive available on this channel.
To bring up the list of channel categories (groups), point your mouse to the left edge of the application window or press the left button, this menu pops up
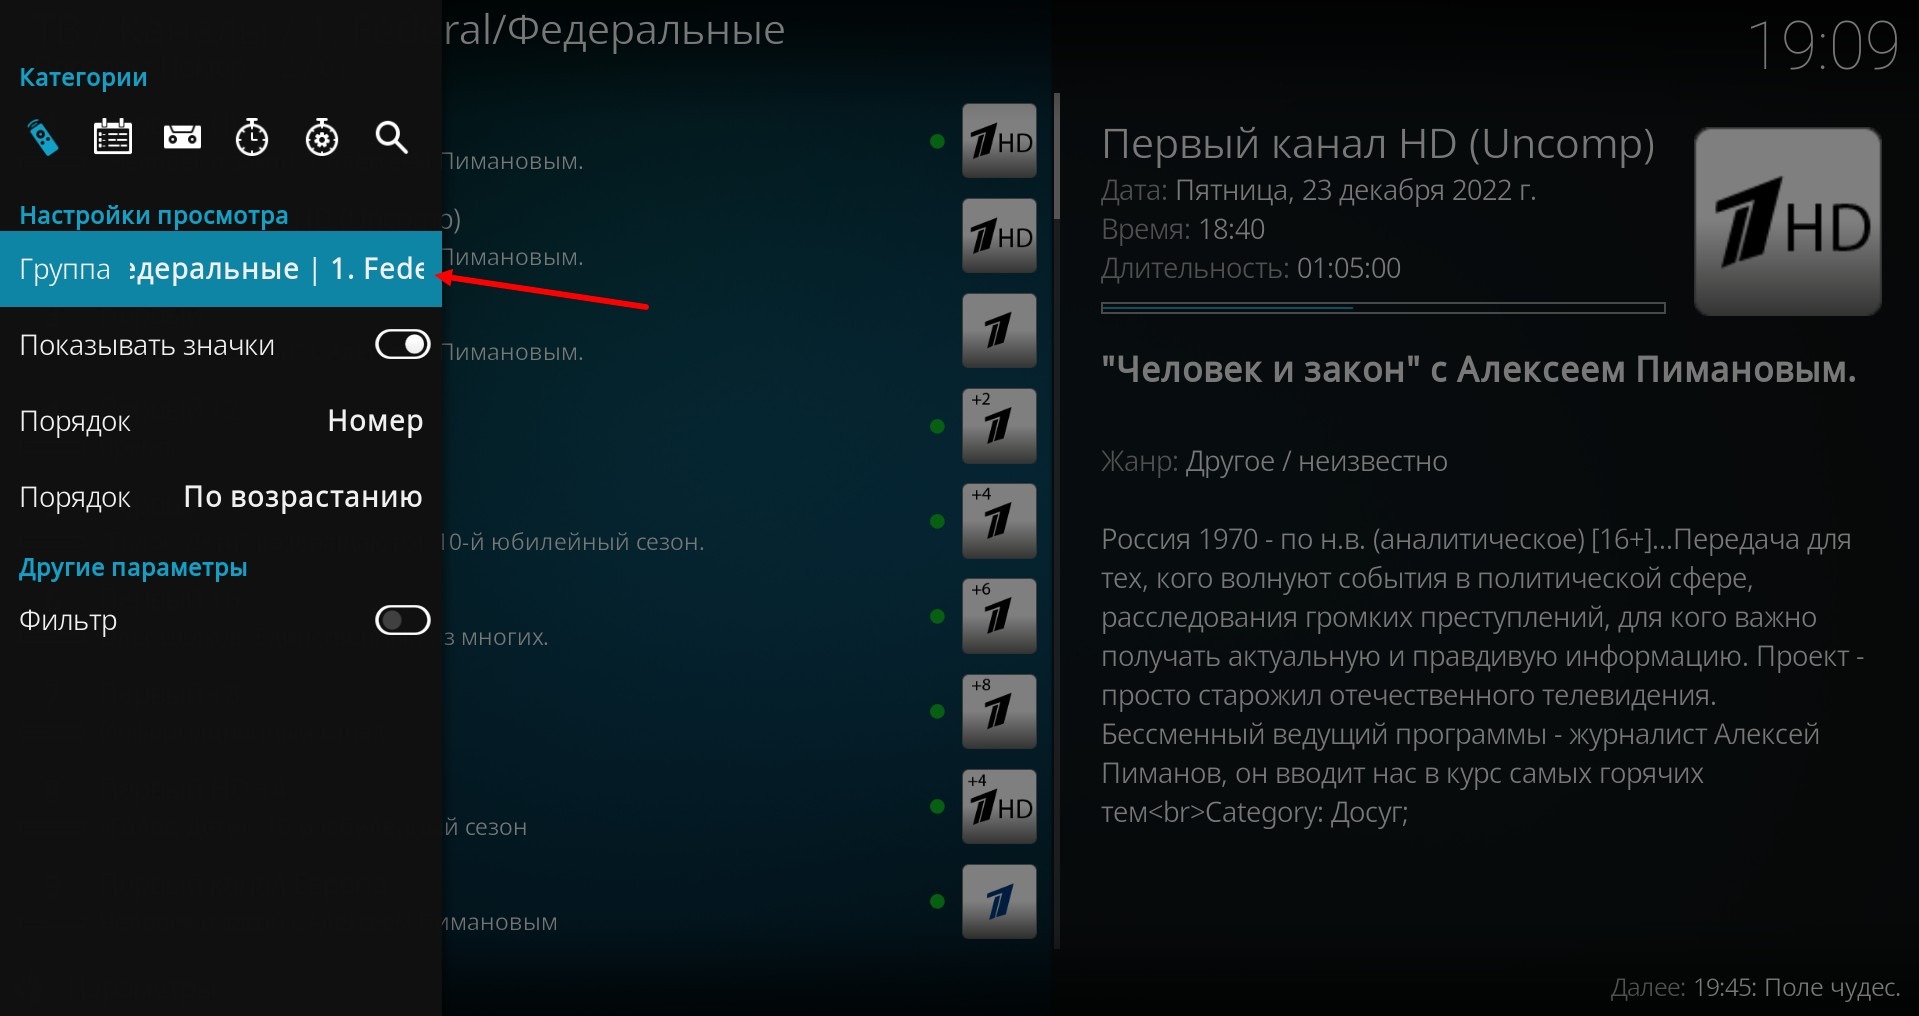
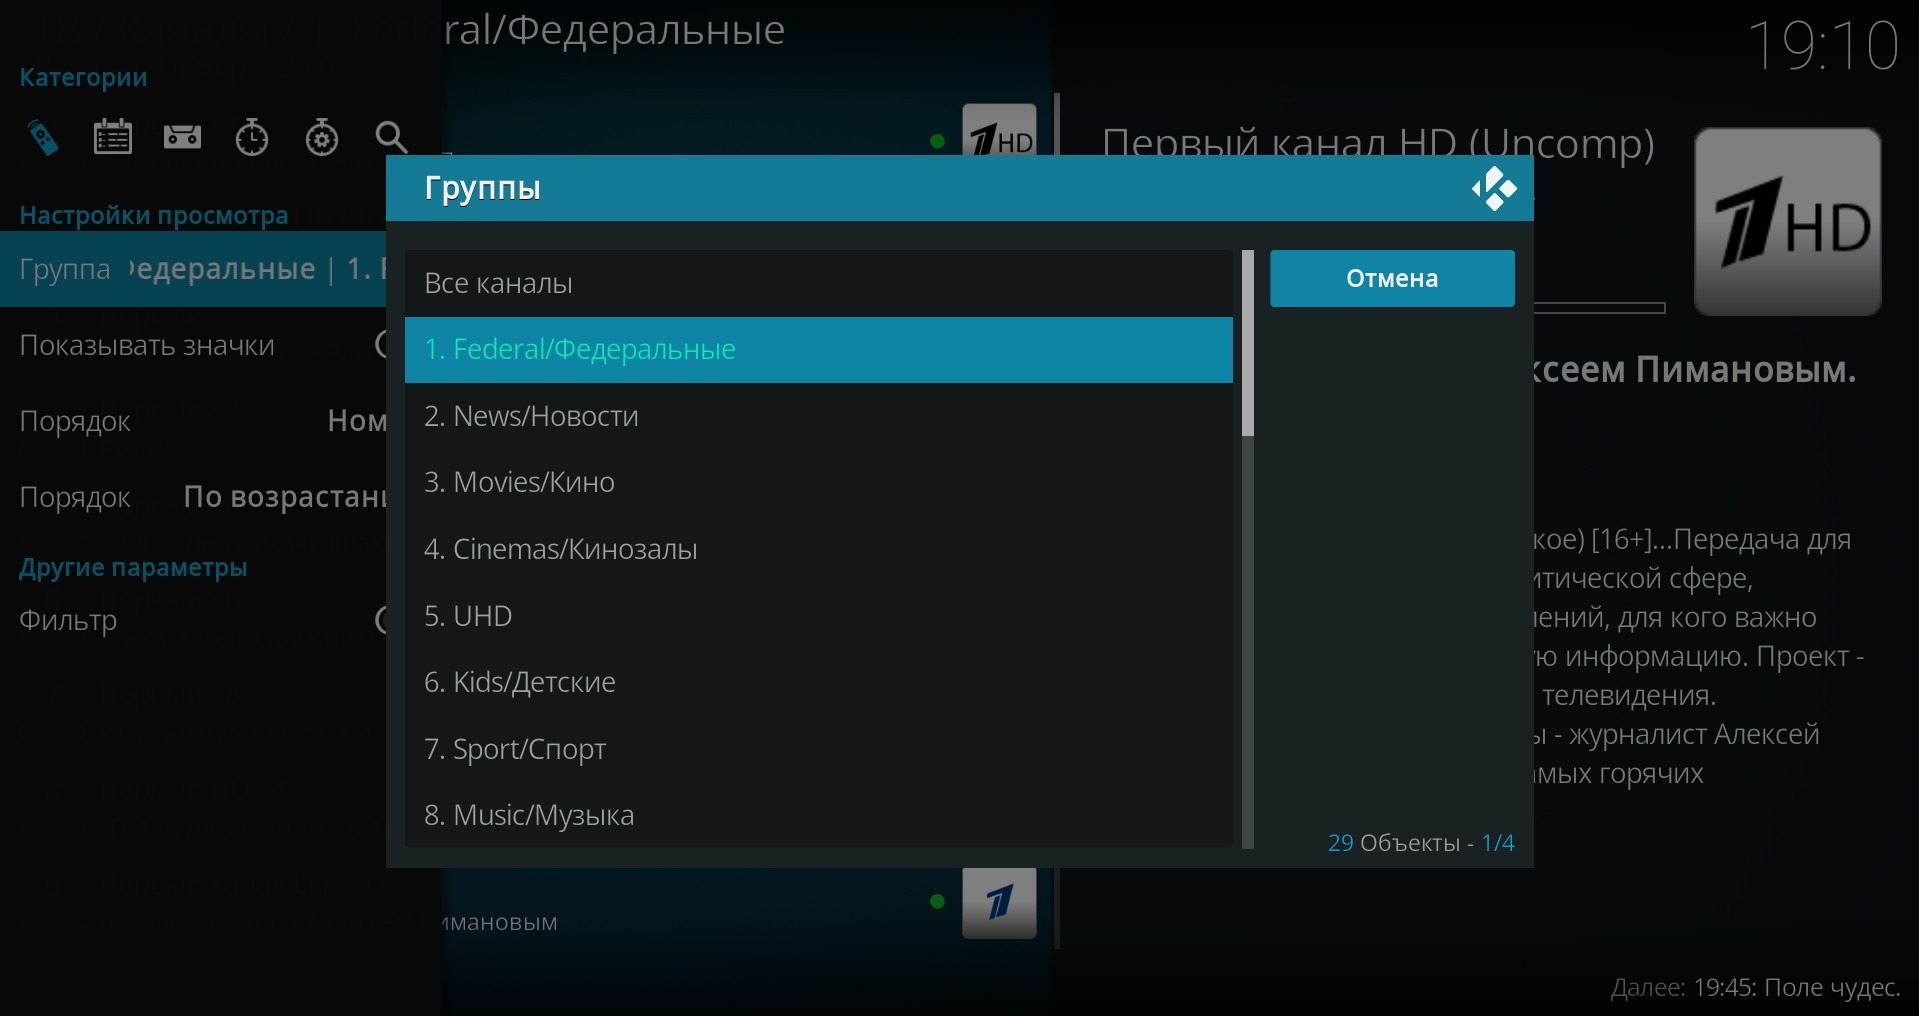
Click on the Group menu item and a window with a list of channel categories appears, select the desired category and a list of channels in this category will open for you.
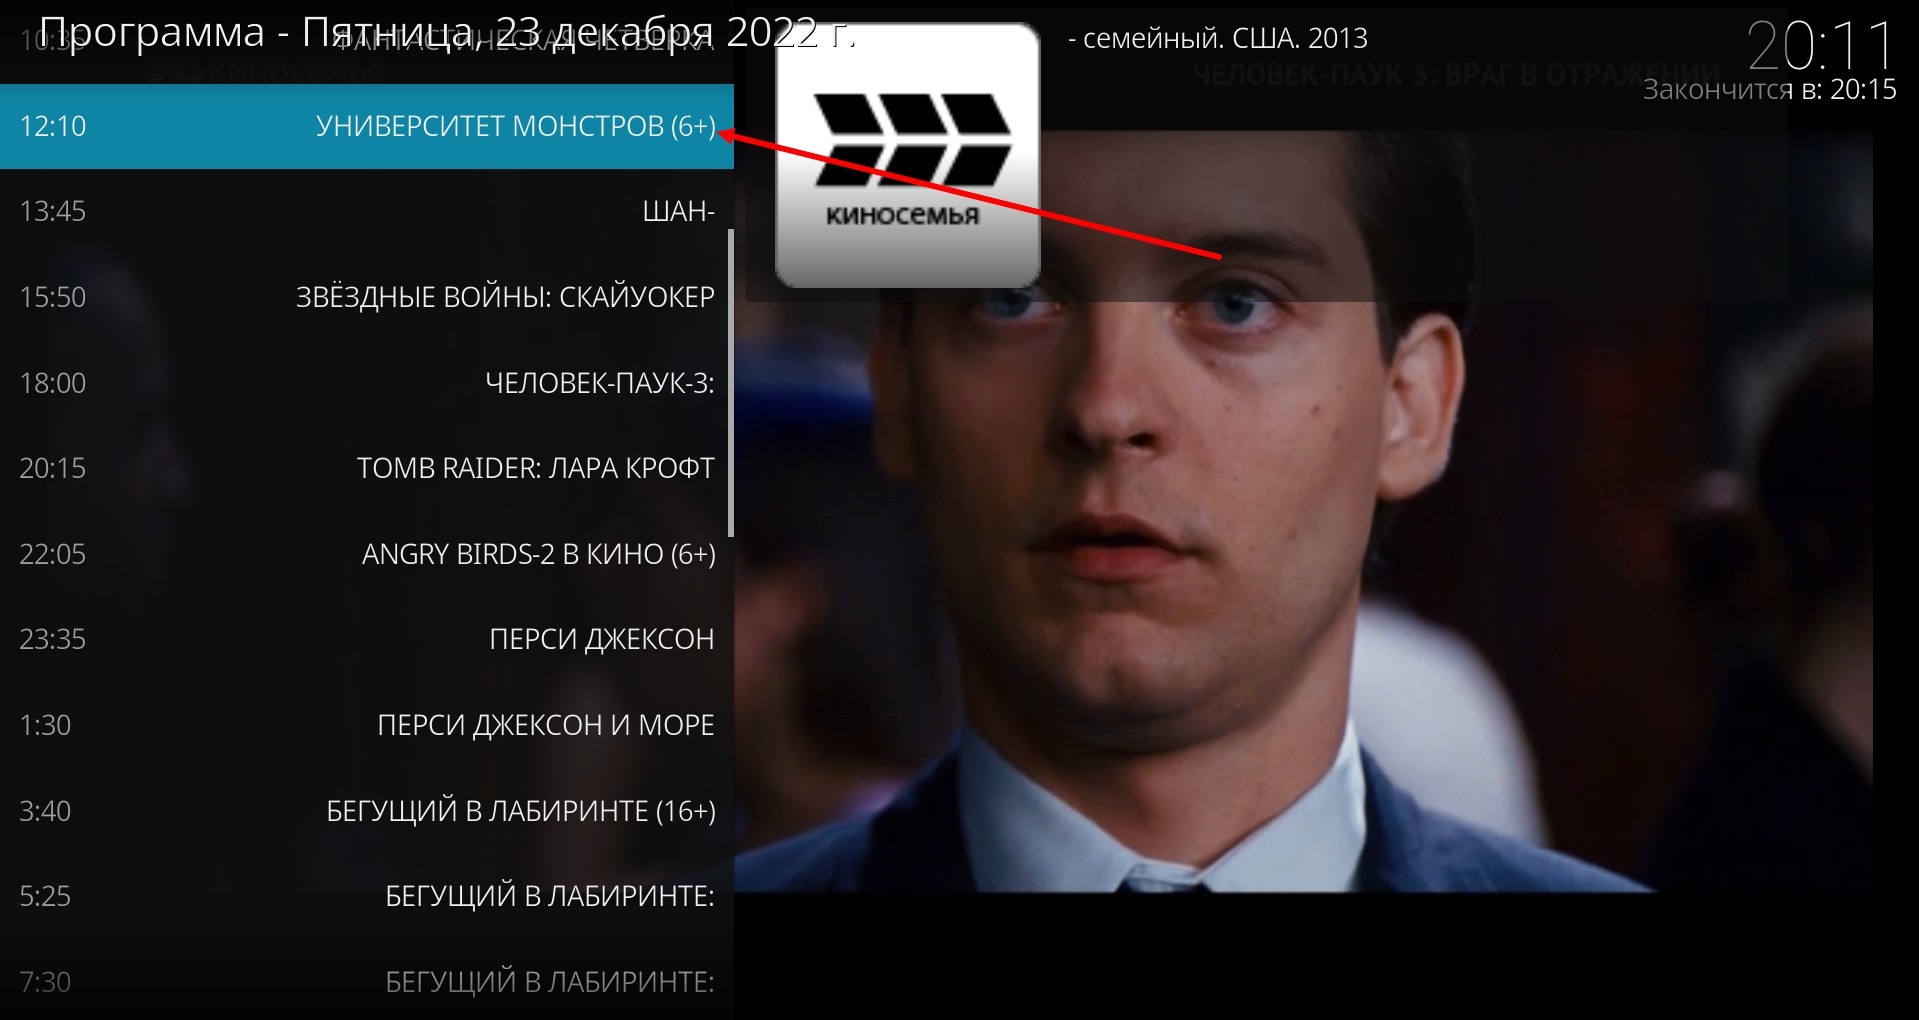
To call up a channel's archive, press Enter or click on the application screen with your mouse and the channel's menu will open for you
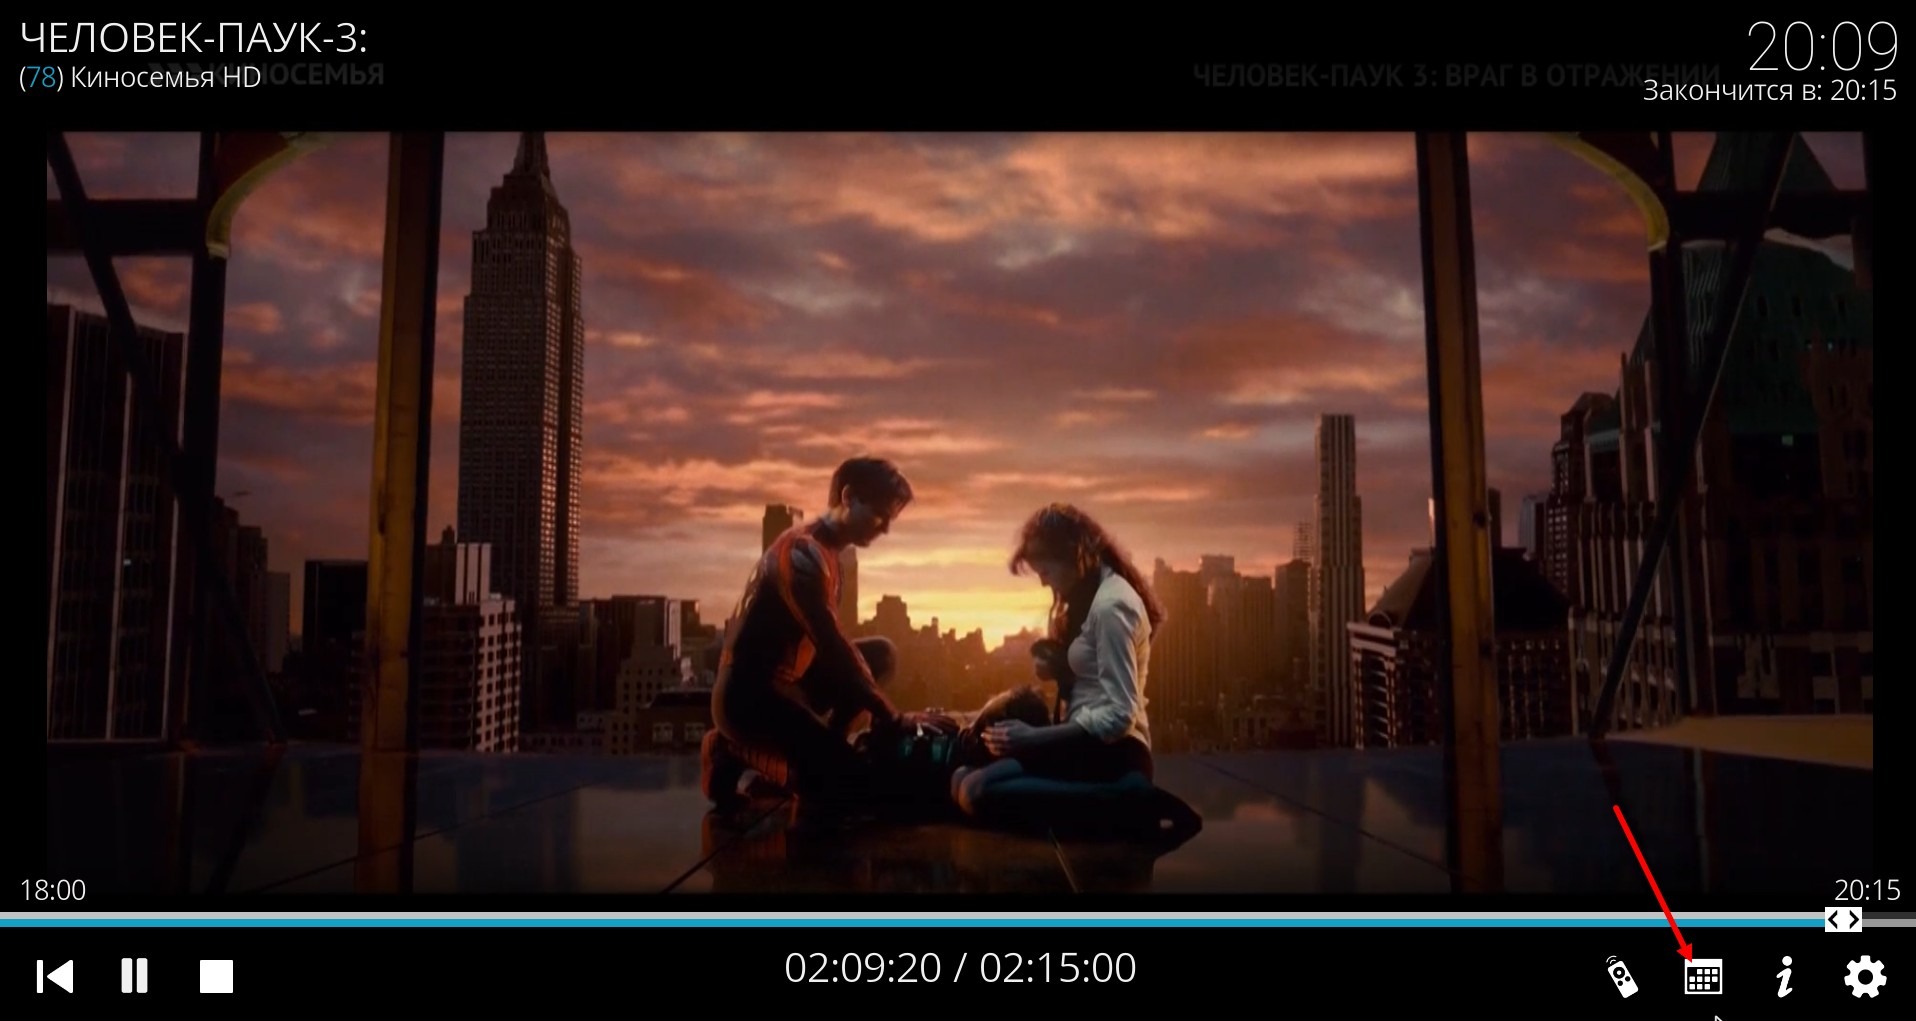
Press the Program icon.
A window with the channel program opens, there are archive broadcasts at the top (relative to the broadcast that is going now), and what will be later at the bottom.
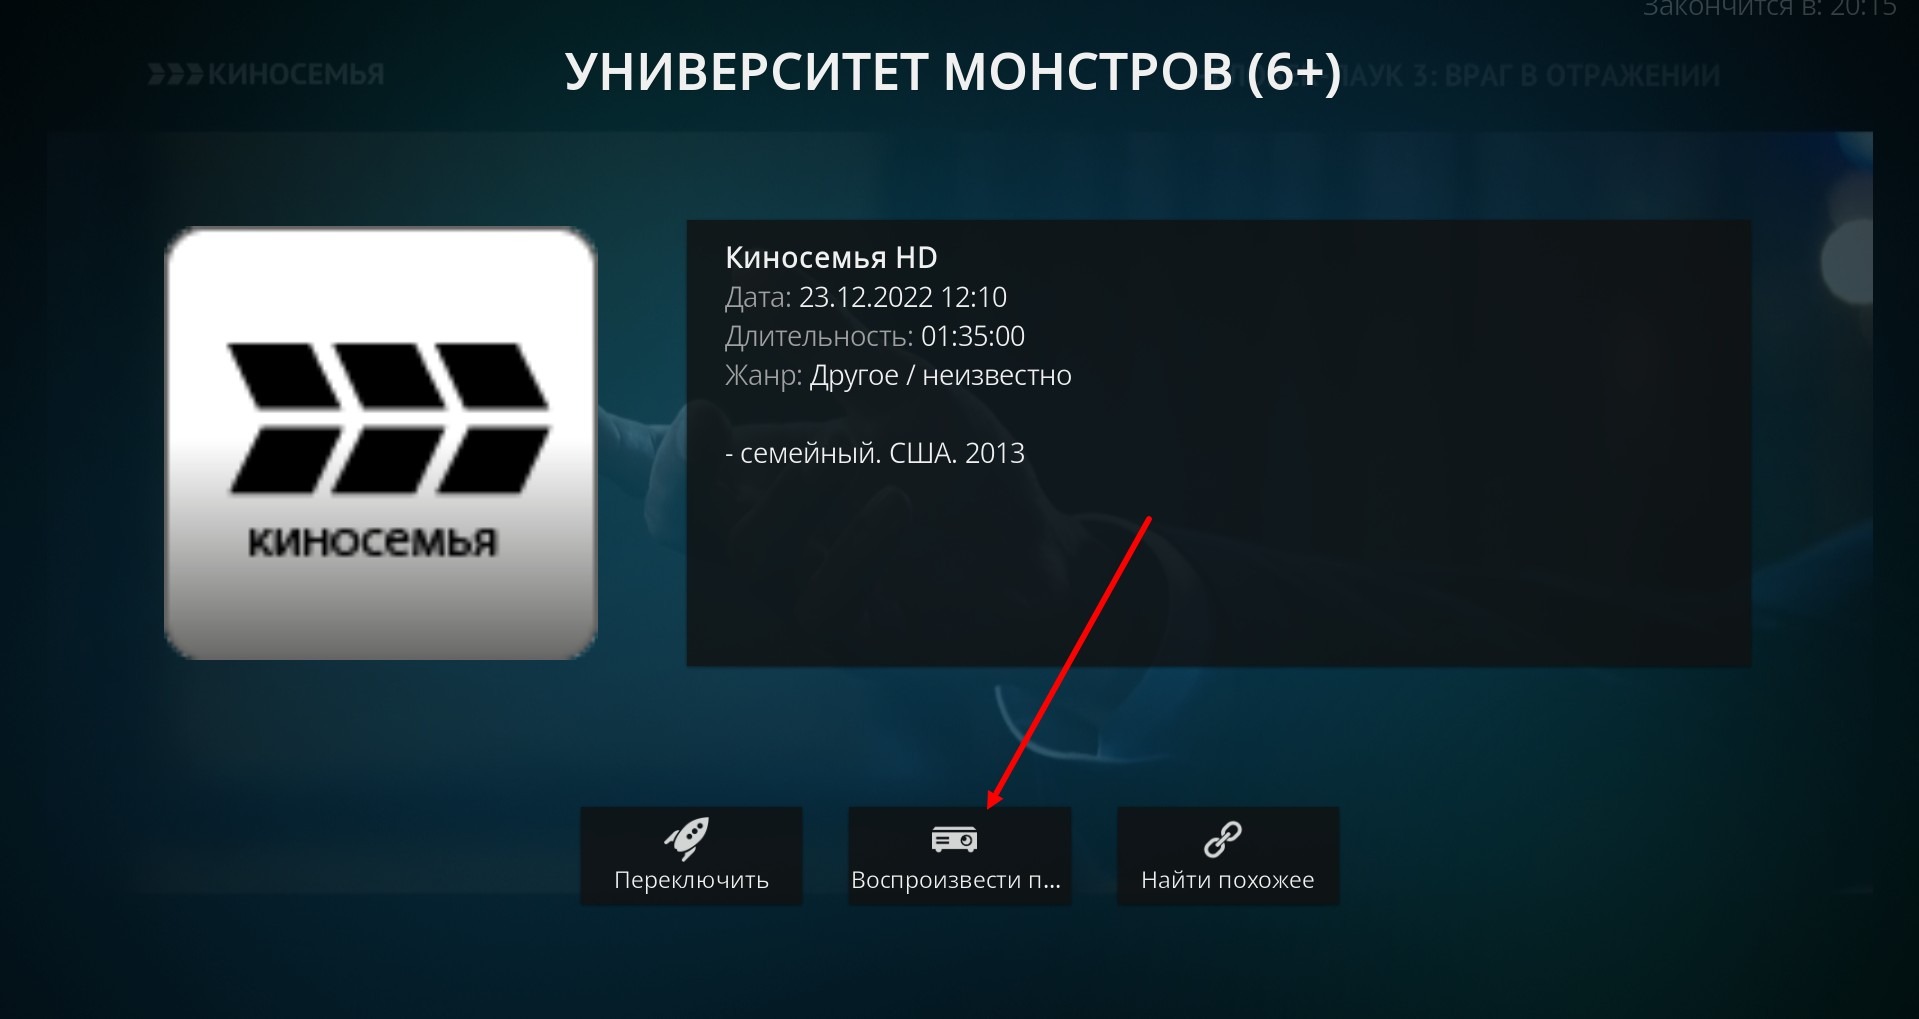
Select an archived program
A window will open, in which you need to press Play program.
Hide the program schedule from the screen with the Esc button.
Wait for a while and the selected archive program will start.

About archive settings: by default, in Kodi, 1 day of backward viewing and 3 days of forward program are enabled (and this is not about length parameters in the EPG link). Look at a short video on how to change these values. You can set 7 / 7 and then adjust the number of days ahead / back with the length parameters in the EPG link.
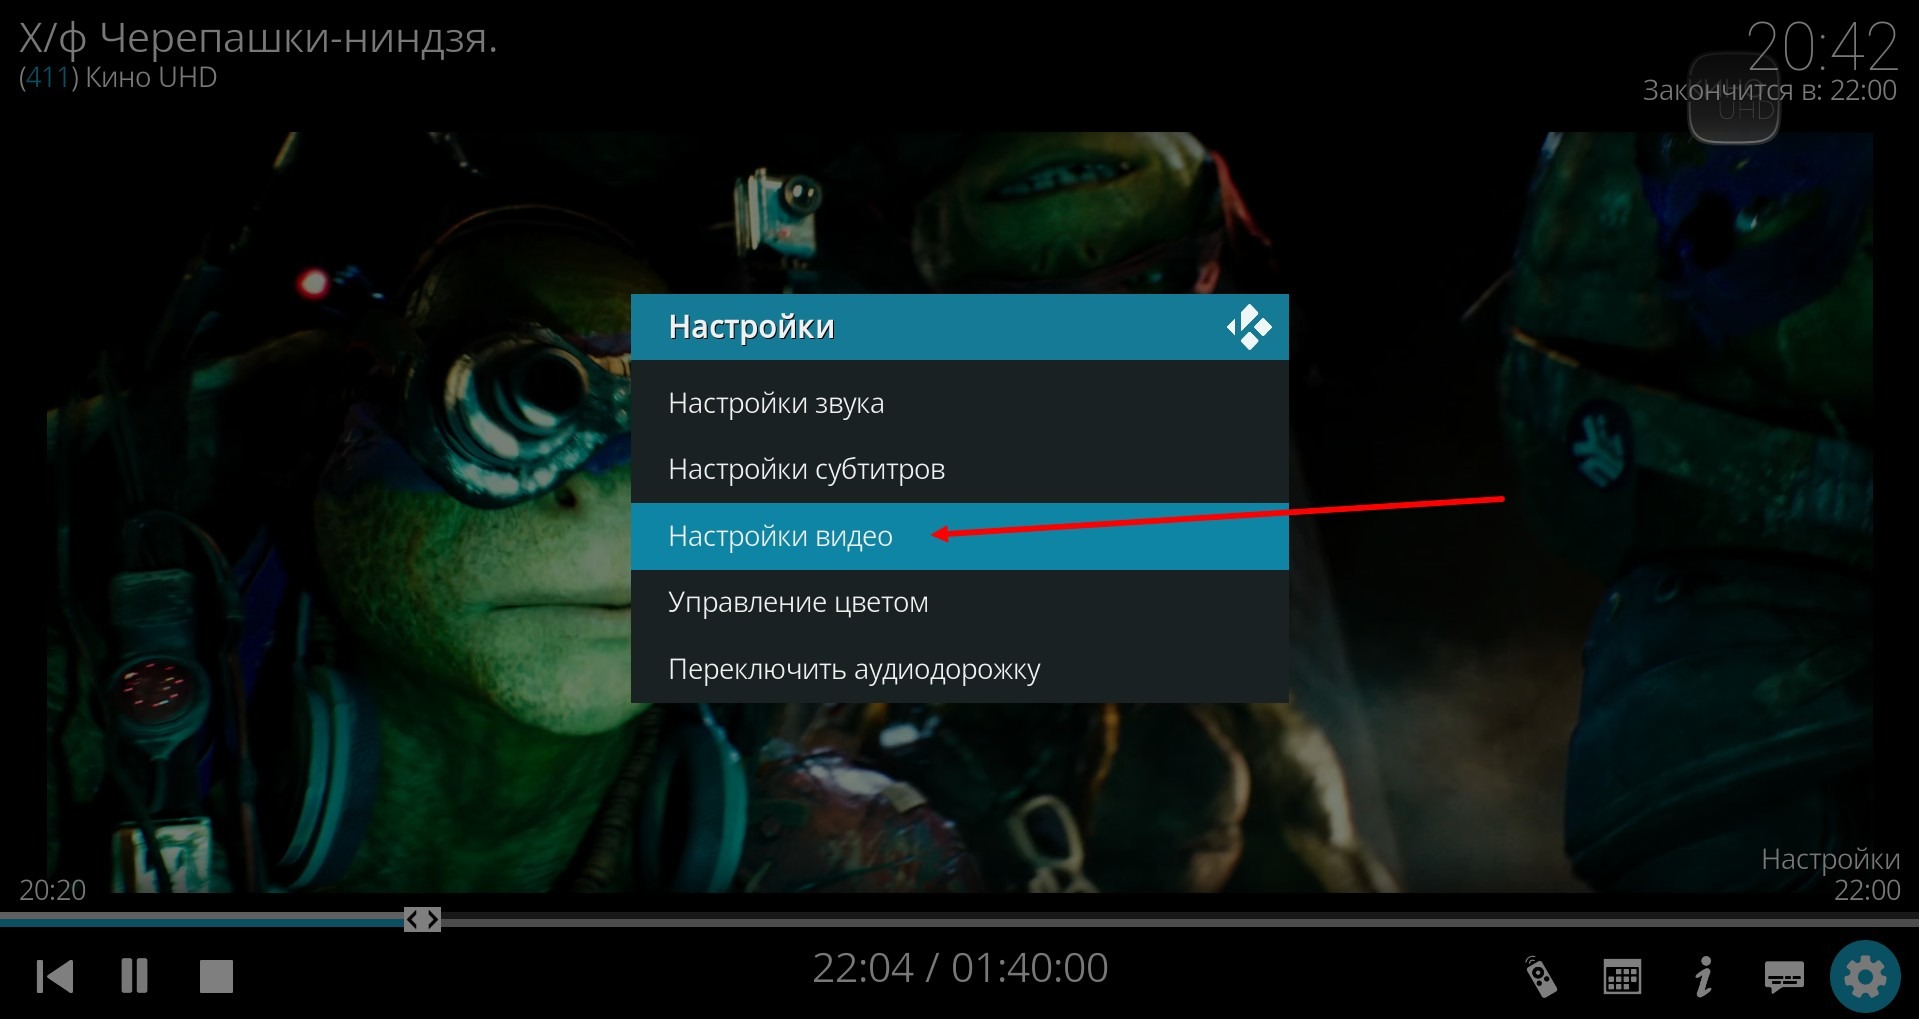
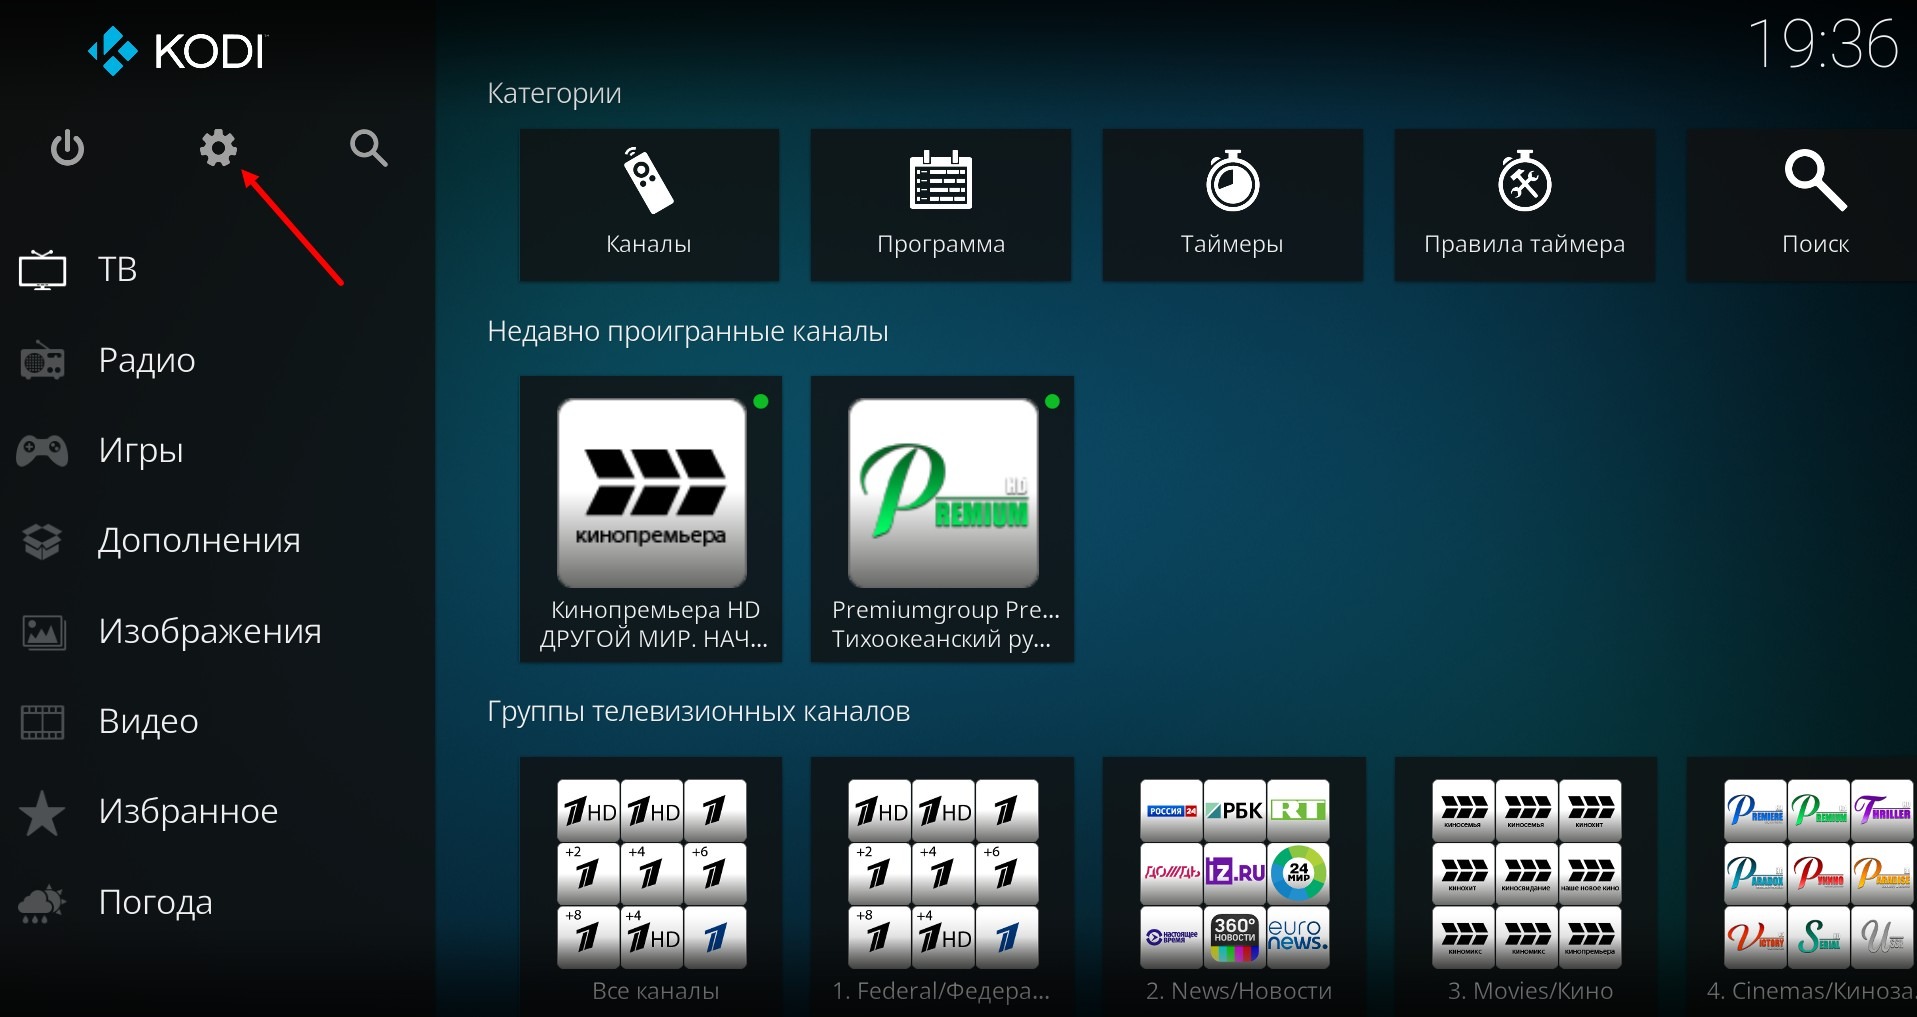
If you have a low end setup and 4k (UHD/FHD) channels are lagging, this can be fixed through settings. Start up a 4k channel, press Enter or click on the application screen with your mouse, select the gear icon (Settings)
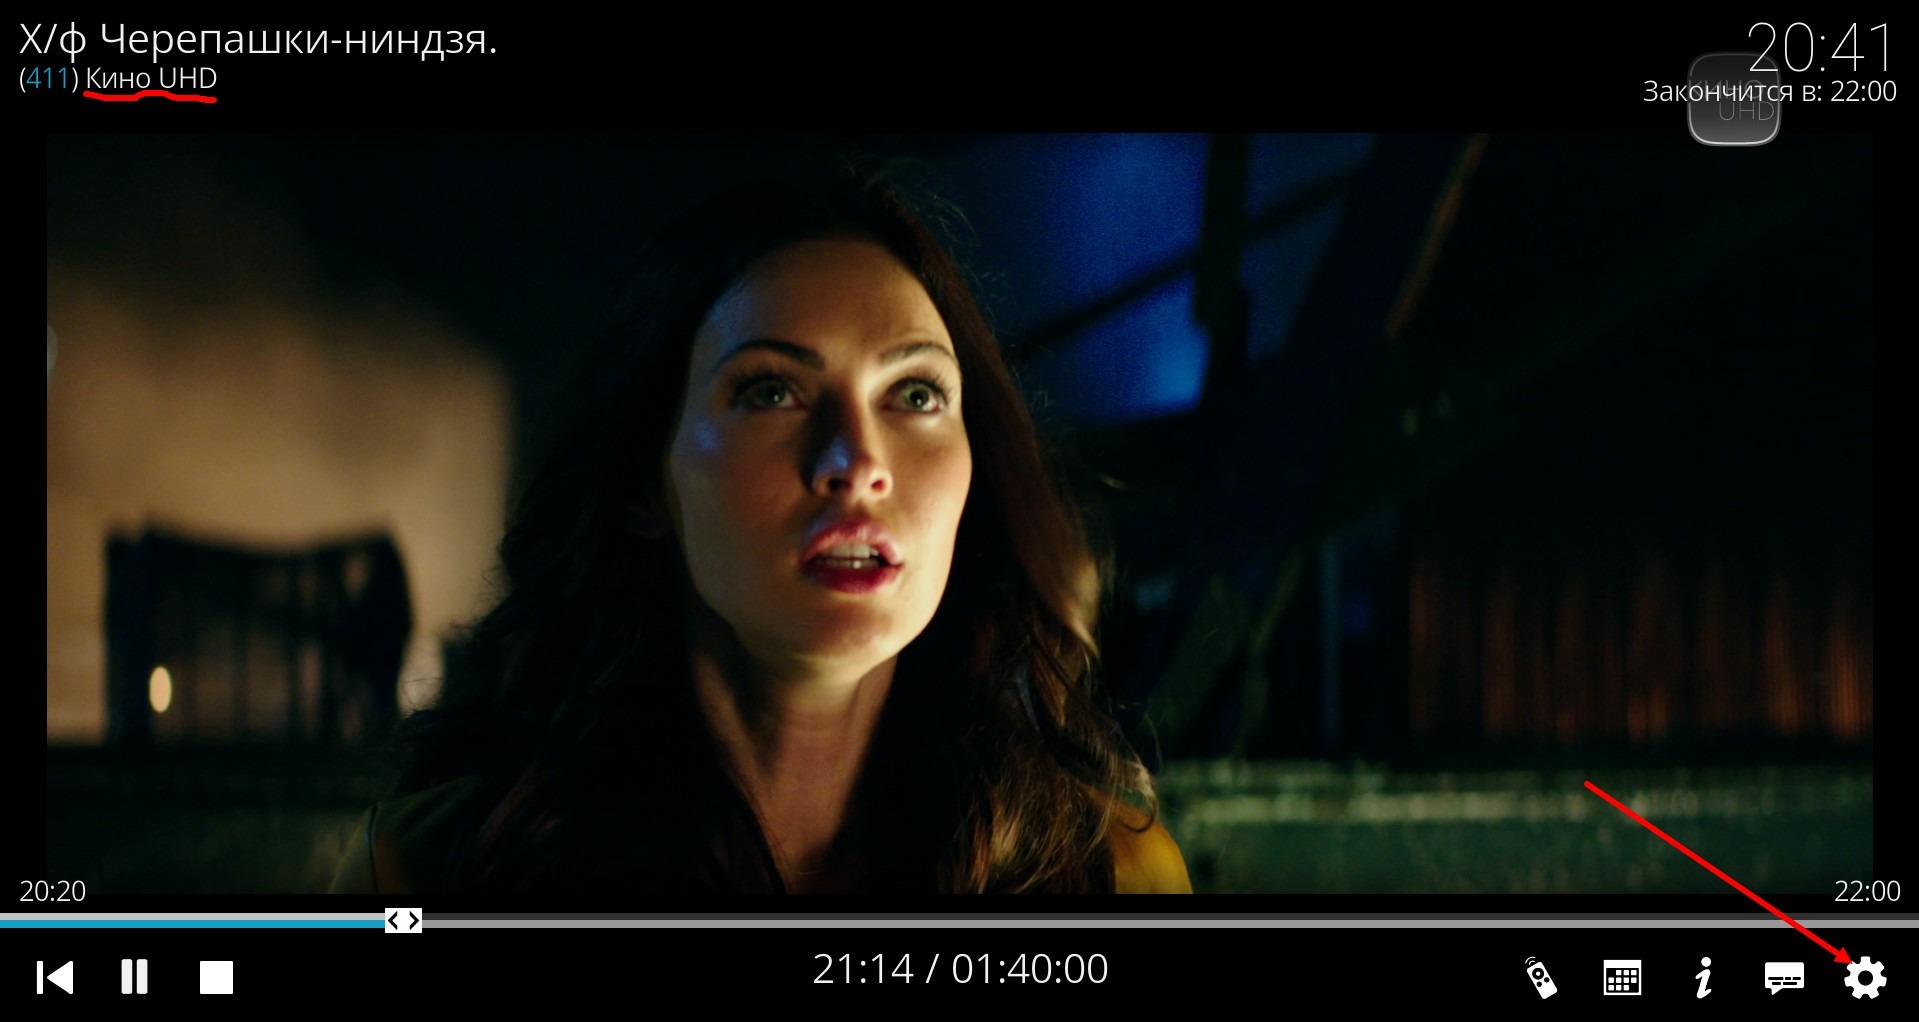
Select Video Settings.
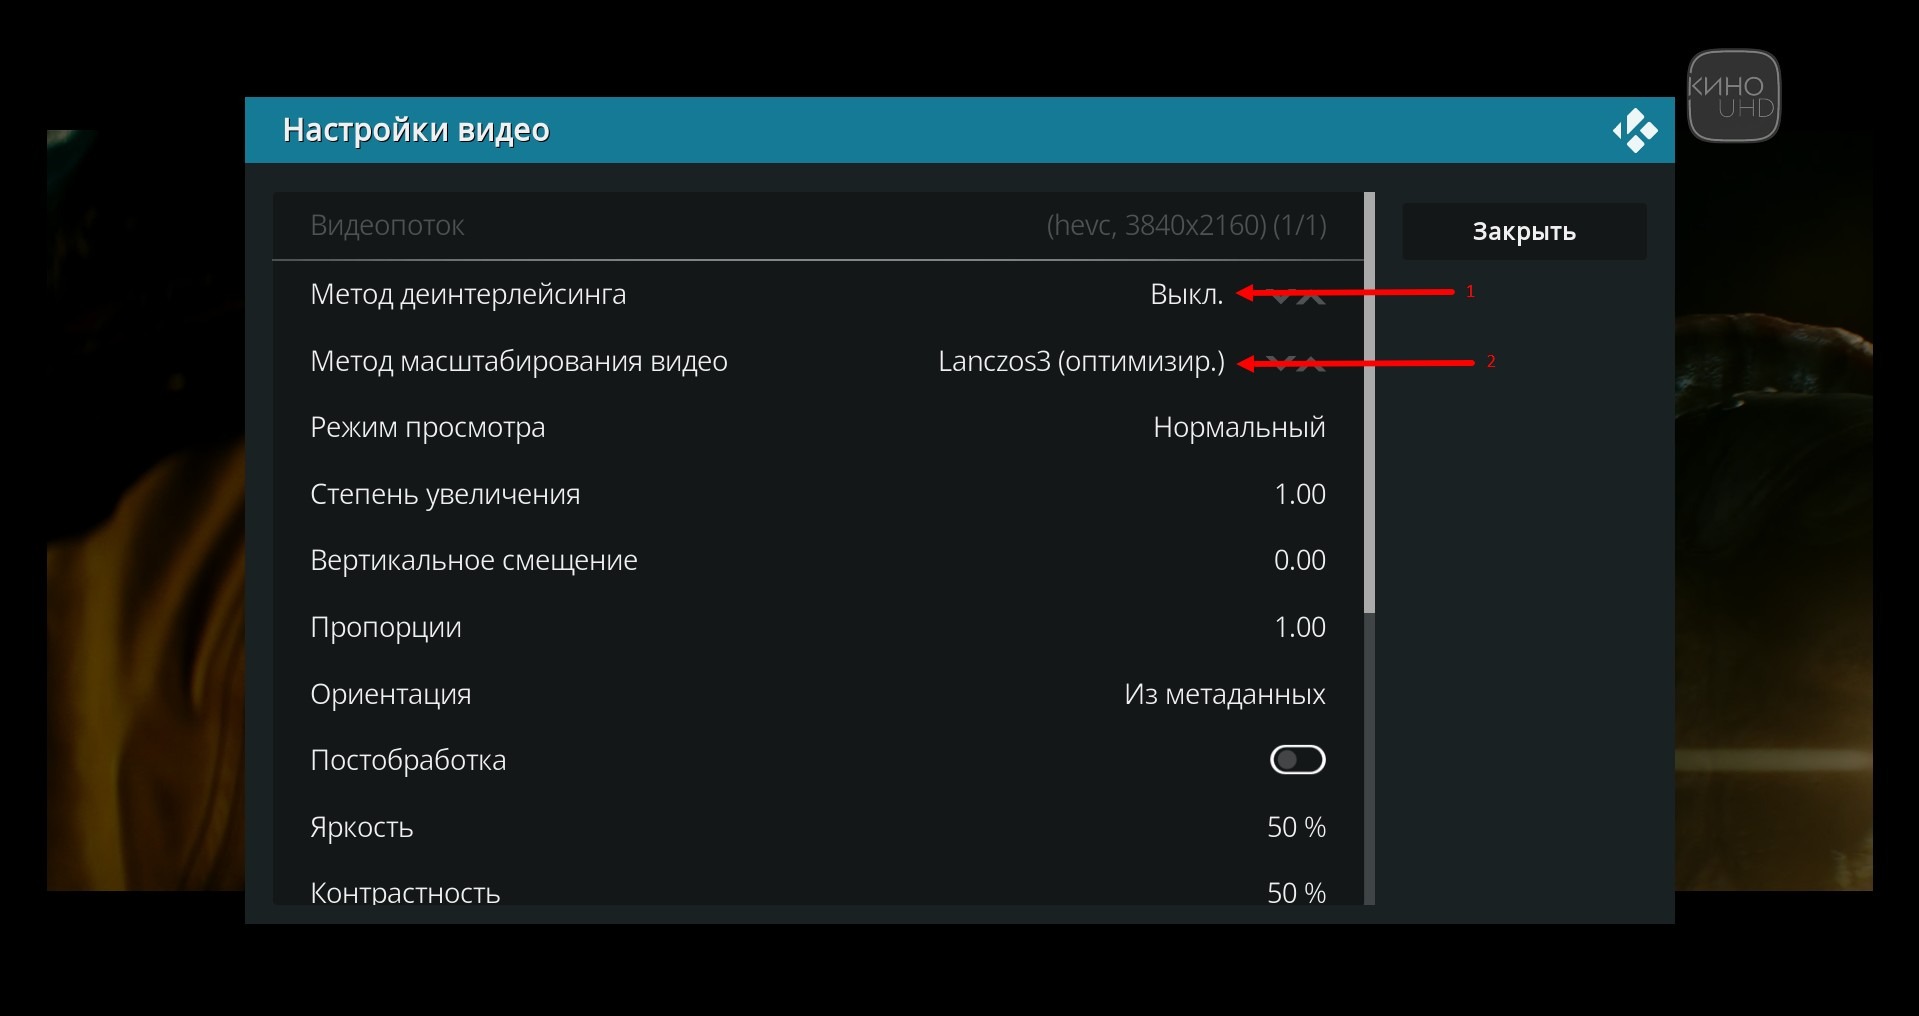
Set: Deinterlacing method - Off Video scaling method - Lanczos3 (optimized)
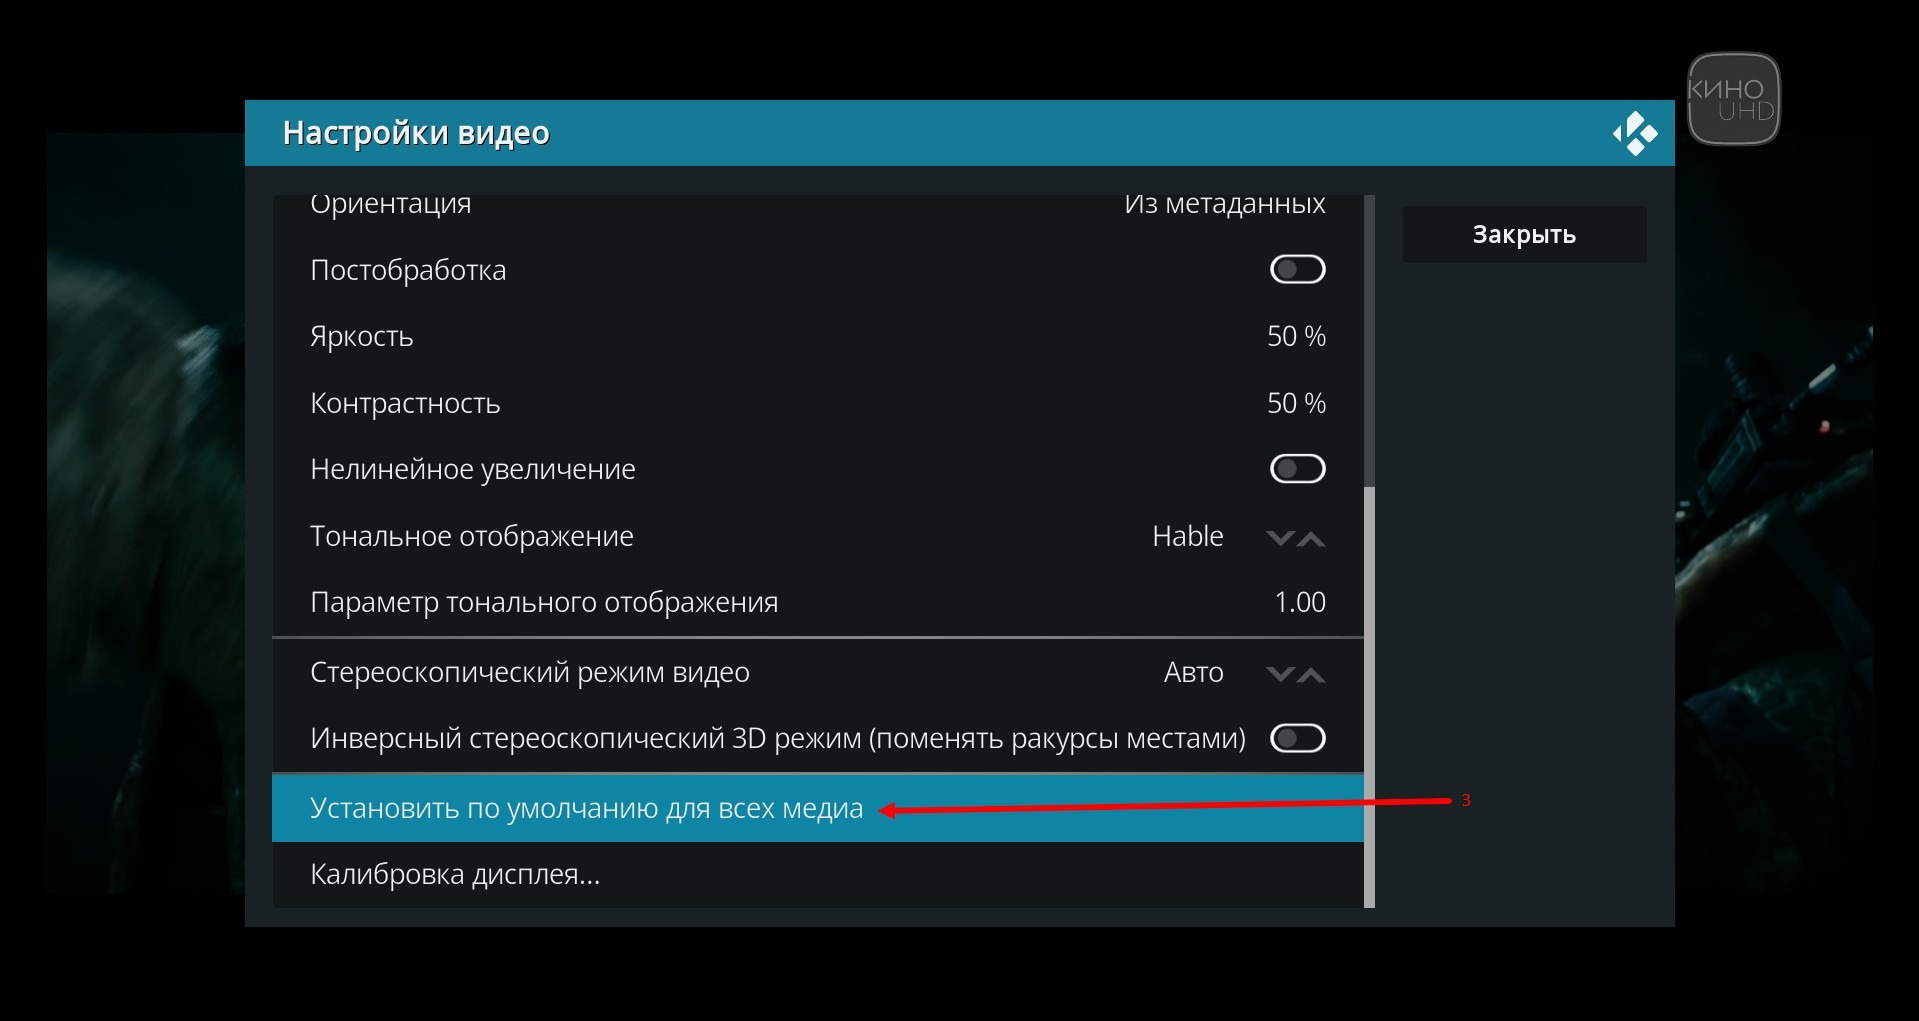
Scroll all the way down and click Set as default for all media.
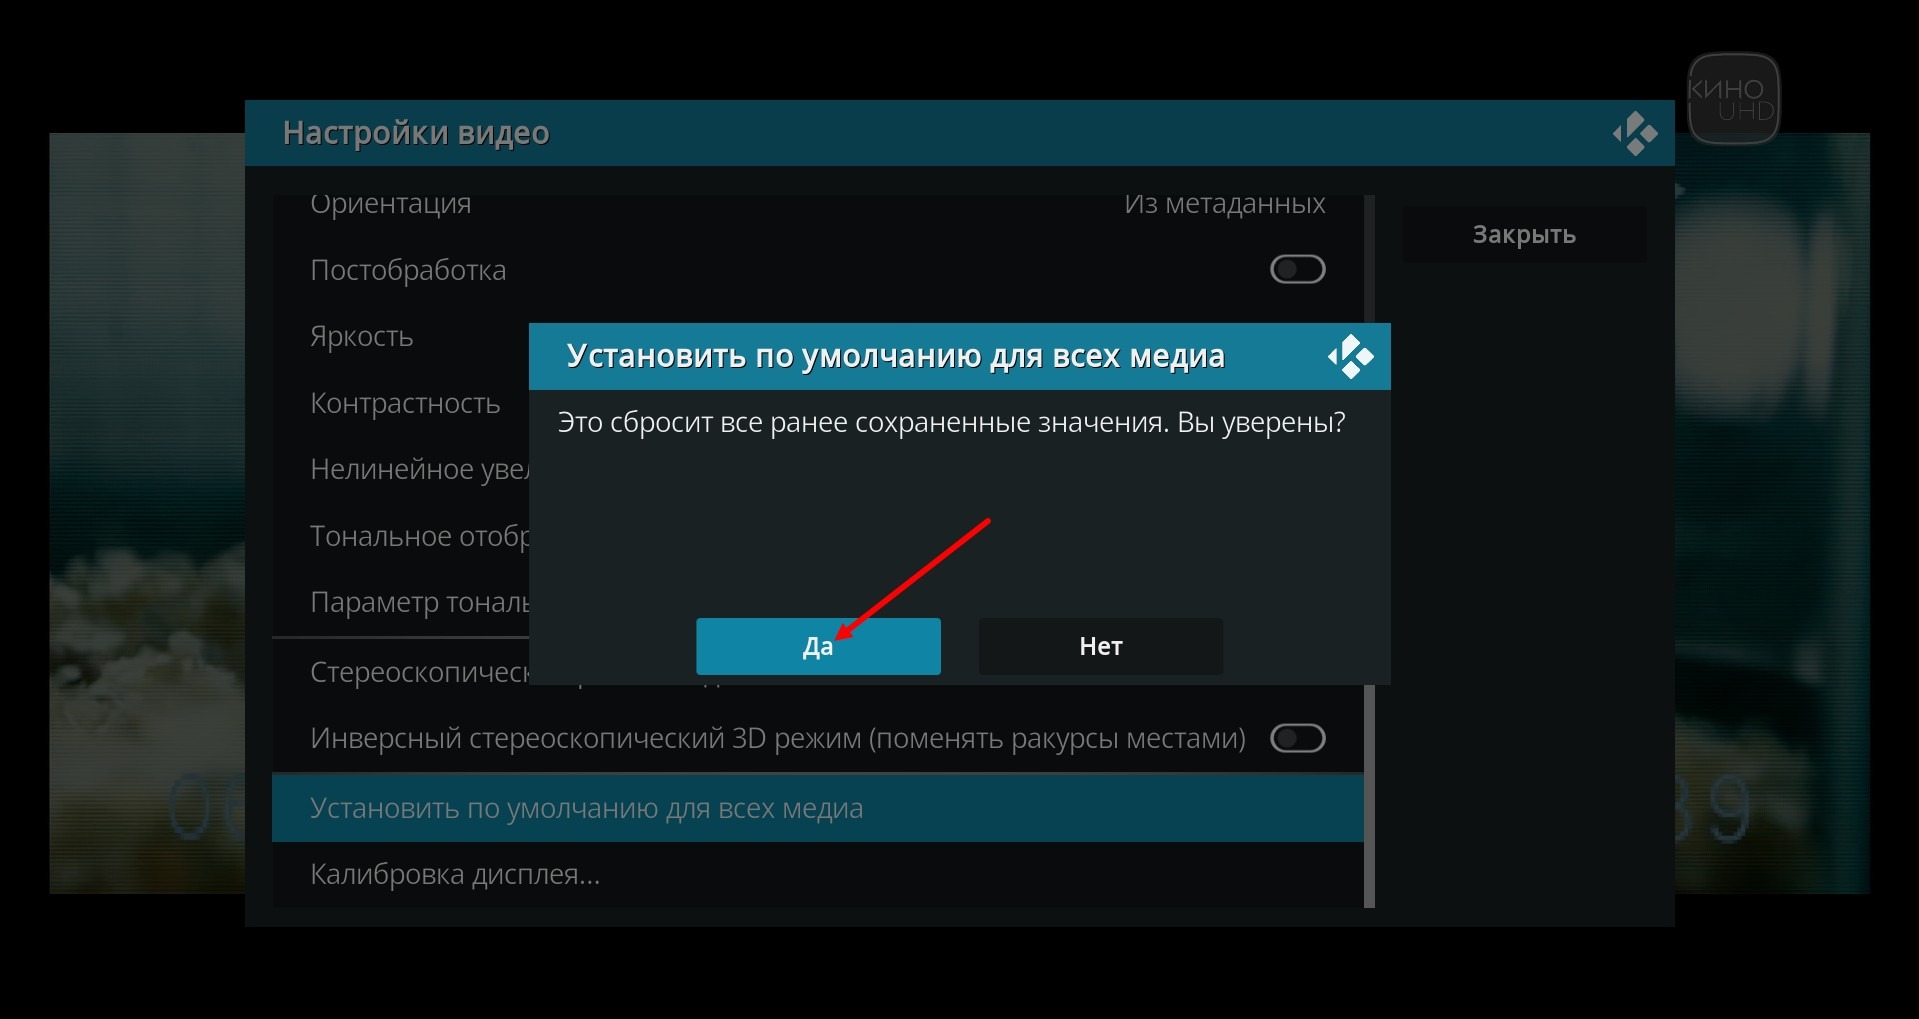
Confirm.
And exit this menu.
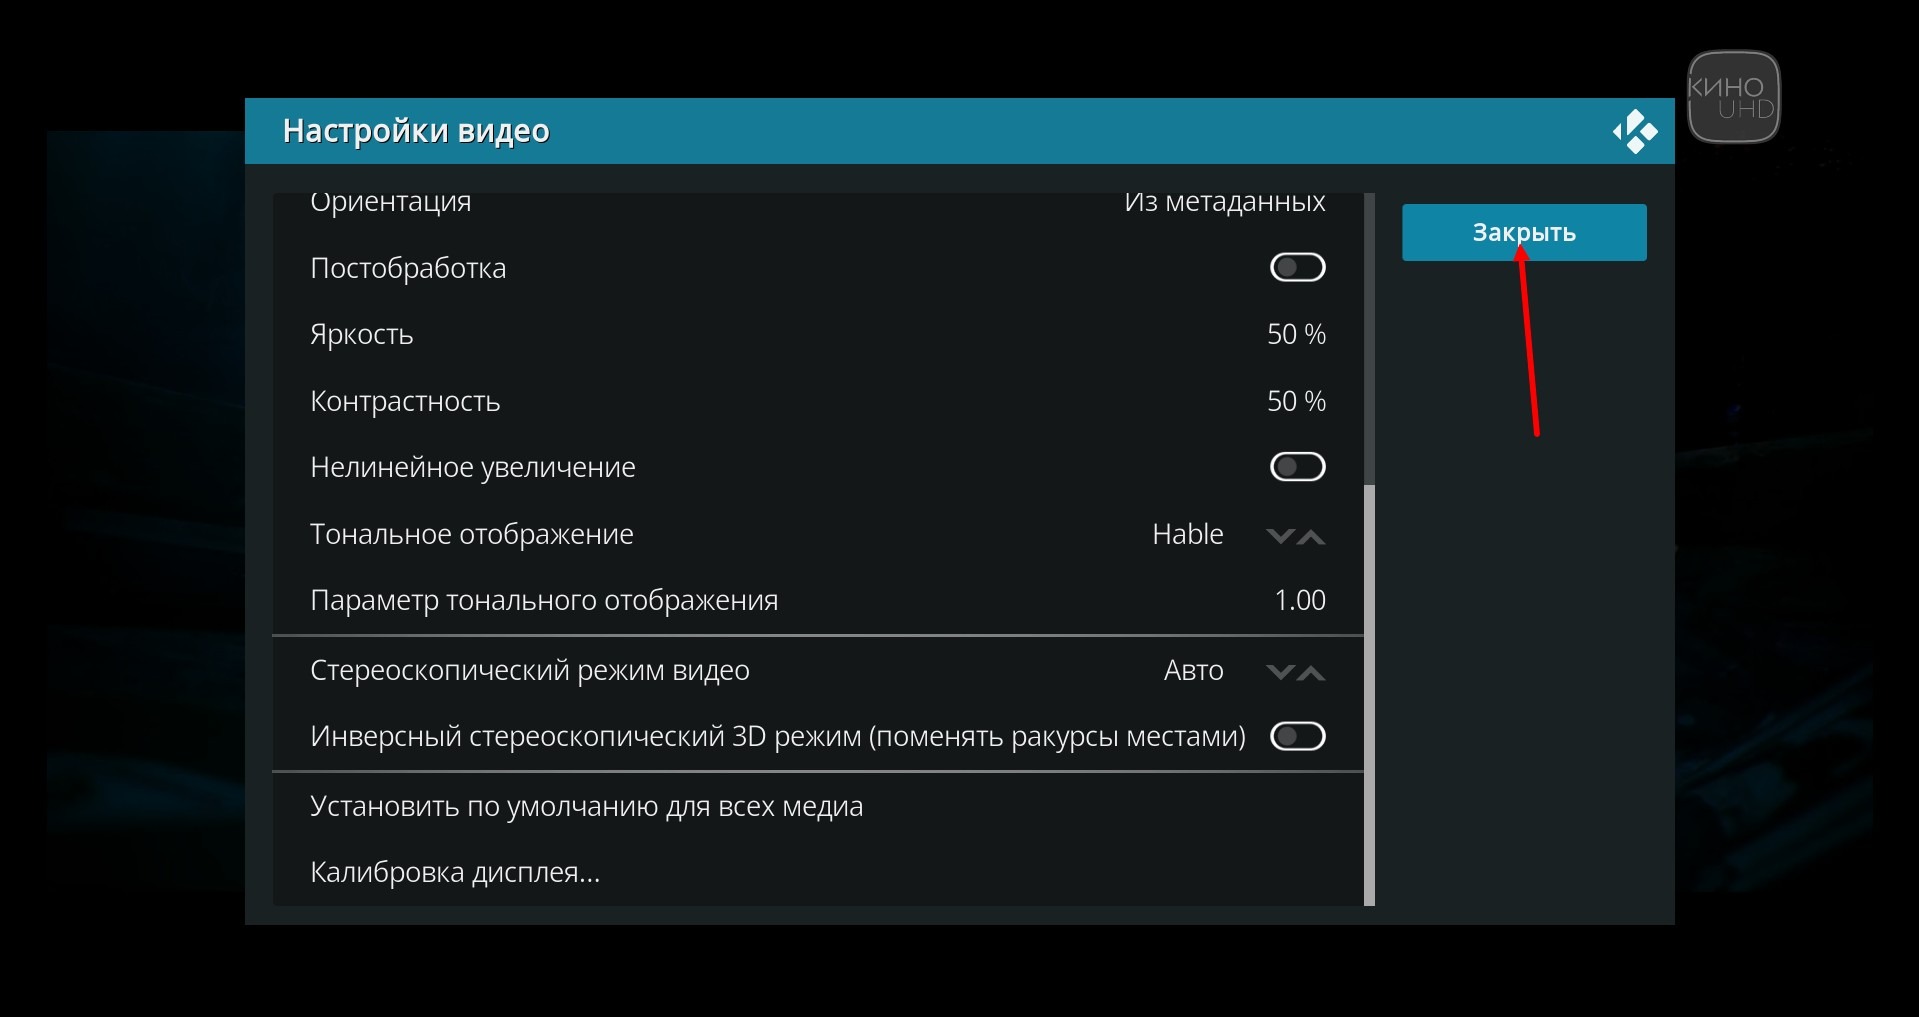
In the same menu, you can set the contrast for 4k channels in the Tone Display section.
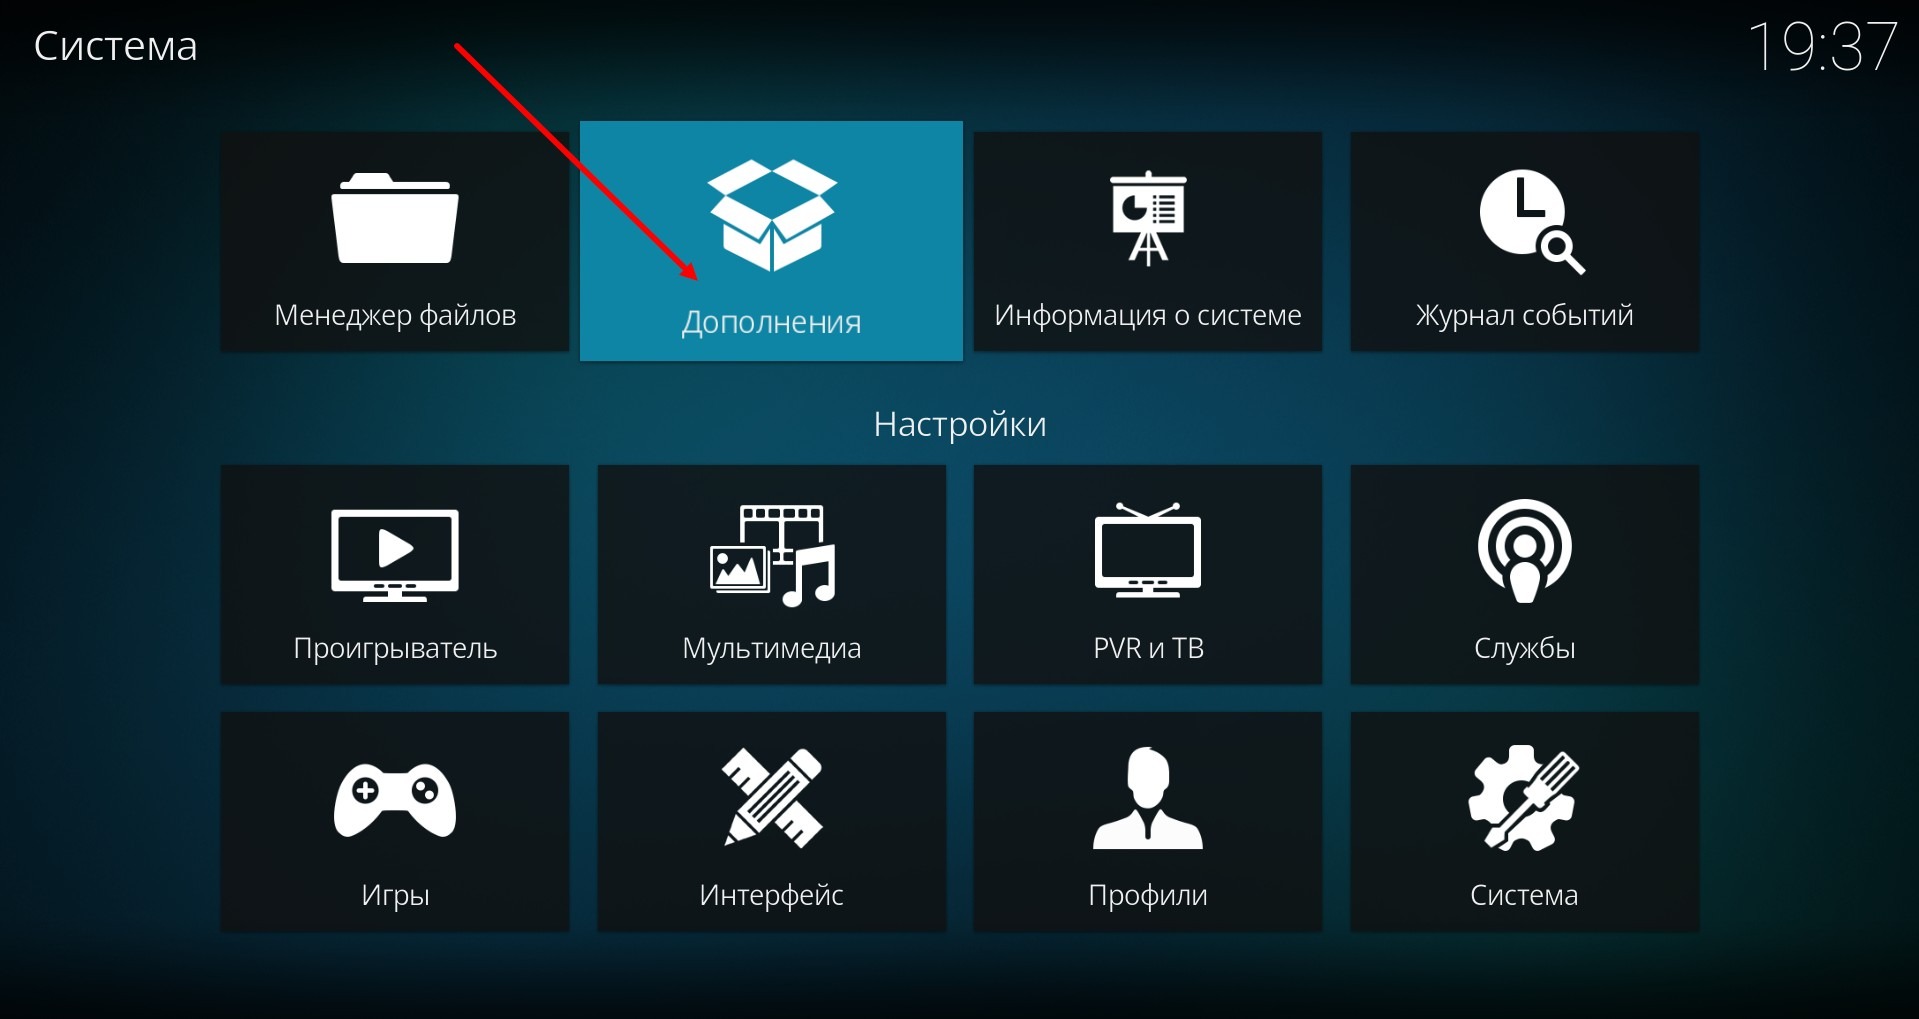
If you need to return to the configuration of the PVR client, press Esc several times until you get back to the main Kodi menu. Press the gear icon.
In the window that opens, press Add-ons
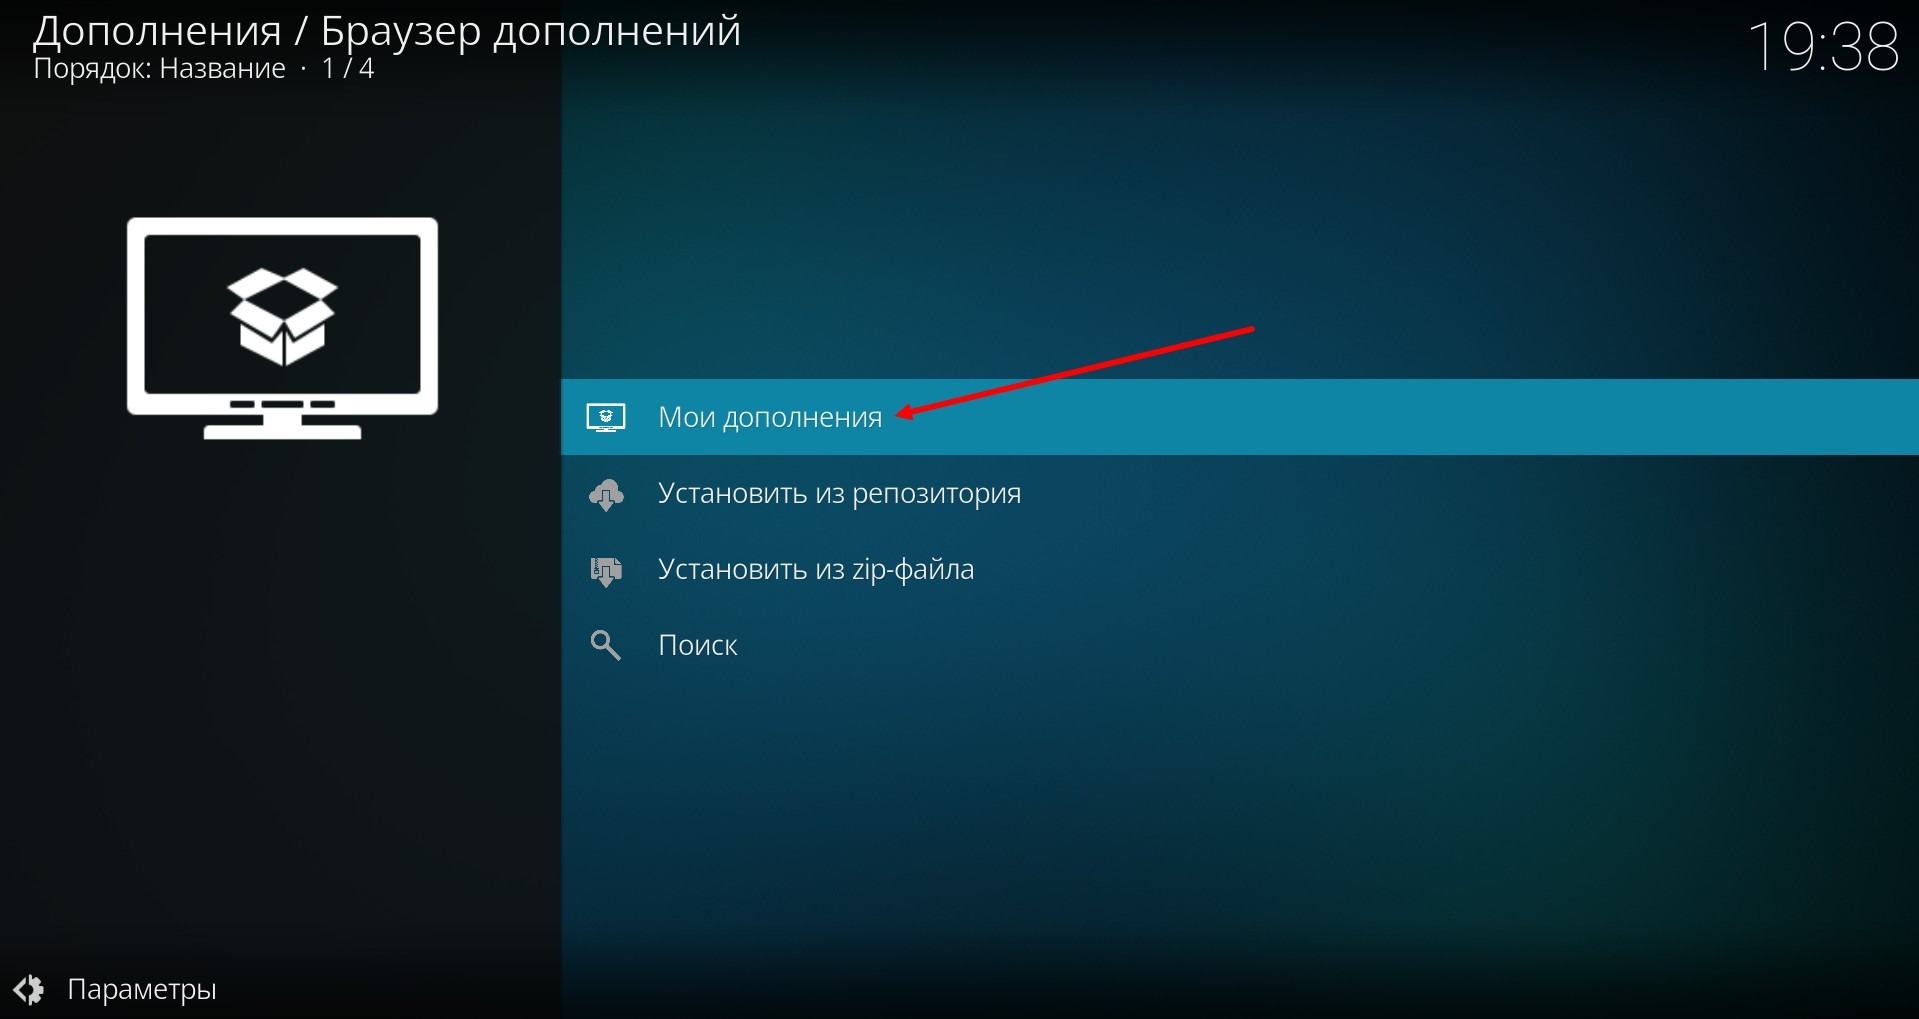
Select My add-ons.
Select PVR clients.
And click on PVR IPTV Simple Client.
A window will open where you can go to the PVR client settings.